
An Interest In:
Web News this Week
- May 1, 2024
- April 30, 2024
- April 29, 2024
- April 28, 2024
- April 27, 2024
- April 26, 2024
- April 25, 2024
Some of Our Sources
- Engadget
- Mashable
- Simplebits
- Pearsonified
- Fuel Your Creativity
- Reencoded
- Wal You
- Freelance Switch
- Dev To
- Hashedout
Help Webnuz
Referal links:
Create a Medieval Landscape in Photoshop
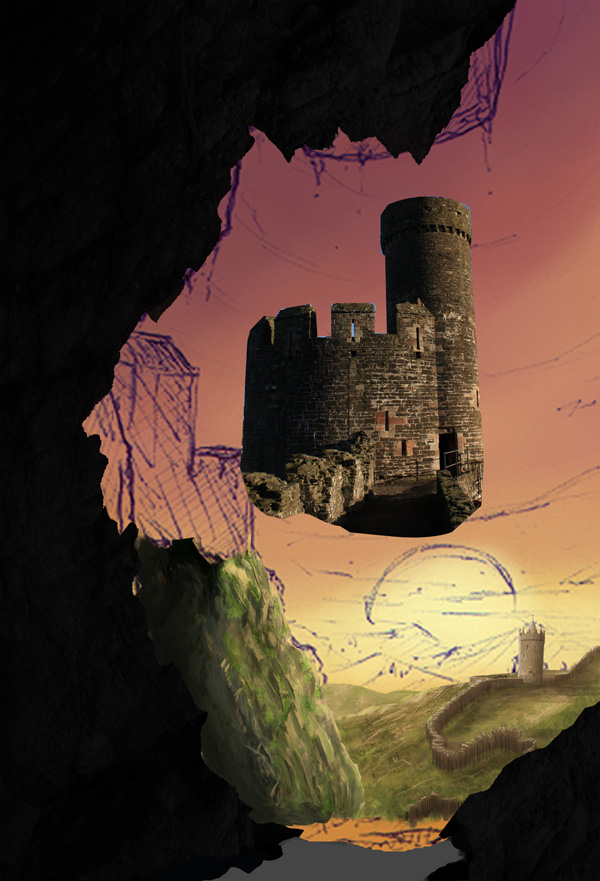
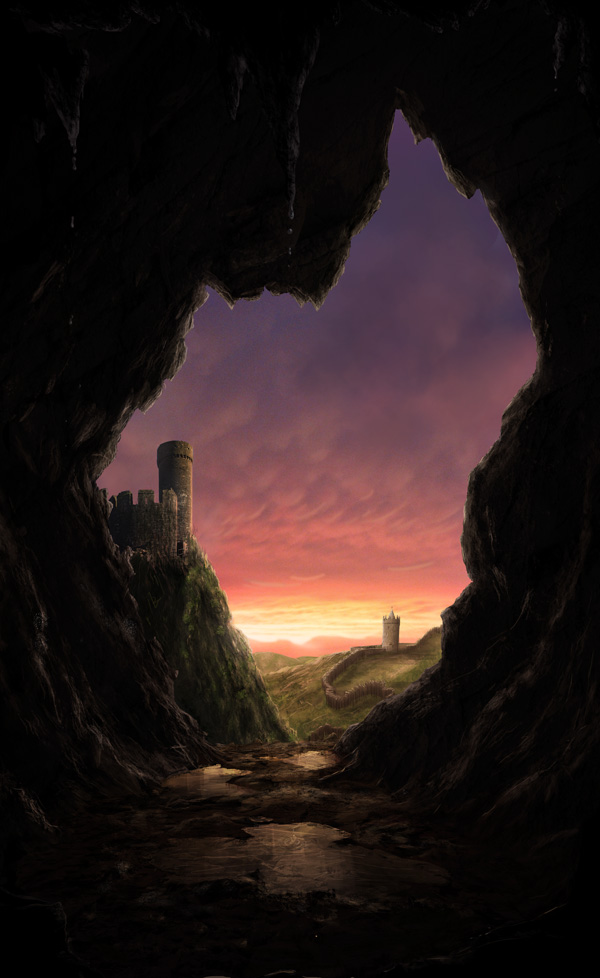
In this tutorial we will demonstrate how to create a medieval landscape using digital painting and photo manipulation techniques. We will begin by sketching out a rough idea of how we want our image to look. Then, we will then add various stock images and build upon them until we produce the scene below. Let’s get started!
Tutorial Assets
The following assets were used during the production of this tutorial.
Before You Begin
This piece has been done with the help of a graphic tablet, to be precise a Wacom Bamboo Fun. If you’re painting with a mouse, the technique is always the same. Only thing that changes is the time you’ll spend on it. In order to get a good effect, remember to vary often opacity and flow jitter.
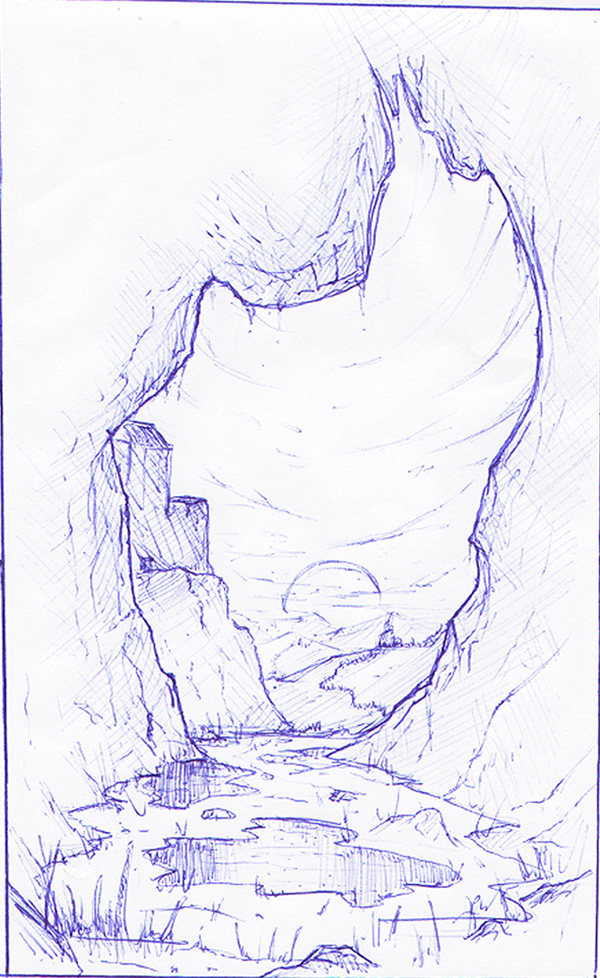
Step 1 – Sketch on paper
Like many of my pieces, this has been drawn away from my computer with a blue pen and a piece of paper. When I made this, before starting drawing, I already had a precise idea of what I wanted. The cave here works like a frame and everything in it it’s the actual piece. I wanted to focus the viewer into only a few elements and I wanted it to have a strong impact, which is why I choose as central element the sun.
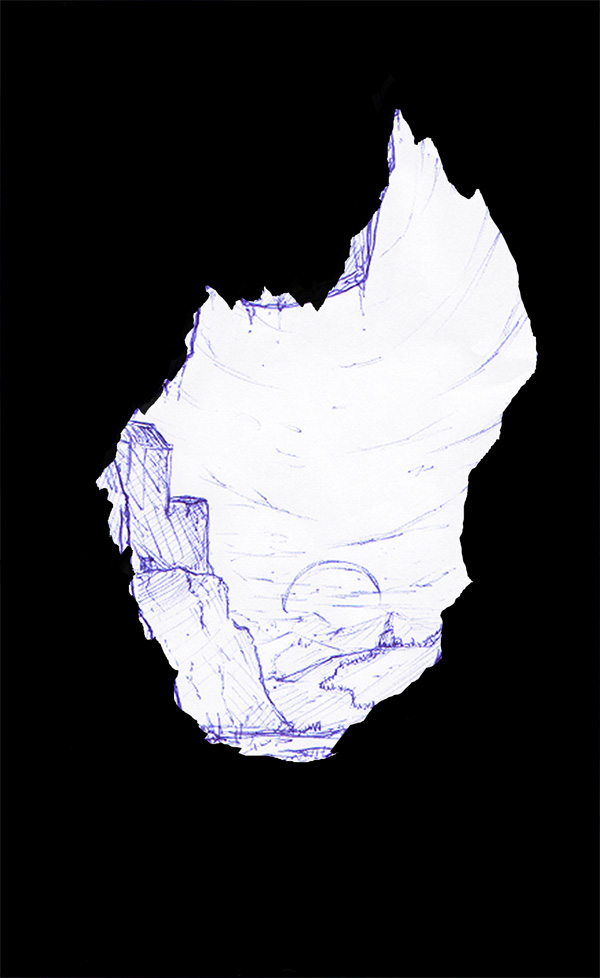
Step 2 – In Photoshop
First thing I did after scanning the piece and importing it into Photoshop was to create that frame. To do it, you can use different Photoshop tools. You can use the Brush Tool (B), the Lasso Tool (L), the Pen Tool (P), and probably a couple more. It doesn’t matter which one you’re going to use, just try to create an interesting shape and try to make it precise, without having soft edges (in this case, Pen Tool is the most accurate, but it’s also an hard tool to manage, if you’re not confident with it, my advice is to spend time trying to understand how it works, it is really an amazing tool once you get how it works. Hundreds of tutorial has been written about how to master it. Learn the shortcuts, they’ll save you a lot of time. It might be a pain at first, but when you’ll know how to use it at his best, you’ll be grateful to have learned something so useful).
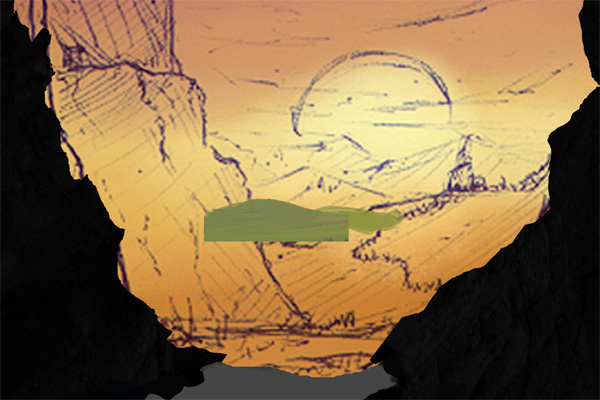
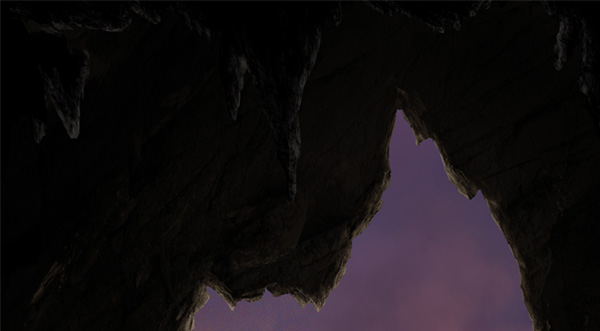
Step 3 – Choosing a color palette
A thing that I think is very important is choosing a color palette before you start looking for stocks. This way you can get already an idea of what is that you’re going to look for. It’s a way to know which kind of photo do you need (in this case, which kind of sky) and you can directly look for that. In this case I limited myself into painting with a soft brush a very simple sunset. In this step I also created, on a different layer, the ground of the cave using the Lasso Tool, which is the best tool when painting to create the sharp shapes of the rocks.

Step 4 – Hills
Ok, Hills! Very simple to make: I divided them into layers. First layer is for the furthest ones, made them just using the hard round brush and a desaturated green.
On the second layer, which is going to be on top of the first layer, we will paint a closer hill using again the same brush, this time with a more orangish green.
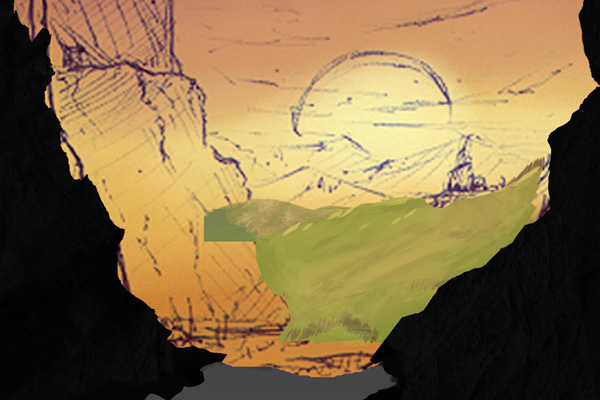
Here I’ve added the first castle. It’s a simple photo rendered using the Pen Tool.
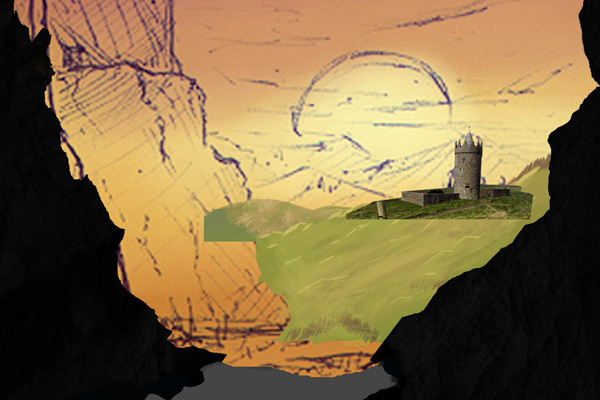
In order to blend the castle, I created a new layer and a clipping mask with a brown/orange layer set on lighten. This way the darkest colors of the castle will become like the colors in the clipped layer. In this step I also texturized the hills using brush number 5 of the brush set. Grass has many colors and based on the lights and shadows these colors become even more, so for giving it a nice effect try to use more than a couple of them. As you can see, other than the green, I used different tones of brown, orange and yellow.
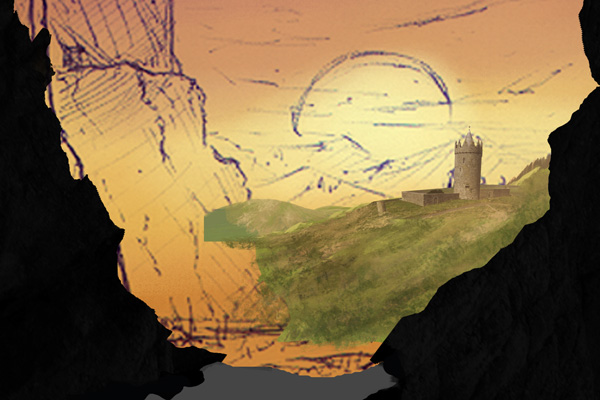
Just like in the initial sketch, I made these weird castle walls. I did them using the hard round brush (number 1) and the palette knife brush (number 2). This one took me a while before figuring out how to do it, but once you get it it’s pretty easy to make. To make those straight lines, just press the ALT key while making your brush stroke.


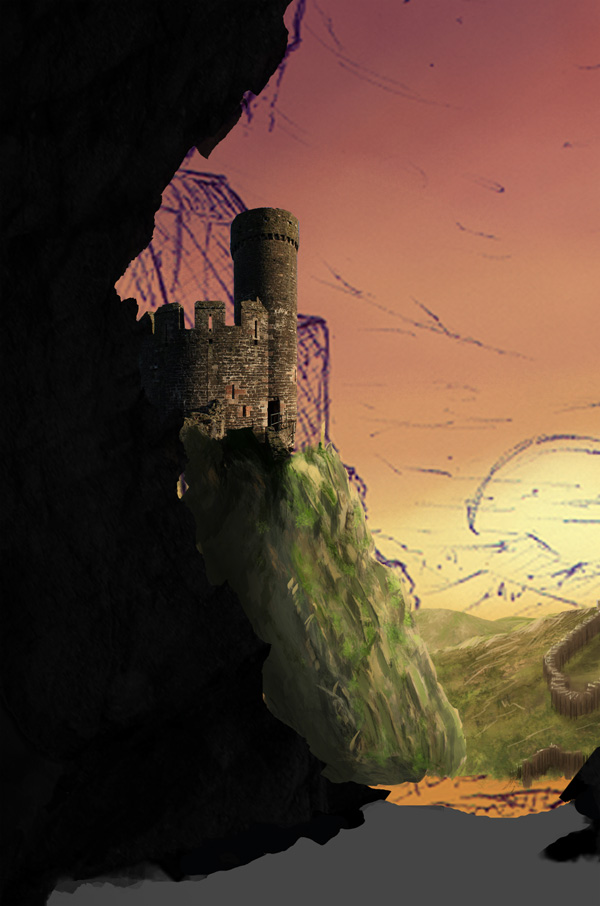
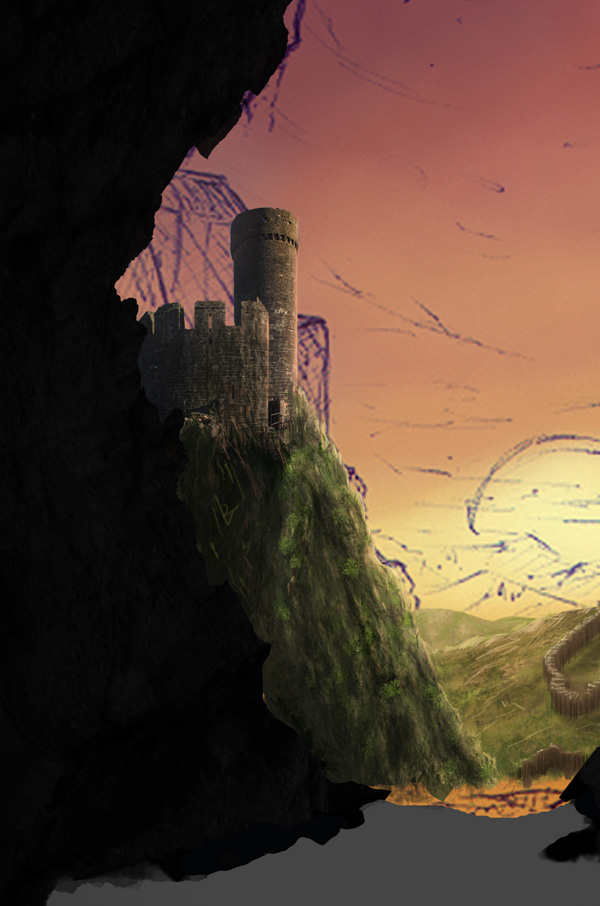
Step 5 – Castle
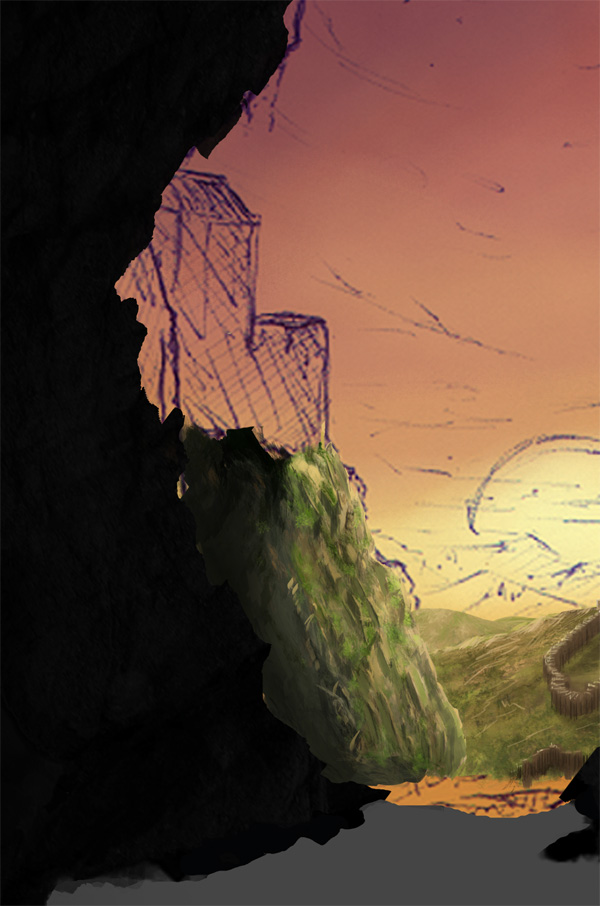
Now we get into a slightly harder step. First I painted the big cliff using brushes number 1, 3 and 5. Use 1 and 2 to create the shapes and number 5 to texturize it. At this point I wasn’t satisfied of it at all, so in the next steps you’ll see that I almost completely modified it (but using the same technique I explained in this step).
For the Castle I used a great photo downloaded from deviantART and made by =prolific-stock, you can find it in the tutorial assets.
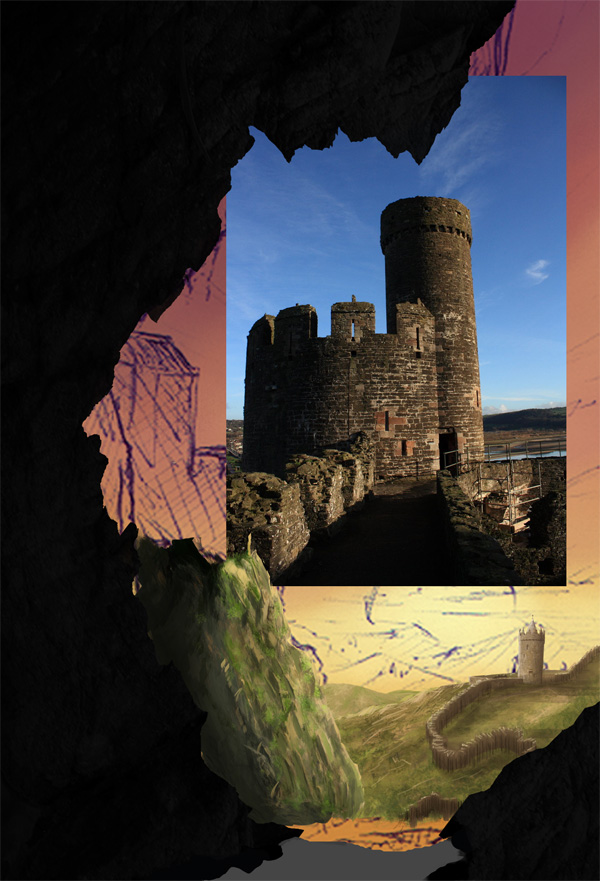
Using the Pen Tool (P) (but here as well you can use different tools, such as the Eraser Tool (E) and the Polygonal Lasso Tool (L)) I rendered the image, erasing the sky and the foreground of the photo.
Using the Perspective Controls (Edit > Transform > Perspective) I gave to the stock a more suitable perspective that can match the rest of the elements in the piece.
Here I painted another part of the cliff in order to blend more in the castle.
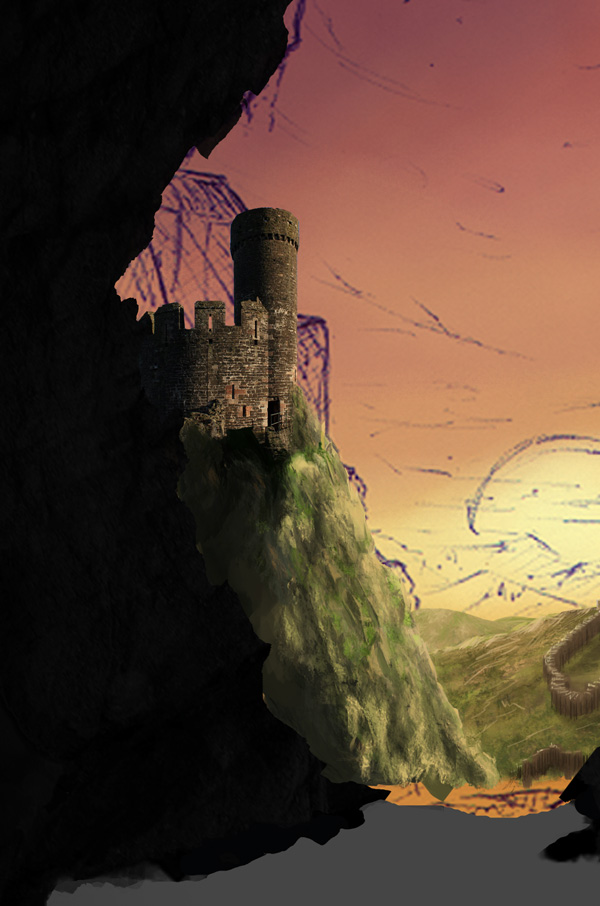
As said before, I wasn’t satisfied about this cliff, so I darkened it and using brush number 1, 3, 4 and 5 I added more details.
In this step I just added some orange on the border of the castle using a clipping mask and I painted on the left some dark lines with brush number 3 for blending more the castle.
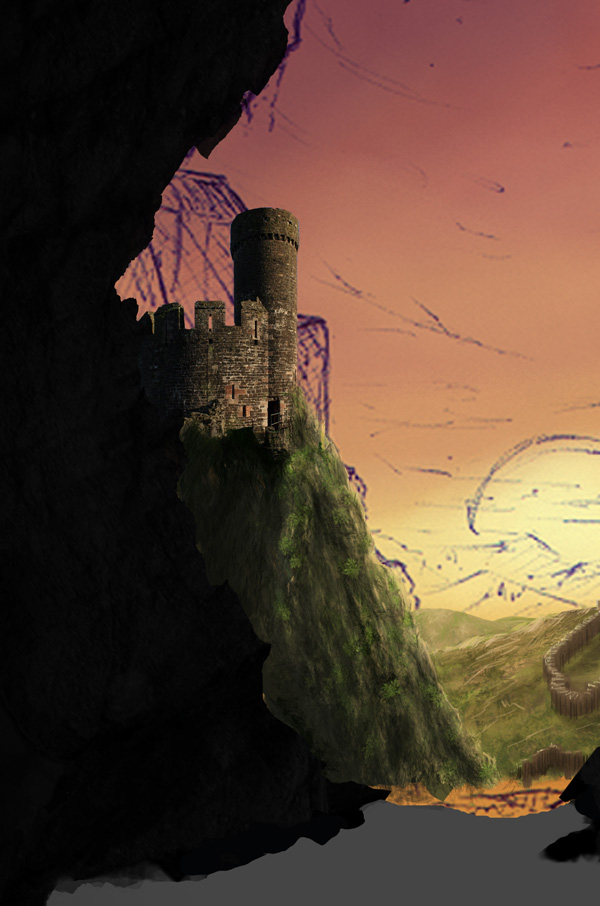
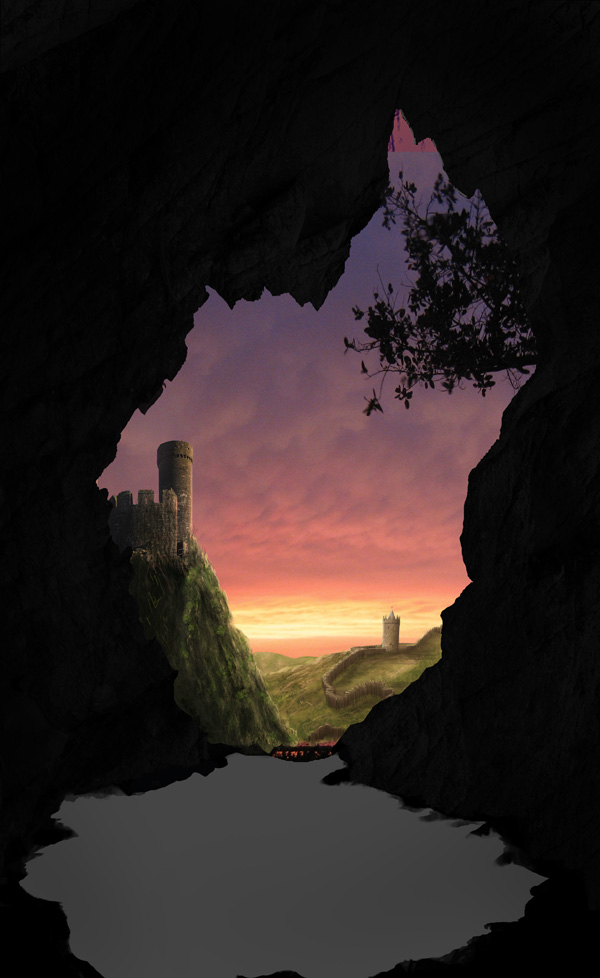
Step 6 – Sky
Searching on sxc.hu I found this very nice picture of a sunset. As you can see there is some tree foliage and the photo does not completely fill the piece. A quick and easy solution is to use the brush tool and a soft round brush (it’s a great brush for this kind of skies) and using the Eye Dropper Tool (I) to select the same colors of the sky. You can download a cloud brush as well and use that one instead, it’s not important. As always, what matters is the result. Also, if you’re using a more complex sky stock, try use the Clone Tool (S), with some practice you can get great results.
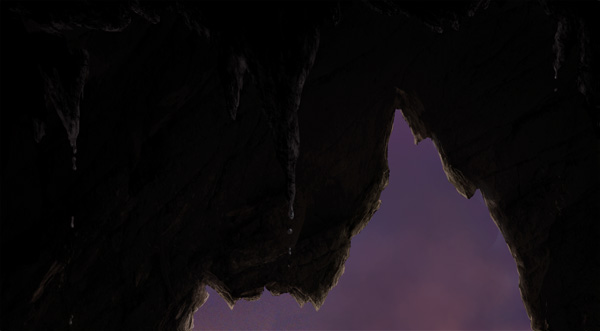
Step 7 – Cave
This is the step that is going to take you most of the time because you need to understand how to create volume in the cave, but once you do understand it, and you understand the technique used, you’ll do it in a few minutes.
Before painting on it, I downloaded a rock texture from CGTextures, I imported it into Photoshop, darkened it and clipped into the cave layer. Try to be as ordered as possible with layers, create groups and rename your layers, this way you can easily move through your PSD, create clipping masks and avoid any sort of annoying problems.
Using brushes number 3, 4 and 6 (mostly 6) and a light gray I painted on the borders of the cave the highlights of the rocks.

Take your time while painting. Trying to get a good effect may take you a while. Spend time trying to alternate those brushes, also use the eraser tool with number 6, this way you can get better texturing.

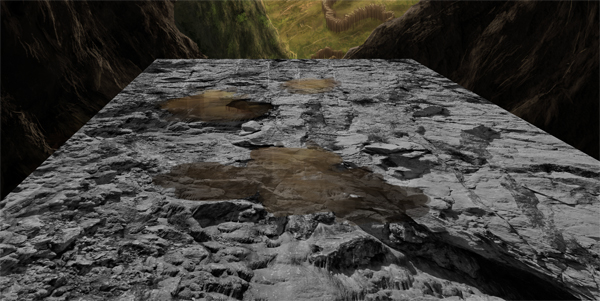
Step 8 – Cave’s Ground
Let’s go back at step number 3, when we created that layer for the ground. I created a clipping mask and I filled the layer with some ground. Using the Lasso Tool (L) I created the shapes of the puddles and I filled them using a lighter brown. Using a big hard round brush I painted the reflections of the ground into the water.
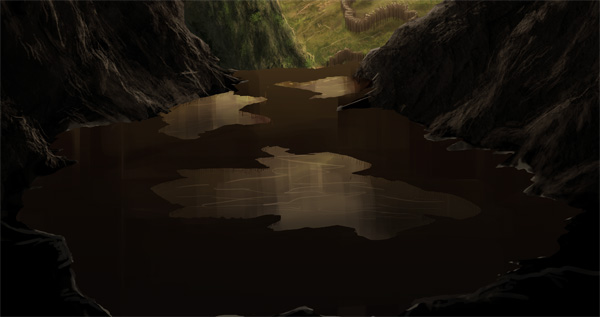
From CGTextures I downloaded another rock texture and using the perspective controls I manipulated the image in order to get the same perspective of our painted ground. I clipped this layer into the ground layer and set it to Overlay.
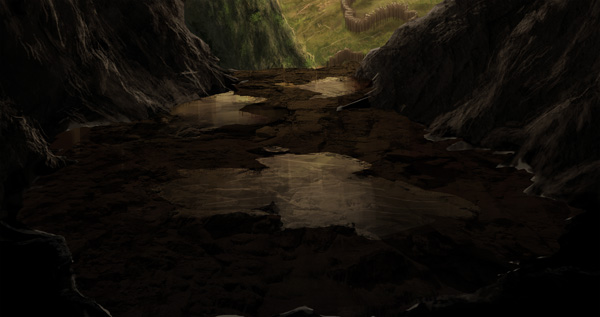
Using brush number 5 I painted some highlights and shadows on the ground in order to make it look more realistic.
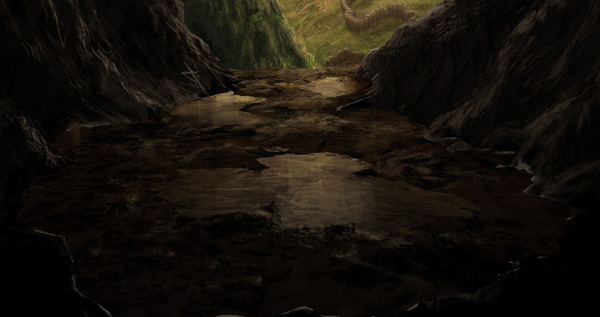
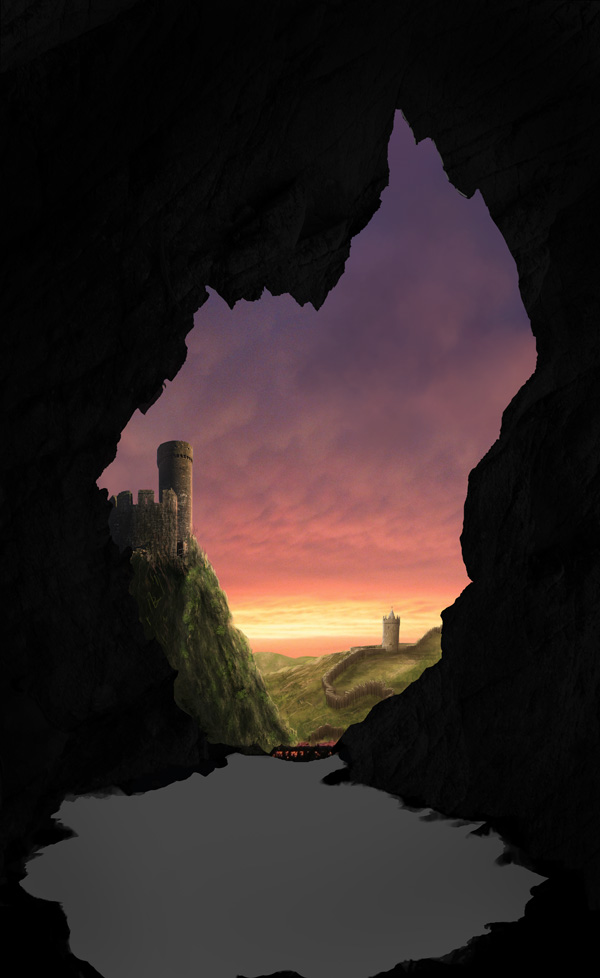
Step 8 – Stalactites
Our piece is completed, but as I always do, I like to add small particulars to the piece that can make it more interesting. This time I choose to paint some stalactites. I did it using the exact same technique of the cave, so New Layer > paint stalactites shapes > New Layer > Clipping Mask > dark gray and rock brushes (3-4-5-6).
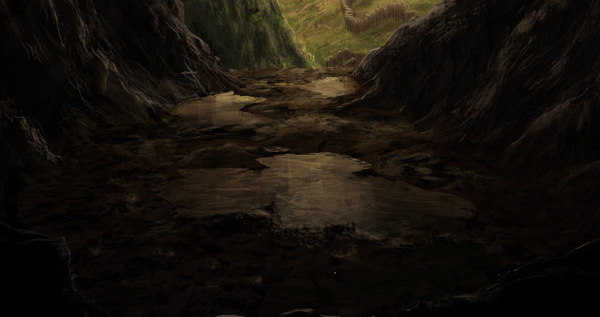
To add some more tiny particulars, I painted a couple of water drops falling from the stalactites using the hard round brush (number 1).
Final Image
Original Link: http://feedproxy.google.com/~r/psdtuts/~3/PhhRHI8mFq0/
TutsPlus - Design
More About this Source Visit TutsPlus - Design