
An Interest In:
Web News this Week
- March 31, 2024
- March 30, 2024
- March 29, 2024
- March 28, 2024
- March 27, 2024
- March 26, 2024
- March 25, 2024
Some of Our Sources
- Smashing Magazine
- Naldz Graphics
- Fudge Graphics
- Reencoded
- Specky Boy
- Freelance Switch
- Web Resource Source
- Willems Lab
- Daily Now
- Hashedout
Help Webnuz
Referal links:
Simplify SIP.jS security with short-lived tokens
Routr v2 has introduced Ephemeral Agents, eliminating the need to store sensitive credentials for WebRTC clients like SIP.js and using short-lived JWT tokens instead.
This tutorial will guide you through creating private and public keys and JWT tokens and configuring Routr to validate the tokens using the public key.
Requirements
Before you start this tutorial, you will need the following:
- Docker Engine installed on your computer or the cloud
- NodeJS 18+ (Use nvm if possible)
- Routr command-line tool (Install it with npm install -g @routr/ctl)
Creating a private and public key
To create a JWT token, you must first create a set of private and public keys. The private key is needed to sign the JWT token, and the public key is to verify the JWT token's signature.
You can create a private key using the following command:
mkdir -p voipnet/workcd voipnet/workopenssl genpkey -algorithm RSA -out private.key -pkeyopt rsa_keygen_bits:4096This command will create a new key named private.key. Keep this key safe, as it will be used to sign new JWT tokens.
With the private key in place, you can now create the public key with:
openssl rsa -in private.key -pubout -out public.keyThe previous command resulted in a new key named public.key, which is necessary to verify the claims in the JWT token.
Creating a JWT token
In this section, you will create a small NodeJS script using the private key to sign a JWT token.
Now that you have a pair of private and public keys, you can create a JWT token. To create a JWT token, first, initialize a new Node project with:
npm init -yThen, install the jsonwebtoken package as follows:
npm install jsonwebtokenNext, create a file named create-jwt.js with the following content:
Filename: voipnet/work/create-jwt.js
const fs = require("fs");const jwt = require("jsonwebtoken");const privateKey = fs.readFileSync("private.key");const fs = require("fs");const jwt = require("jsonwebtoken");const privateKey = fs.readFileSync("private.key");// Epheperal Agent's claimsconst payload = { ref: "agent-01", domainRef: "domain-01", aor: "sip:[email protected]", aorLink: "sip:[email protected]", domain: "sip.local", privacy: "NONE", allowedMethods: ["INVITE", "REGISTER"]};const signOptions = { expiresIn: "1h", algorithm: "RS256" };const token = jwt.sign(payload, privateKey, signOptions);console.log("Token: " + token);As you can see in the previous script, the JWT token assigns claims to the Ephemeral Agent. Incidentally, the claims are similar to the values used by Routr when configuring a regular agent.
Please note that while you can use an arbitrary
aor, thedomainRefanddomainclaims must match a domain in the server.
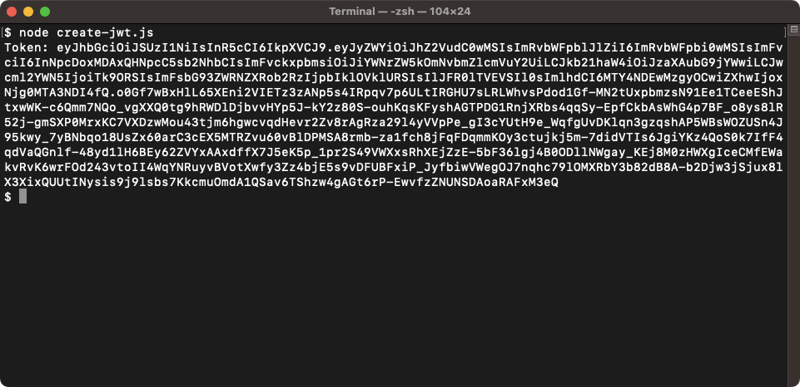
Finally, run the following script to generate a fresh JWT token:
node create-jwt.jsAfter running the previous script, you will get a JWT token with an output similar to this:
Deploying Routr with Docker
You will use Docker Compose for this setup. If you don't have Docker installed, download it from the official website. Once you have Docker, create a new file named compose.yaml with the following content:
Filename: voipnet/compose.yaml
version: "3"services: routr: image: fonoster/routr-one:latest environment: EXTERNAL_ADDRS: ${DOCKER_HOST_ADDRESS} CONNECT_VERIFIER_PUBLIC_KEY_PATH: /keys/public.key ports: - 51908:51908 - 5062:5062 volumes: # Makes sure that the data survives container restars - shared:/var/lib/postgresql/data - ./work/public.key:/keys/public.key simplephone: image: psanders/simplephone:latest ports: - 8080:8080volumes: shared:# NOTE: Be sure to update the IP addressDOCKER_HOST_ADDRESS=192.168.1.7 docker compose upYou are all set and need a few seconds for the containers to initialize.
Create a new Domain in Routr
You will need to create a new Domain using the Routr command-line tool. Issue the following command and follow the prompt:
rctl domains create --insecureNotice the --insecure flag, which is required since we don't have a TLS certificate.
The output of your command will look similar to the output below:
Press ^C at any time to quit. Warning: Egress rules unavailable due to 0 configured numbers.? Friendly Name Local Domain? SIP URI sip.local? IP Access Control List None? Ready? YesCreating Domain Local Domain... 3b20410a-3c80-4f66-b7b3-58f65ff65352You might verify the Domain's configuration by running the following command:
rctl domains get --insecure --extendedRegistering a SIP.js client using the JWT token
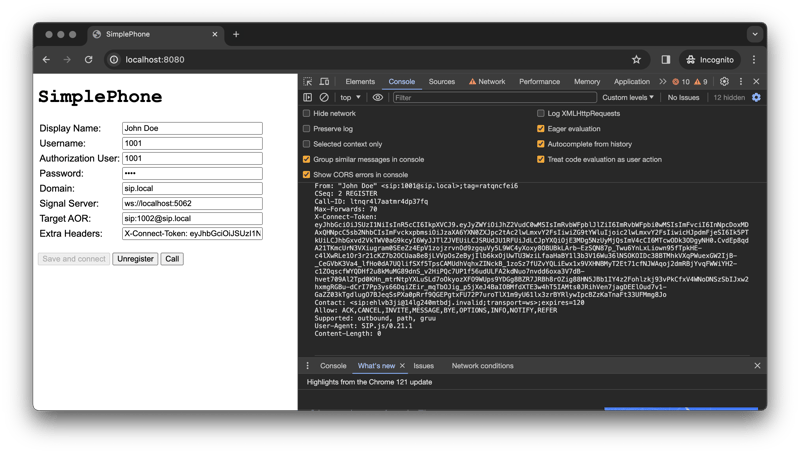
Finally, configure your WebRTC client to use the claims and the JWT token to register to the server by adding the X-Connect-Token with the value of the token we created previously.
Here is an example of a SIP.js client using the new JWT token to register to Routr:
What's next?
This tutorial taught you how to use Ephemeral Agents to secure SIP.js clients. You created a JWT token and used it to register a SIP.js client to a Routr server. You also learned how to create private and public keys and deploy Routr with Docker.
Please comment if you find this tutorial helpful, and check out the following related tutorials:
Original Link: https://dev.to/psanders/simplify-sipjs-security-with-short-lived-tokens-mb8
Dev To
More About this Source Visit Dev To