
An Interest In:
Web News this Week
- April 3, 2024
- April 2, 2024
- April 1, 2024
- March 31, 2024
- March 30, 2024
- March 29, 2024
- March 28, 2024
Some of Our Sources
- Engadget
- Team Treehouse
- The Logo Smith
- Smashing Magazine
- FanExtra - PSD
- 24 Ways
- Web Resource Source
- Daily Now
- Hashedout
- The Verge
Help Webnuz
Referal links:
Build a Simple HTML Email Landing Page From Scratch, an Update of My Previous Version Here With Code
Practice makes it perfect, if you deny yourself and give it time to dive into my article, at the end of everything you will realize making an Email Template is something as easy as a piece of a cake.
The HTML Email Template Were Building
Heres the HTML email well be building, feel free to fork the pen and use it yourself. Bear in mind that when were viewing this template through a web browser were much less likely to run into problems than with email clients.

The sooner you stop fighting the quirks of email, the sooner you can use them to your advantage. Caity G. O'Connor
1. Start Your HTML Email Document
To begin with, its worth mentioning where I pulled some of the resources from.
The lovely 2D icons are by Justicon on Envato Elements
The social media icons are from Metrize Icons
Now, as we discussed in the previous tutorial, youll need to begin your HTML email template with an HTML doctype, and the correct language for your subscribers. In this case we are going to use the HTML5 doctype, set our language to English with , and also include the XML and Microsoft Office namespaces (the xmlns bits). We are going to need these a few lines down, as I'll explain.
<!DOCTYPE html><html lang="en" xmlns="http://www.w3.org/1999/xhtml" xmlns:o="urn:schemas-microsoft-com:office:office"><head> <meta charset="UTF-8"> <meta name="viewport" content="width=device-width,initial-scale=1"> <meta name="x-apple-disable-message-reformatting"> <title></title> <!--[if mso]> <noscript> <xml> <o:OfficeDocumentSettings> <o:PixelsPerInch>96</o:PixelsPerInch> </o:OfficeDocumentSettings> </xml> </noscript> <![endif]--> <style> table, td, div, h1, p {font-family: Arial, sans-serif;} table, td {border:2px solid #000000 !important;} </style></head></html>There are quite a few things in the code above, but it's the bare minimum you need to ensure your final email renders beautifully everywhere.
Firstly, we have a few meta tags to ensure the right text encoding, viewport scaling across different mobile devices, and one to stop Apple from adjusting the size in a strange way in their mail apps.
Underneath the
tag you'll see some code between <!--[if mso]> and <![endif]-->. Placing code inside those two tags means that only Microsoft Outlook on Windows will apply it (mso = 'Microsoft Outlook'). And in there, we have a small amount of XML that will ensure that PNG images display at the right size in Outlook on Windows. The xlmns settings that we put in the html tag ensures this code gets interpreted properly.Underneath that, we have a style tag with just a couple of CSS rules. The first sets the font for all our main elements, and this is for the benefit of Gmail webmail, which will override our font settings unless we include this. If you end up changing your fonts later, be sure to make the change here too.
Finally, we are including table, td {border:2px solid #000000 !important;} which will draw a border on everything. This is purely so that we can see what we are doing as we build, and we'll remove it at the end.
With that sorted, we can commence building the rest of the structure.
2. Lets Create the Body and Main Table
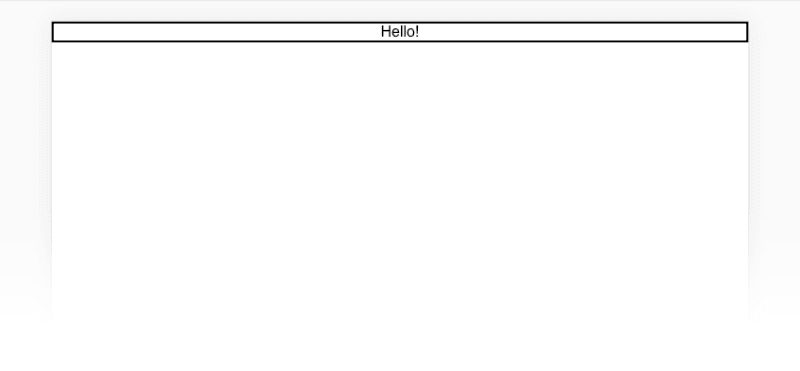
<body style="margin:0;padding:0;"> <table role="presentation" style="width:100%;border-collapse:collapse;border:0;border-spacing:0;background:#ffffff;"> <tr> <td align="center" style="padding:0;"> Hello! </td> </tr> </table></body>You can see the margin and padding on the body tag are set to zero to avoid any unexpected space.
Weve also added a table with a width of 100%. This acts as a true body tag for our email, because the body tag is sometimes removed by email clients. Apply any 'body' background colour that you want to this table tag.
All our tables will be set to role="presentation". This makes them more accessible, as it tells screen readers to treat it as a visual table, not a data table.
We have set border-collapse to collapse, and both border and border-spacing to zero to avoid any unexpected space in the table.
You'll notice we are using
Finally, make sure you always set the padding on your table cells to zero in the inline styles, e.g.
A Note on Using CSS Padding Shorthand
When using CSS padding on table cells, you can reliably write it three ways. Either specify one value, e.g. padding:20px which will apply 20 pixels of padding to every side of your cell (top, right, bottom and left), or specify padding in pairs, i.e. padding: 10px 20px, which will add 10 pixels padding to both top and bottom, plus 20 pixels to both left and right. If neither of those are suitable, you should declare every side, i.e. padding: 10px 10px 0 5px. In all cases you must set each value, even if some of them are zero. Additionally, only specifying three values can have unpredictable results across email clients.
Padding works reliably on table cells in all email clients, but if you are having trouble with padding, there is no need to resort to spacer GIFs. In a pinch you can use spacer divs or spacer cells. Just include a non-breaking space character () inside, set a matching height and line height, and be sure to include mso-line-height-rule:exactly which will ensure Microsoft Outlook for Windows renders it at the pixel-perfect size. (If you are creating horizontal space, you need to specify a width instead of height, and may need to also add font-size:0;.) Here is an example or a spacer cell inside a row:
<tr><td style="line-height:10px;height:10px;mso-line-height-rule:exactly;"> </td></tr>And here is a spacer div:
<div style="line-height:10px;height:10px;mso-line-height-rule:exactly;"> </div>Adding the Main Table
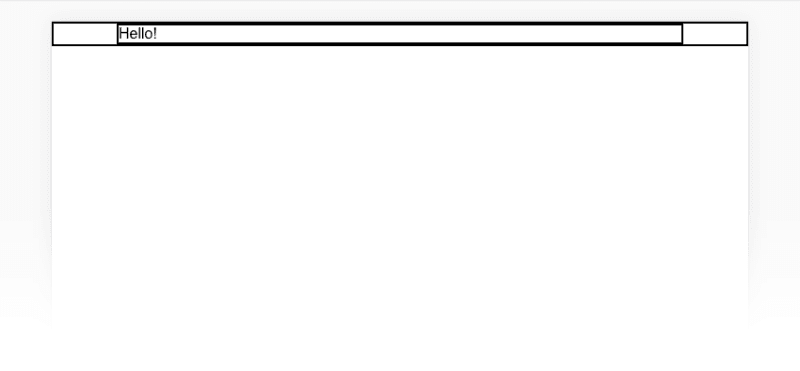
Now let's place a table of 602 pixels wide inside the container table.
600 pixels is a safe maximum width for your emails to display comfortably within most desktop and webmail clients on most screen resolutions, and we're adding 2 pixels so we can have a 1 pixel border around the outside, which adds a pixel on either side.
Well replace our little Hello! greeting with this table.
<table role="presentation" style="width:602px;border-collapse:collapse;border:1px solid #cccccc;border-spacing:0;text-align:left;"> <tr> <td style="padding:0;"> Hello! </td> </tr></table>Great! Now we have our outer table, and our main content table sitting inside, ready for some rows of content.
3. Create the HTML Email Template Structure and Header
In our email design we can see that the layout is divided into a few logical sections, so well create a row for each.
Lets duplicate the single row in the last table we added so that we have three in total, by copying everything between (and including) the
I've changed the 'Hello!' text to read Row 1, Row 2 and Row 3 so it should now look like this:
<table role="presentation" style="width:602px;border-collapse:collapse;border:1px solid #cccccc;border-spacing:0;text-align:left;"> <tr> <td style="padding:0;"> Row 1 </td> </tr> <tr> <td style="padding:0;"> Row 2 </td> </tr> <tr> <td style="padding:0;"> Row 3 </td> </tr></table>
Now well colour them according to the design by adding a background CSS property to the style tag. Always remember to use the full six characters of a hexadecimal code like #ffffff, as three character shorthand like #fff wont always work in all email clients.
<table role="presentation" style="width:602px;border-collapse:collapse;border:1px solid #cccccc;border-spacing:0;text-align:left;"> <tr> <td style="padding:0;background:#70bbd9;"> Row 1 </td> </tr> <tr> <td style="padding:0;"> Row 2 </td> </tr> <tr> <td style="padding:0;background:#ee4c50;"> Row 3 </td> </tr></table>
Ok, next up in our email design were going to focus on Row 1. On the cell, let's change the padding from 0 to 40px 0 30px 0. Then inside the cell well insert our image:
<td align="center" style="padding:40px 0 30px 0;background:#70bbd9;"> <img src="images/h1.png" alt="" width="300" style="height:auto;display:block;" /></td>Always specify the width of your images using the HTML width attribute rather than CSS, e.g. width="300" as seen above, rather than style="width:300px;". If you don't, Microsoft Outlook for Windows will display your image at its physical size.
We have also set the image height to auto to avoid any squishing, and display to block, which prevents gaps from appearing underneath it in some email clients.
Finally, if your image contains important information that isn't mentioned in your email's text, be sure to add a description of it to the alt tag so that it will be announced by screen readers to those using them.
Note: Images don't always load and alt text isnt always visually displayed as a fallback, so any crucial information should always be included as live text in your email rather than being embedded in an image.
And thats our HTML header done!

4. Lets Dive Into Content Area
Moving on from the header, lets now concentrate on our HTML emails content area. First off, well add some padding to the Row 2s cell so that the table inside has some space around it, as per our design, so that it now looks like this:
<tr> <td style="padding:36px 30px 42px 30px;"> Row 2 </td></tr>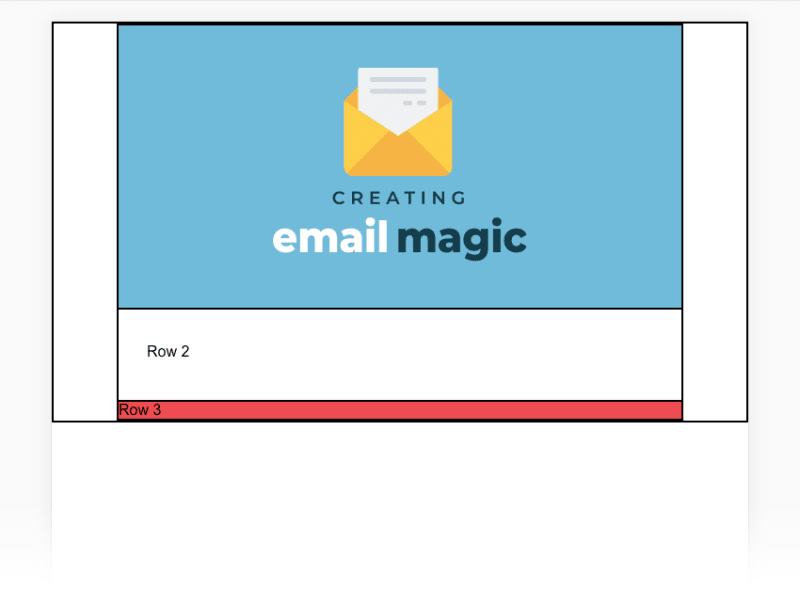
Added padding to the middle cell
Now well replace the Row 2 text with another table to nest our main content inside. When building HTML email using tables, we need to nest them because colspan and rowspan are not widely supported across email clients.
<table role="presentation" style="width:100%;border-collapse:collapse;border:0;border-spacing:0;"> <tr> <td style="padding:0;"> Row 1 </td> </tr> <tr> <td style="padding:0;"> Row 2 </td> </tr></table>Weve set the width of this table to 100%. Its good practice to use percentage widths rather than using a pixel value wherever possible because this will help you further down the track if you want to make your email responsive, or even if you simply need to adjust the width of your email later on. Percentage widths will automatically adapt to a new container size, whereas pixel widths would all need to be individually updated.

Two nested rows for our main contentNow well add our content to the top row, which is a heading, a paragraph of text, and a final paragraph with a link inside. At this stage, we arent adding any styling at all to these elements.
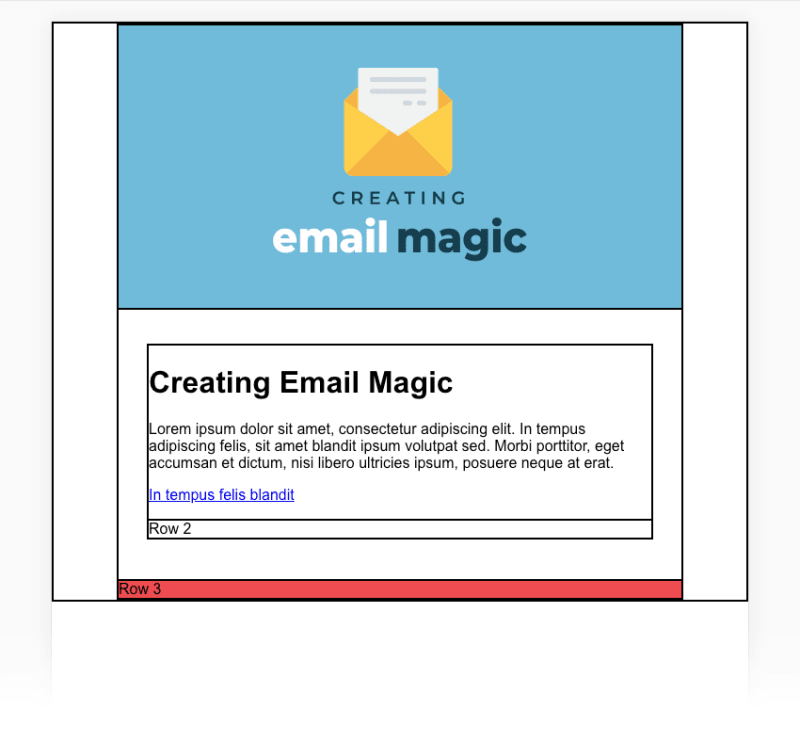
Replace the 'Row 1' text with the following:
<h1>Creating Email Magic</h1><p>Lorem ipsum dolor sit amet, consectetur adipiscing elit. In tempus adipiscing felis, sit amet blandit ipsum volutpat sed. Morbi porttitor, eget accumsan et dictum, nisi libero ultricies ipsum, posuere neque at erat.</p><p><a href="http://www.example.com">In tempus felis blandit</a></p>Next were going to add our two columns of content to Row 2. Because we want a gap in between these two cells, well create a three-column table with an empty cell between the two outer columns. There are a few ways to create this layout, but this one is the most reliable for our purposes.
As much as I like to stick to percentages, when you have content that is a specific size, it can be tricky to convert it to a percentage (in this example, the columns would be 48.1% which could become confusing). For this reason, since our two images are 260px wide, well create columns that are also 260px wide, with a 20px margin cell in the middle. (This will total 540px, which is the 600px width of our table minus the padding of 30px on either side.) Be sure to zero your font-size and line-height and add a non-breaking space character in the middle cell.
Well also set the vertical-align to top for both cells so that they will vertically align to the top, even if one column has more text than the other. The default vertical alignment is middle.
Replace 'Row 2' with this table:
<table role="presentation" style="width:100%;border-collapse:collapse;border:0;border-spacing:0;"> <tr> <td style="width:260px;padding:0;vertical-align:top;"> Column 1 </td> <td style="width:20px;padding:0;font-size:0;line-height:0;"> </td> <td style="width:260px;padding:0;vertical-align:top;"> Column 2 </td> </tr></table>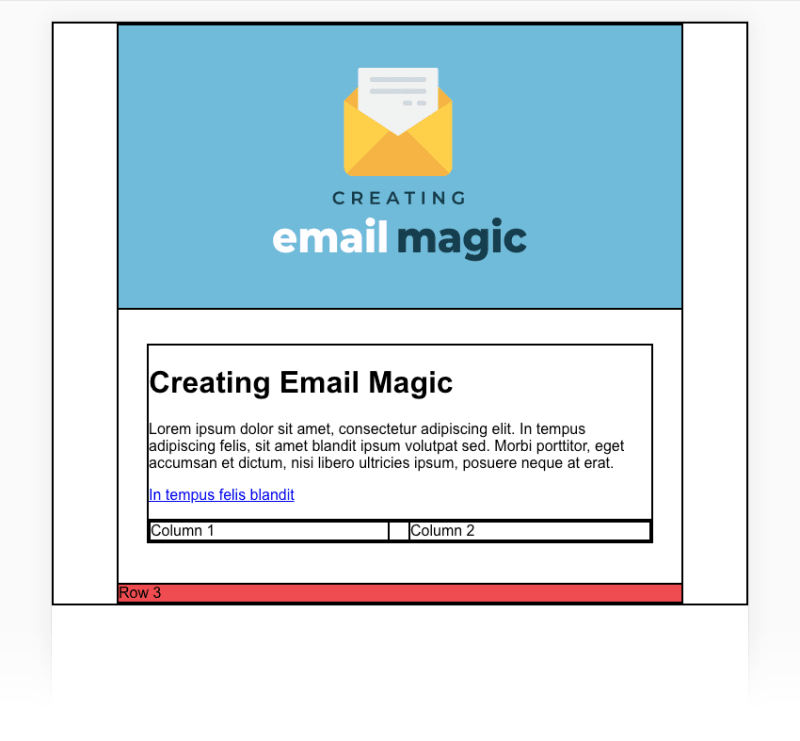
Now lets add our images and content to those columns. Margins are very well supported on
tags across all email clients, so we will wrap our text and images in
tags and adjust the spacing between them using margin later when we add all our text styling.
Lets add content to Columns 1 and 2 so that the whole table now looks like this:
<table role="presentation" style="width:100%;border-collapse:collapse;border:0;border-spacing:0;"> <tr> <td style="width:260px;padding:0;vertical-align:top;"> <p><img src="images/left.gif" alt="" width="260" style="height:auto;display:block;" /></p> <p>Lorem ipsum dolor sit amet, consectetur adipiscing elit. In tempus adipiscing felis, sit amet blandit ipsum volutpat sed. Morbi porttitor, eget accumsan dictum, est nisi libero ultricies ipsum, in posuere mauris neque at erat.</p> <p><a href="http://www.example.com">Blandit ipsum volutpat sed</a></p> </td> <td style="width:20px;padding:0;font-size:0;line-height:0;"> </td> <td style="width:260px;padding:0;vertical-align:top;"> <p><img src="images/right.gif" alt="" width="260" style="height:auto;display:block;" /></p> <p>Morbi porttitor, eget est accumsan dictum, nisi libero ultricies ipsum, in posuere mauris neque at erat. Lorem ipsum dolor sit amet, consectetur adipiscing elit. In tempus adipiscing felis, sit amet blandit ipsum volutpat sed.</p> <p><a href="http://www.example.com">In tempus felis blandit</a></p> </td> </tr></table>Here weve set the width of the images using the HTML width attribute again, just like we did when we inserted the header image.

5. Style the Email Template Footer
Now well add our padding to the footer row.
<tr> <td style="padding:30px;background:#ee4c50;"> Row 3 </td></tr>
Inside that cell, well replace the Row 3 text with another table to get two columns, each 50% wide, with the left set to align="left" and right to align="right" so that the content in each will be pinned to those sides and give us a balanced email design.
<table role="presentation" style="width:100%;border-collapse:collapse;border:0;border-spacing:0;"> <tr> <td style="padding:0;width:50%;" align="left"> Left Column </td> <td style="padding:0;width:50%;" align="right"> Right Column </td> </tr></table>
Two columns for the footer
Replace 'Left Column' with a paragraph of text:
<p>® Someone, Somewhere 2021<br/><a href="http://www.example.com">Unsubscribe</a></p>Well create another little table for our social media icons, as it's the best way to get the most precise spacing that renders properly everywhere. Replace the 'Right Column' text with the table below.
You'll notice we aren't specifying a table width, and this is so that the width of the table will be determined by the cells within. They are each 38px wide (the width of our icons) plus 10px padding on the left.
<table role="presentation" style="border-collapse:collapse;border:0;border-spacing:0;"> <tr> <td style="padding:0 0 0 10px;width:38px;"> <a href="http://www.twitter.com/"><img src="images/tw.png" alt="Twitter" width="38" style="height:auto;display:block;border:0;" /></a> </td> <td style="padding:0 0 0 10px;width:38px;"> <a href="http://www.facebook.com/"><img src="images/fb.png" alt="Facebook" width="38" style="height:auto;display:block;border:0;" /></a> </td> </tr></table>
And there we have it; our HTML email template layout is complete!
6. Style the Text
Styling the text within our HTML email template is a really important step. First, let's look at the top row of content with our h1 and introductory text.
Important Note when using Paragraph and Heading Tags
When using paragraph and heading tags (p, h1, h2, etc.) you must specify your top and bottom margin settings, otherwise each email client will apply their own wildly different default margins to these elements. You also need to make sure your top and bottom margins are set to zero if you don't want any at all, in which case you would set your heading to margin:0;. If you only want a bottom margin, you should still set the top margin to zero, e.g. margin:0 0 10px 0;.
With that in mind, we'll set our desired margins on all our tags, and we also want to set the text color to be #153643, which we can apply to the cell, as everything inside will inherit that color. After these changes, the whole cell looks like this:
When using paragraph and heading tags (p, h1, h2, etc.) you must specify your top and bottom margin settings, otherwise each email client will apply their own wildly different default margins to these elements. You also need to make sure your top and bottom margins are set to zero if you don't want any at all, in which case you would set your heading to margin:0;. If you only want a bottom margin, you should still set the top margin to zero, e.g. margin:0 0 10px 0;. With that in mind, we'll set our desired margins on all our tags, and we also want to set the text color to be #153643, which we can apply to the cell, as everything inside will inherit that color. After these changes, the whole cell looks like this:You'll notice above that we have also set the font-family on every individual h1 and p element, and you might be wondering why we can't just set this on the body or table tag. This is because some webmail clients will override your font if you don't set them inline on each paragraph or heading element. There are other considerations and approaches to this issue, but for simplicity's sake and to ensure our email renders perfectly everywhere at this stage, we will set it inline on each element.
Now, moving down to our two-column area, add the color to each of the 260px wide cells so that they both look like this:<td style="width:260px;padding:0;vertical-align:top;color:#153643;">
As above, we'll add some text styling and margins to our paragraphs and links, and set a base font size to the entire table. All together, the table now looks like this:
As above, we'll add some text styling and margins to our paragraphs and links, and set a base font size to the entire table. All together, the table now looks like this:Finally, we'll style the footer. Firstly, we'll add some font styling to the main footer table, inside our red footer cell with the 30px padding, so that it now reads:
<td style="padding:30px;background:#ee4c50;"> <table role="presentation" style="width:100%;border-collapse:collapse;border:0;border-spacing:0;font-size:9px;font-family:Arial,sans-serif;">In the left column of this table, we can update our paragraph and link to include style and color:
<p style="margin:0;font-size:14px;line-height:16px;font-family:Arial,sans-serif;color:#ffffff;"> ® Someone, Somewhere 2021<br/><a href="http://www.example.com" style="color:#ffffff;text-decoration:underline;">Unsubscribe</a></p>And on our social media icons, we'll style each link to be white, so that if the images don't load, any alt text will be visible on the red background. Adjust each link so that they look like this:
<a href="http://www.twitter.com/" style="color:#ffffff;">
as well as:
<a href="http://www.facebook.com/" style="color:#ffffff;">

And there we have it! Everything is in.
7. Run Some Tests
At this point, it's a good idea to run your HTML code through an email testing service like Litmus, or Email on Acid. Leaving the borders on all the tables and cells can be helpful to see what's happening in each email client. (Depending on how you are testing your email, you might need to remotely host your images first, and insert the full remote URLs for each image into your code. Refer to your testing service's website to learn how to test your HTML.)
Here are some of my test results from Email on Acid:

Now it's time to turn off the borders and see the email design looking beautiful. In the style tag in the head, remove the line that reads:table, td {border:2px solid #000000 !important;}

And thats it!
Youve Created a Simple HTML Email!
Before we call it a day, if you have used any comments in your CSS in the head of your file for any reason, get rid of them. Some email clients can choke on CSS comments so its wisest not to include them.
Now is a good time to do a final test with Litmus, or Email on Acid, and then your HTML email is ready to send!

Learn more on HTML email on my previous article
Original Link: https://dev.to/nickson2511/build-a-simple-html-email-landing-page-from-scratch-an-update-of-my-previous-version-here-with-code-589k
Dev To
More About this Source Visit Dev To