
An Interest In:
Web News this Week
- April 2, 2024
- April 1, 2024
- March 31, 2024
- March 30, 2024
- March 29, 2024
- March 28, 2024
- March 27, 2024
Some of Our Sources
- Mashable
- Smashing Apps
- You The Designer
- Naldz Graphics
- Crazy Leaf Design
- Wal You
- CSS Tricks
- Freelance Switch
- Web Resource Source
- TechPowerUp
Help Webnuz
Referal links:
Deploy Azure DevOps Self-Hosted Build Agents on Kubernetes (AKS) and scale them using KEDA
Overview
KEDA is an event driven autoscaler for Kubernetes that allows you to scale containers based on events.
It is a lightweight single purpose component that can be added to any Kubernetes cluster. Keda can also work alongside the Kubernetes horizontal autoscaler.
The diagram below (taken from the Keda docs) shows how Keda integrates with the horizontal pod autoscalers, external events and the Kubernetes API:

More information on Keda can be found in the official docs
In this tutorial will be going over how you can use deploy self-hosted build agents on to an Azure Kubernetes Cluster and scale them using KEDA based on the number of jobs in a build queue.
All of the code for this project can be found on my Github page here
Tools Required
We will be using the following tools so make sure you have them installed on your local machine.
- Helm (Kubernetes Package Manager) - Install Guide
- Azure CLI - Install Guide
- Kubernetes Command Line - Install Guide
- Terraform (Infrastructure as Code) - Install Guide
- Docker Desktop - Install Guide
Deploy Azure resourcse
Before we get started we need to deploy the Azure components that will host our solution. These are the following:
- Azure Resource Group
- AKS Cluster
- Container Registry
The Kubernetes cluster will be basic with a single pool and single virtual machine. No advanced networking will be used for the purposes of proving the concept.
We will be deploying this through Terraform which is an infrastructure as code deployment tool. The Terraform deployment file can be found in my Git repository here.
Step 1: Fork the repository and create a local clone on your machine
Step 2: Navigate to the folder that contains the main.tf file and run:
Terraform Init 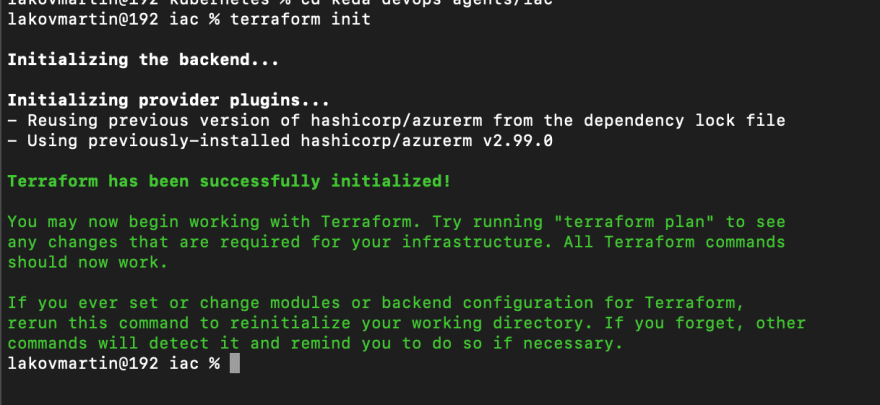
This will initialise Terraform and create the local state file.
Step 3: Now we are going to run Terraform plan which will list the resources that will be deployed. It should be 4 in total as listed above (1 resource is a role assignment to link AKS to ACR).
Terraform Plan 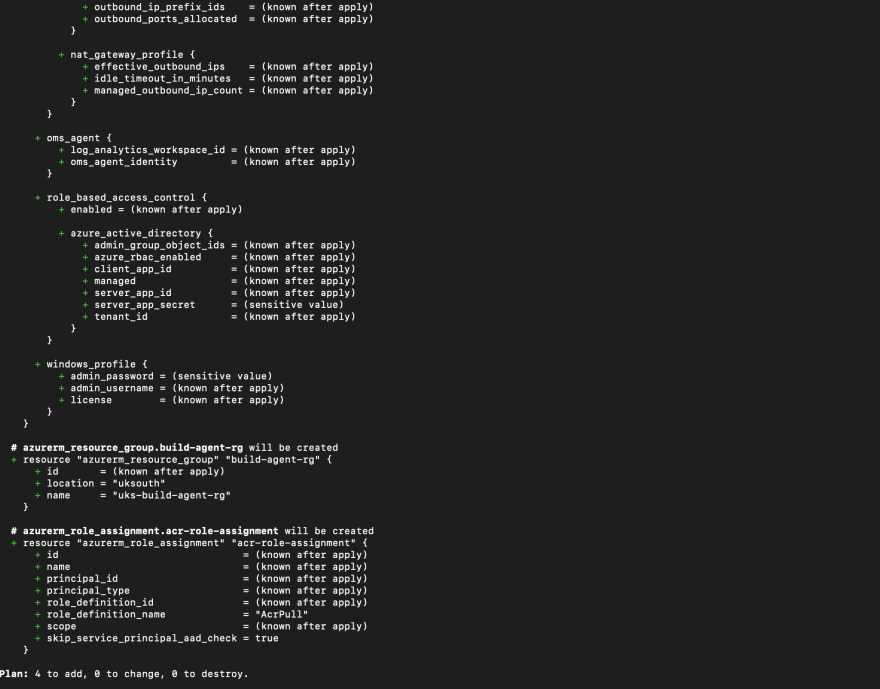
Step 4: Once we are happy with what Terraform is going to deploy we can run the apply stage which will deploy the resources into Azure.
Terraform Apply 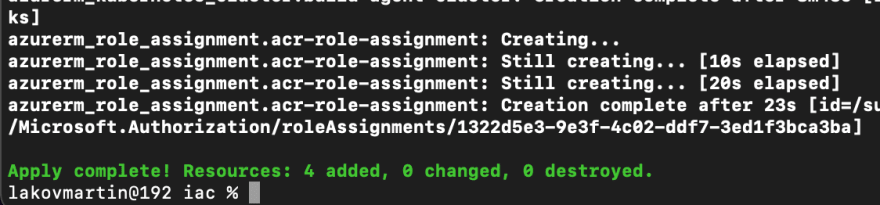
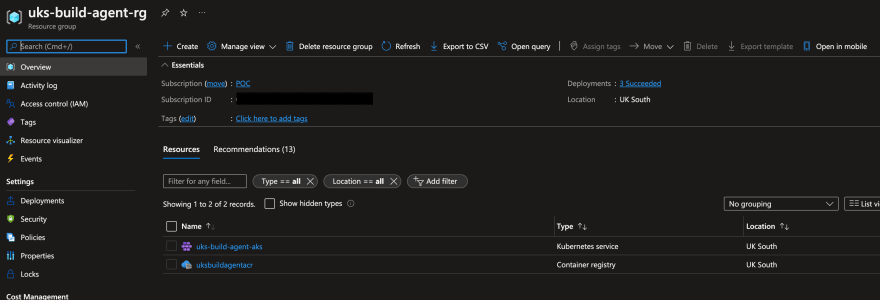
You should now see the resources in the Azure portal:
Build the docker images
Next we need to build the Docker image for the Azure DevOps self-hosted agents. Microsoft have documented this quite for Docker here. I have modified the image slightly to include PowerShell and we are using run.sh rather than docker in the start.sh script as ContainerD is the new container runtime in AKS version 1.19 and higher. You can re-use my images for these next steps from my Github repo.
Step 1: Start up docker Desktop
Step 2: Navigate to the repository you cloned earlier and navigate to the folder that contains the docker image.
Step 3: Let's build the image and tag it:
Docker build -f <docker-image-path> -t <tag> You can test the image by running the container locally which will register it in DevOps. Just supply the environment variables.
docker run -e AZP_URL= -e AZP_TOKEN= -e AZP_AGENT_NAME= -e AZP_POOL= <image>Step 4: Let's login to the Azure Container Registry.
Docker login <login-server> -u <username> -p <password>You can get the above parameters from the container registry in the portal:

Step 5: Let's push the image to the Azure Container Registry
Docker push <imagename:tag>The image should now be in the container registry which allow the containers running the agents to pull it.
Install KEDA on to the AKS cluster
KEDA runs in a container on the Kubernetes cluster and it's not built in so we need to install it. The KEDA pod handled all of the event driven scaling. We are going to use Helm to the install however you can apply the manifests directly.
Make sure you are authenticated to thee AKS cluster before running these next steps.
Step 1: Add the helm repo
helm repo add kedacore https://kedacore.github.io/chartsStep 2: Update the helm repo
helm repo updateStep 3: Create a new namespace and install the KEDA helm chart
kubectl create namespace kedahelm install keda kedacore/keda --namespace keda
You should now see the KEDA pods running in the keda namespace:

We are now ready to start using KEDA for scaling our containers.
Deploying the agents
Set up a new Agent Pool in Azure DevOps
Before we apply the Kubernetes manifests we need to set up a new agent pool in DevOps.

Step 1: Set up a self hosted pool on the organisation level. Take a note of the pool id. This can be found in the URL when you select the pool:
https://dev.azure.com/organisation/_settings/agentpools?poolId=16&view=jobs
In this case it's 16.
Step 2: You will also need to generate a PAT token with Agent Pools read & manage permissions.
Step 3: You will need to encode the token to Base64. You can do this either through Bash or through this website.
Apply the manifests
Because we are going to be using scaling jobs, we cannot specify idle agents. This creates a problem as you can't queue an Azure pipelines job on an empty agent pool so a workaround is to deploy a static agent and turn it offline.
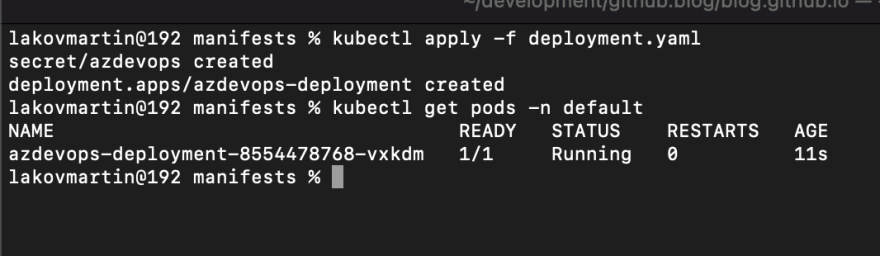
Apply the deployment.yaml from the cloned repository by running:
kubectl apply -f ./deployment.yamlMake sure you replace the variables in the YAML for the agent pool name, organisation URL, image and PAT token. See examples below:
image: - .azurecr.io/:
AZP_URL - https://dev.azure.com/
AZP_TOKEN - Base64 encoded token that we created earlier.
AZP_POOL - Name of the self-hosted agent pool in Azure DevOps
Once you have applied the manifest you should see the pod running in the default namespace:
We can now see the agent running in DevOps:

Disable the agent and leave it running.
Apply the KEDA Scale Job Manifest
The final step is to apply the scaled job object through our keda-scaled-jobs.yaml manifest. You will need to replace the values for the image, organisation, pool, token, and pool ID.
kubectl apply -f ./keda-scaled-jobs.yaml
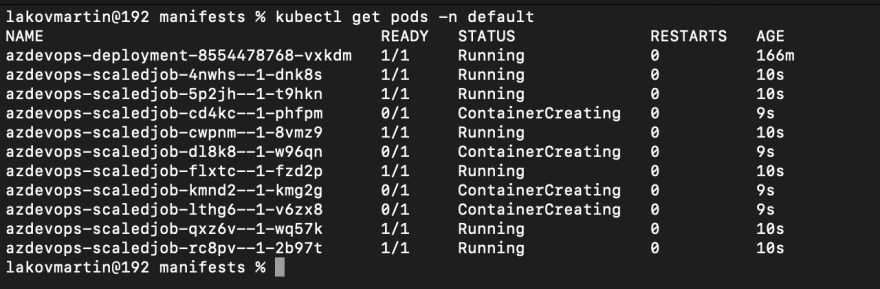
Now that we have applied the scale object, KEDA will be listening to the build queue every 10 seconds. Let's run some jobs and see the scaling in action:
Pods are spinning up:
Agents are coming online:
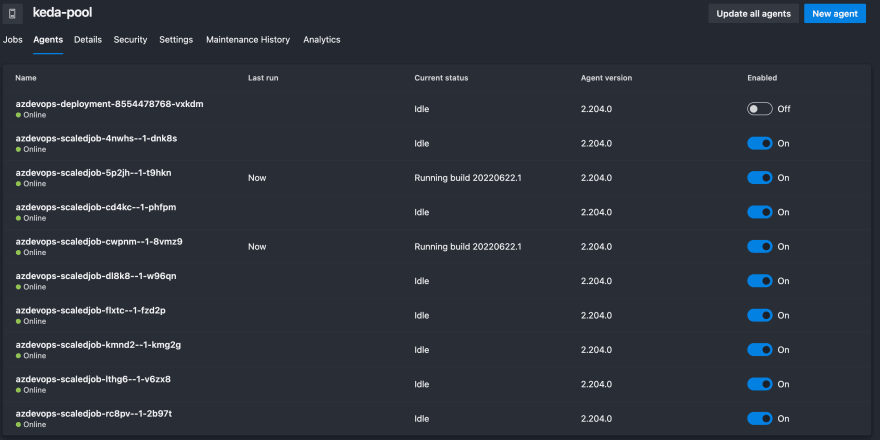
We have now configured our self-hosted agents to run in Docker using Kubernetes as the orchestrator and KEDA as the scaling engine!
You can customise KEDA on how often it monitors the job queue, maximum number of replicas and more.
Original Link: https://dev.to/lakkimartin/deploy-azure-devops-self-hosted-build-agents-on-kubernetes-aks-and-scale-them-using-keda-dkc
Dev To
More About this Source Visit Dev To