
An Interest In:
Web News this Week
- April 1, 2024
- March 31, 2024
- March 30, 2024
- March 29, 2024
- March 28, 2024
- March 27, 2024
- March 26, 2024
Some of Our Sources
- Engadget
- Six Revisions
- Web Designer Depot
- FanExtra - PSD
- Fudge Graphics
- 24 Ways
- Stylized Web
- Design Modo
- Dev To
- TechPowerUp
Help Webnuz
Referal links:
Shipping Jamstack like a hero - beware, it's cool
So you love React, Angular, Vue, Gatsby and other Jamstack frameworks ? Hooray, I do too
But.... we've all had these issues:
- How do I deploy ? With Netlify, Docker, or a good old HTTP server ?
- When I need to change my API URL... I have to rebuild and re-deploy
- When I need to preview a small change... re-deploying takes forever
- Managing SSL certificates is a pain. It should be automatic when I ship a new site
The solution: Meli, a self-hosted platform built on top of the well-known Caddy Server. Out of the box, you get automatic HTTPs, zero-downtime, and heavy-duty performance.
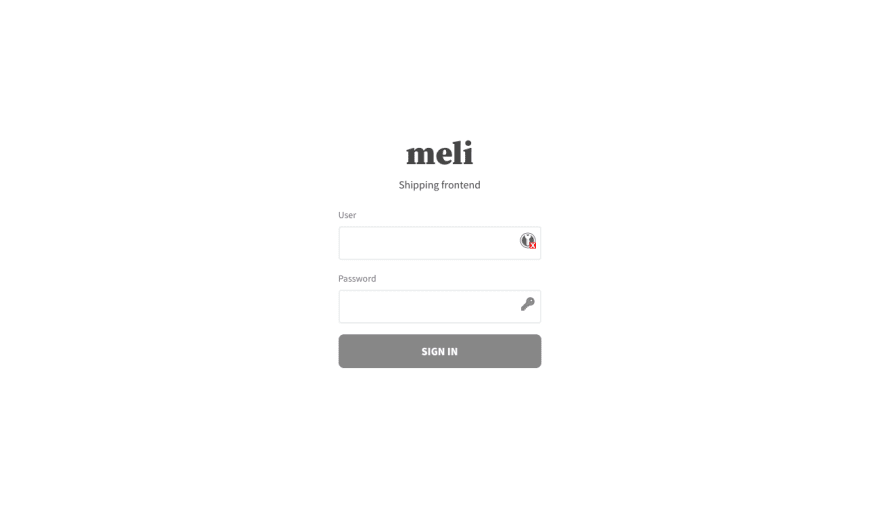
I've installed Meli on my VPS, so I'll skip this part which takes about 2 minutes with Docker Compose, but checkout the docs for instructions. From here, I'll assume you've installed Meli at https://meli.company.com.
Deploying a site to Meli
Let's start with a very simple site, dist/index.html
<!doctype html><html lang="en"><head> <title>Meli example Vue.js app</title></head><body>Hello !</body></html>Once logged in to your Meli instance:
- create a site named
hello
- get your site ID

- get your upload token

- upload your site
npx @getmeli/cli upload \ ./dist \ --url http://localhost:80 \ --site "8f30f74f-4b63-4dc3-b8dc-788ca43740a8" \ --token <site-token> \ --branch "latest"Your site is now available at https://hello.meli.company.com

Serve your site at https://hello.com
Okay, I'll agree, https://hello.meli.company.com isn't really sexy. We want our awesome site to be served at https://hello.com. To do this:
- In your Meli site, configure a custom domain with
hello.com
- In the DNS zone of
hello.com, add anArecord that points the IP ofmeli.company.com. For subdomains likesub.hello.com, you can use aCNAMErecord that points tohello.meli.domain.comonly when it is the single record (all types combined) configured for that subdomain. - Browse https://hello.com, and off you go !
Deploying to Meli from your CI
You can also automatically deploy when you push to your Git repository. For example, with Github Actions:
name: mainon: [ push ]jobs: build: runs-on: ubuntu-latest steps: - uses: actions/checkout@v2 - uses: actions/setup-node@v1 with: node-version: '12' - name: "publish" run: | npx @getmeli/cli@next upload \ ./dist \ --url "https://meli.domain.com" \ --site "<your-site-id>" \ --token "$MELI_TOKEN" env: MELI_TOKEN: ${{ secrets.MELI_TOKEN }} # using default GITHUB_TOKEN set by Github Actions GITHUB_TOKEN: ${{ secrets.GITHUB_TOKEN }}Note that --branch is not used here, it is auto-detected by the Meli CLI.
With this setup, you'll get pull request previews in Github:
Runtime environment variables in your static site
Meli allows you to override any path in your site with dynamically generated content, per branch.
Let's see how this works with a basic Vue app. We'll replace our dist/index.html and upload it to our hello:
<!doctype html><html lang="en"><head> <title>Meli example Vue.js app</title> <script src="https://cdn.jsdelivr.net/npm/vue@2/dist/vue.js"></script></head><body><div id="app"> <div v-if="loading">Loading...</div> <div v-if="error">{{ error }}</div> <div v-if="env"> <h2>{{ env.name }}</h2> <pre><code>{{JSON.stringify(env, null, 2)}}</code></pre> </div></div><script> const app = new Vue({ el: '#app', data: { loading: true, error: undefined, env: undefined, }, created: function () { this.loading = true; fetch('/env.json') .then(res => res.json()) .then(env => this.env = env) .catch(err => this.error = err) .finally(() => this.loading = false); }, });</script></body></html>Notice that we're fetching /env.json. We'll configure this file in Meli using the UI. For now, let's upload our site to our latest branch.
npx @getmeli/cli upload \ ./dist \ --url http://localhost:80 \ --site "8f30f74f-4b63-4dc3-b8dc-788ca43740a8" \ --token <site-token> \ --branch "latest"This branch will be available at https://hello.meli.domain.com. Now let's upload it to a new branch named demo:
npx @getmeli/cli upload \ ./dist \ --url http://localhost:80 \ --site "8f30f74f-4b63-4dc3-b8dc-788ca43740a8" \ --token <site-token> \ --branch "demo"This branch will be served at https://demo.hello.meli.domain.com.
Now, let's configure /env.json in Meli:
- under branch
latest, add a file redirect for path/env.jsonand with content{"name": "prod"}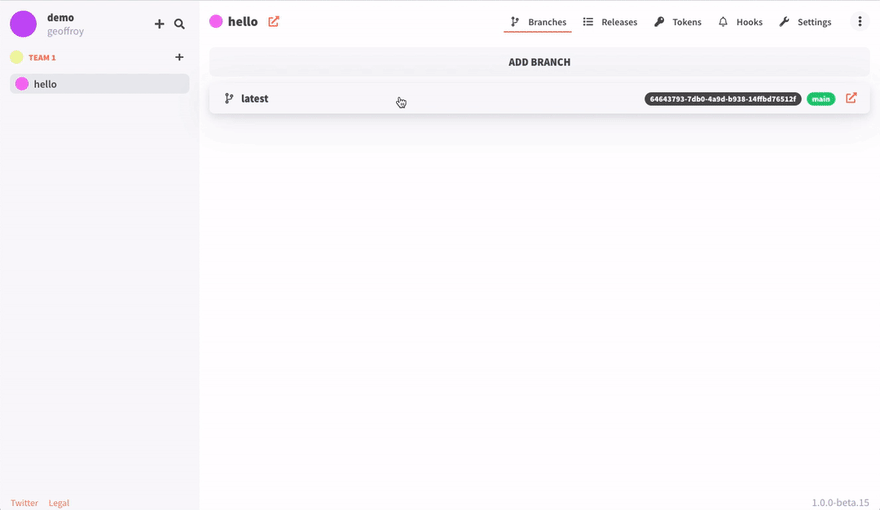
- in under branch
demo, add a file redirect for path/env.jsonand with content{"name": "demo"}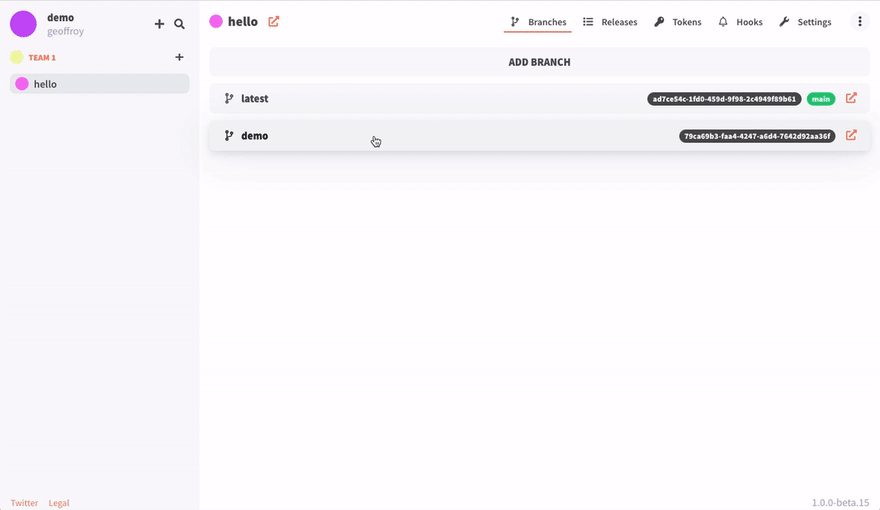
Now, when you go to https://hello.meli.domain.com, you see this:
and https://demo.hello.meli.domain.com shows:
Wrap up
Meli is a really cool project which allows you to self-host your static sites and frontend apps. It features a lot of cool things, and more are to come.
Further reading:
Original Link: https://dev.to/gempain/shipping-jamstack-like-a-hero-beware-it-s-cool-2a3f
Dev To
More About this Source Visit Dev To