An Interest In:
Web News this Week
- April 30, 2024
- April 29, 2024
- April 28, 2024
- April 27, 2024
- April 26, 2024
- April 25, 2024
- April 24, 2024
Quick Tip: Create a Scary Text Effect in Photoshop
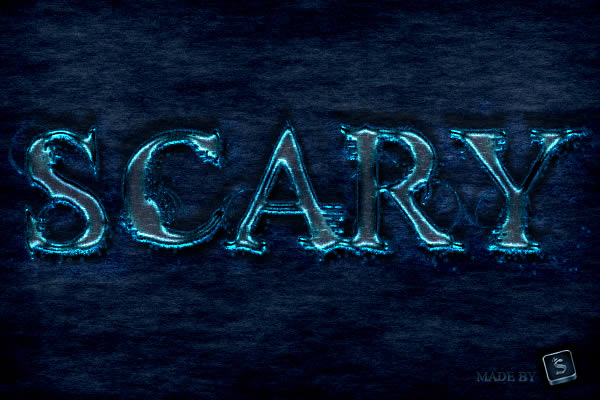
In this quick tip tutorial, we will show you how to create a "scary" text effect using layer styles in Photoshop. Let’s get started!
Tutorial Assets
The following assets were used during the production of this tutorial.
Step 1
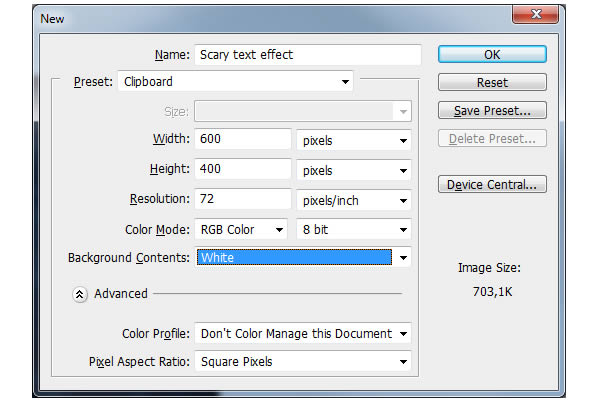
First create a new .PSD document, 600 x 400 pixels in RGB mode, 72 DPI with WHITE background color. Now prepare your assets. Install the Times New Yorker font into your computer and open the .PAT file.

Step 2
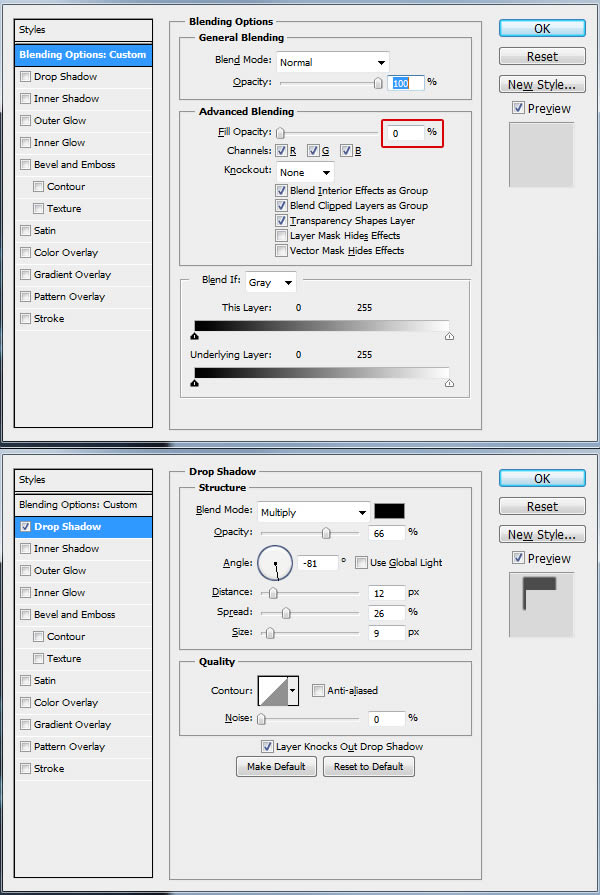
First, we need to make a layer from background. To do this, right click on Background layer and choose "Layer from background" name it as you wish and hit OK. Now go to Menu > Layer > Layer Style > Blending Options and use the settings below. You can also access Blending Options with two faster ways. First and the fastest way is to double click on the layer in your layers menu. Other way is to right click on the layer in your layers menu and choose Blending Options. When you are done with all the settings below, don’t forget to hit "OK" in the Blending Options window.

Step 3
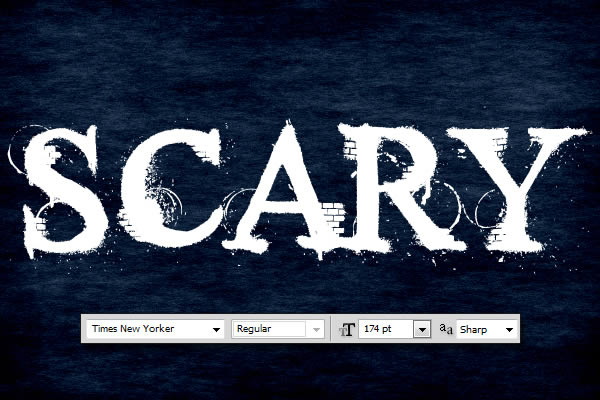
Now we can start making our text effect. First choose a type tool and change font to Times New Yorker, size around 174 pt and anti-aliasing Sharp. Now type your text somewhere in the center of the image. You can write any word, but in this tutorial I’ll use "SCARY". All letters uppercase.


 TutsPlus+ is a blog/Photoshop site made to house and showcase some of the best Photoshop tutorials around.