Some of Our Sources
- BoingBoing
- Technology Review
- Simplebits
- Joshua Blankenship
- The Logo Smith
- Abduzeedo
- FanExtra - PSD
- CSS Globe
- Web Resource Source
- The Verge
Help Webnuz
Referal links:
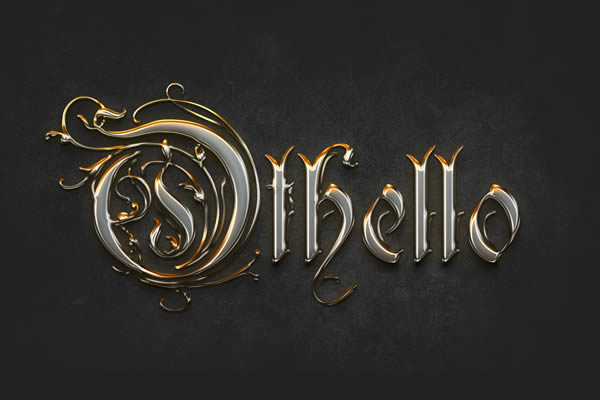
Quick Tip: Create a Crisp Metallic Text Effect in Photoshop
In this quick tip tutorial, we will explain how to create a crisp, metallic text effect using just a couple of layer styles in Photoshop. Let’s get started!
Tutorial Assets
The following assets were used during the production of this tutorial.
Step 1
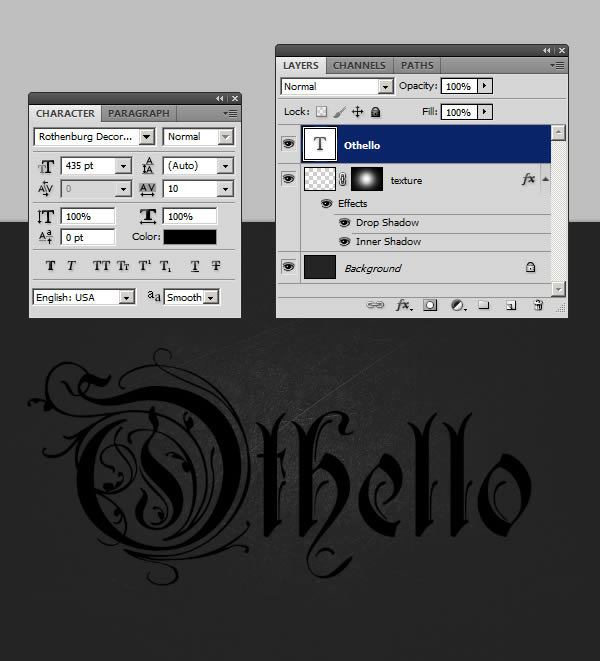
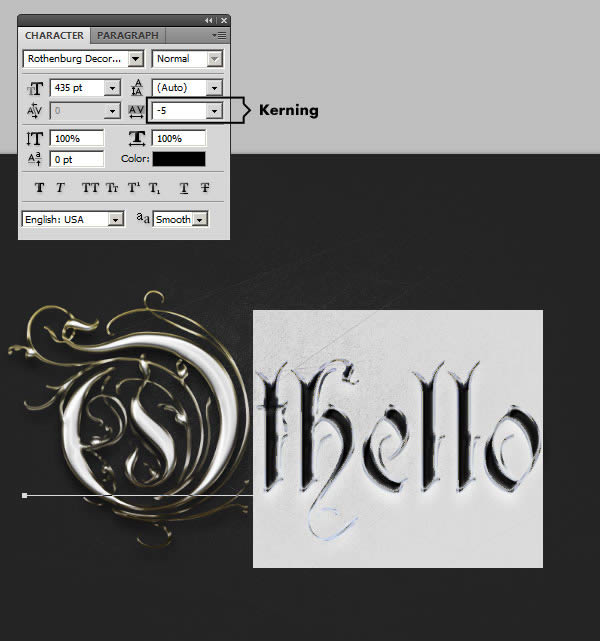
Before opening Photoshop, install the font Rothenburg Decorative and these grunge brushes.
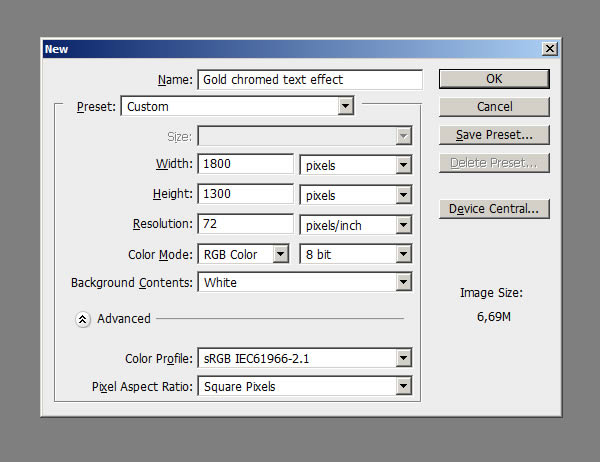
Open Photoshop and Create a New Document, 1800 x 1300 pixels in RGB mode, 72 DPI and finally then Fill the background with this dark grey color #1f1f1f.
Step 2
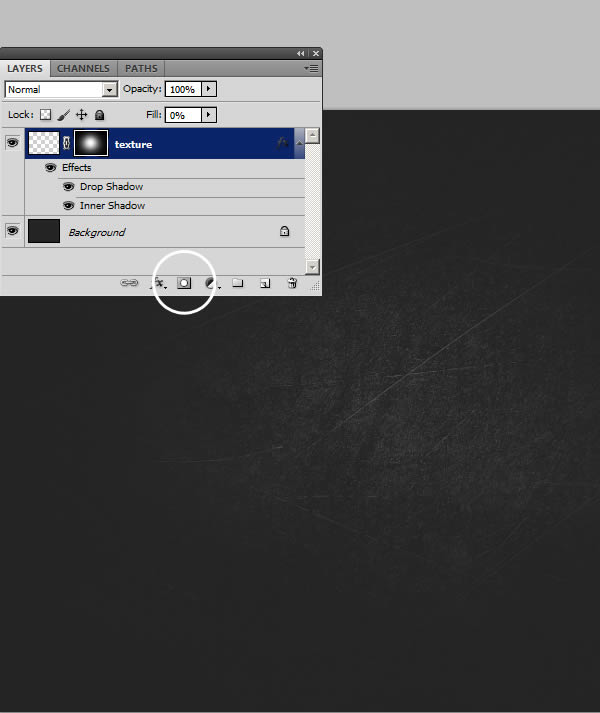
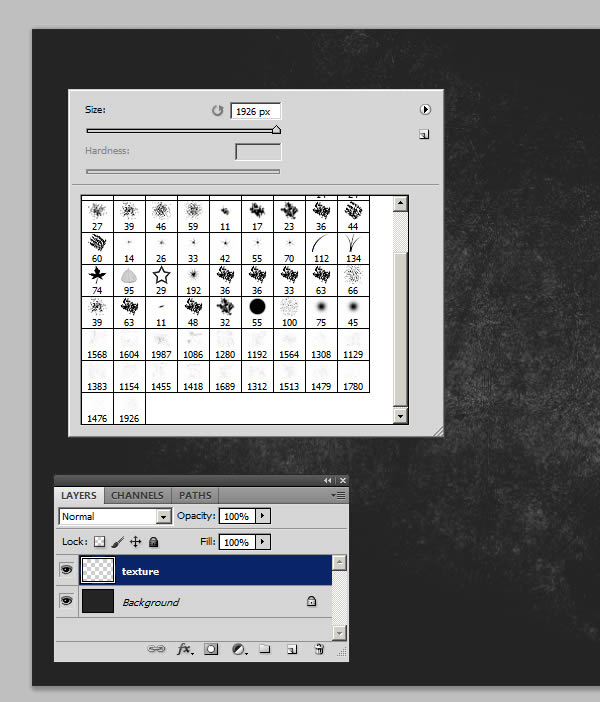
Create a New Layer, name it ‘texture’ and using these Grunge Brushes click a couple of times in the center of the document using a white color. Use different brushes, try to cover the center of the document, varying the textures.
Step 3
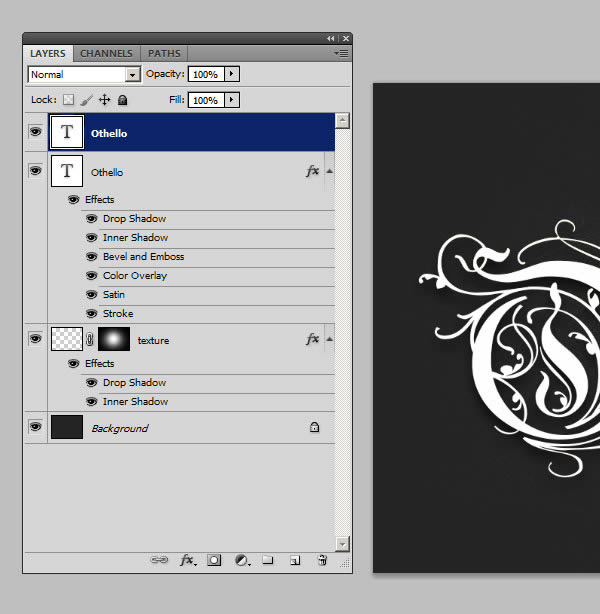
Double-click on the thumbnail of the Layer ‘texture’ to open the Layer Style panel. Into the ‘Blending Options’
Reduce the ‘Fill’ to 0, then apply a ‘Drop Shadow’ and an ‘Inner Shadow’ using these settings. This will give the texture a realistic embossed look.