
An Interest In:
Web News this Week
- April 2, 2024
- April 1, 2024
- March 31, 2024
- March 30, 2024
- March 29, 2024
- March 28, 2024
- March 27, 2024
Some of Our Sources
- Mashable
- TutsPlus - Code
- Team Treehouse
- Just Creative
- Inspiredology
- Fudge Graphics
- Line 25
- Web Resource Source
- Hashedout
- TechPowerUp
Help Webnuz
Referal links:
How to create a blog website with React & firebase -> Series
Hello dev community,
In this series tutorial we are going to create a blogging website.
Live demo click here
This article was originally published at melbite-firebase-react-tutorial
- At first series we are going to set up the project and authenticate the user.
- In the second part we are going to create a post/article.
In the third and last part we are going to test and deploy our site on firebase
Features
Login / Authentication
Upload Images
Add caption / message for the image
Read other peoples posts
Tools
- Reactjs
- Redux - for user state management
- Firebase db - firestore
- Tailwind css
First we have to set up our environments by installing the react app and tailwind, set up firebase
Let's create a react app with the redux template using this command.
Redux will help the user to keep logged-In if already authenticated and store the user state so can be accessed across all the entire app.
npx create-react-app auth-upload --template reduxAfter successful installation navigate into that folder and open it in your favorite editor.
In the same folder, let's install firebase like this
npm install firebaseFor we are going to style our website using tailwindcss, let's install and set it up. Open your terminal and type:
npm install -D tailwindcssnpx tailwindcss initConfigure your template paths
Add the paths to all of your template files in your tailwind.config.js file.
module.exports = { content: ["./src/**/*.{html,js}"], theme: { extend: {}, }, plugins: [],}Add the Tailwind directives to your CSS
Add the @tailwind directives for each of Tailwinds layers to your index.CSS file.
@tailwind base;@tailwind components;@tailwind utilities;Now let's set up our firebase database
We are going to make use of firestore as our database and firebase authentication to handle user authentication.
Go to firebase console and create a project and give it a name. For beginners follow the steps below.
Click on Create project
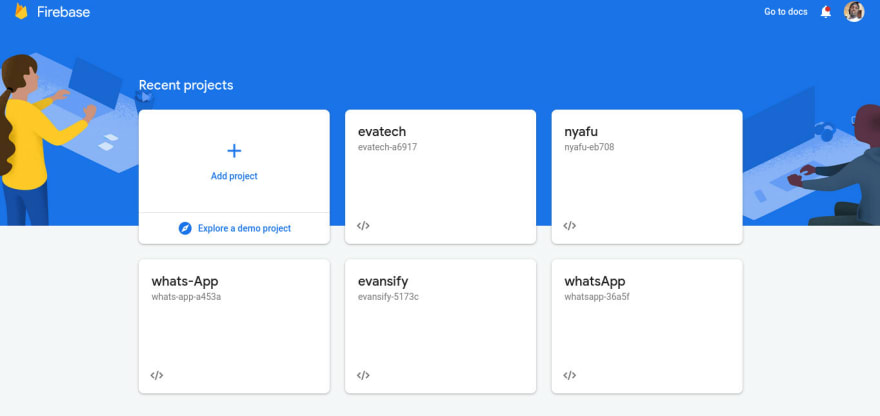
Add your project name

Configure the analytics account

After creating your project, click on the settings icon on the left top of your console and add your project name again
- Click on the
nexticon to complete the set-up.
Yooooo! We are done with the project set-up, let's begin the fun part of it.
In your app folder in src folder, let's set up redux like this
import { configureStore } from "@reduxjs/toolkit";import userReducer from "../features/userSlice";export const store = configureStore({ reducer: { user: userReducer, },});Delete all the files in your features folder inside src folder and create userSlice.js file that contains the following code
import { createSlice } from "@reduxjs/toolkit";export const userSlice = createSlice({ name: "user", initialState: { user: null, }, reducers: { login: (state, action) => { state.user = action.payload; }, logout: (state) => { state.user = null; }, },});export const { login, logout } = userSlice.actions;export const selectUser = (state) => state.user.user;export default userSlice.reducer;After setting up Redux, Create two folders components and utils in src folder.
Setting up back-end code
In the utils folder create firebase.js file and paste the configuration file from your firebase console.
const firebaseConfig = { apiKey: "AIzaSyCUWHO5GFsGg8DXn6q5vVWWPKfG93Va3gk", authDomain: "auth-upload-2f66a.firebaseapp.com", projectId: "auth-upload-2f66a", storageBucket: "auth-upload-2f66a.appspot.com", messagingSenderId: "914451921894", appId: "1:914451921894:web:88e81626d2b406f8d4f427", measurementId: "G-23DVPEEKYJ"};Note: Whenever a user is not logged-in he/she will be presented with a login screen, else the user will be presented with a homepage to create a post and upload an article.
Let's create the login screen, for our auth, we will use google login,
- Go to your firebase console project,
- click the authentication tab
- Enable google signup
In components folder create login.js file and create the signup functionality
import { useSelector } from "react-redux";import { auth, provider } from "../utils/firebase";import { selectUser } from "../features/userSlice";import HomePage from "./HomePage";const Login = () => { const user = useSelector(selectUser); // Google SignIn const googleSignIn = () => { auth .signInWithPopup(provider) .then((result) => { console.log(result); }) .catch((error) => { alert(error.message); }) .then(() => {}); }; return ( <> {!user ? ( <div className="mt-24 sm:w-3/6 md:w-3/6 md:p-5 mx-auto items-center" to="/" > <h1 className="text-center text-gray-600 font-bold"> Hello there and welcome to our group chat app </h1> <section className="md:w-4/5 mx-auto mt-5 border-2 sm:p-5 md:p-5 lg:p-6 index-50 bg-white space-y-10 "> <span onClick={googleSignIn} className="flex items-center justify-center mx-auto font-bold w-full text-yellow-600 border-2 border-gray-900 rounded-full cursor-pointer mt-4 py-2" > <img src="https://upload.wikimedia.org/wikipedia/commons/thumb/5/53/Google_%22G%22_Logo.svg/2048px-Google_%22G%22_Logo.svg.png" className="w-8 h-8" alt="" /> <h3 className=" ml-5">Continue with Google </h3> </span> </section> </div> ) : ( <HomePage /> )} </> );};export default Login;We have authenticated our user. Let's create the home page that a logged-in user will be presented with, create HomePage.js file
import React, { useEffect } from "react";import { useDispatch, useSelector } from "react-redux";import { login, logout, selectUser } from "../features/userSlice";import { auth } from "../utils/firebase";import CreatePost from "./CreatePost";import Feed from "./Feed";import Header from "./Header";const HomePage = () => { const user = useSelector(selectUser); const dispatch = useDispatch(); useEffect(() => { auth.onAuthStateChanged((userAuth) => { if (userAuth) { dispatch( login({ email: userAuth.email, uid: userAuth.uid, displayName: userAuth.displayName, }) ); } else { dispatch(logout); } }); }, [dispatch]); return ( <> <Header /> <div className="flex space-x-10 justify-between w-5/6 mx-auto mt-5"> <div className="hidden h-40 bg-white rounded-md border border-1 border-gray-300 pb-5 md:flex flex-col items-center w-2/6 "> <img className=" rounded-t-md h-20 w-full" src="https://images.unsplash.com/photo-1542831371-29b0f74f9713?ixlib=rb-1.2.1&ixid=MnwxMjA3fDB8MHxzZWFyY2h8M3x8Y29kaW5nfGVufDB8fDB8fA%3D%3D&w=1000&q=80" alt="text" /> <div className="text-center items-center pt-3 -mt-7 bg-green-600 text-white rounded-full w-12 h-12"> {user?.displayName[0]} </div> <p className="mt-3">{user.displayName}</p> </div> <div className="mx-auto w-full"> <CreatePost /> <Feed /> </div> <div className="hidden bg-white rounded-md border border-1 border-gray-300 pb-5 md:block py-4 px-2 w-2/6 h-80"> <h2>Trending topics</h2> <div className="text-left items-center pt-3 space-y-5"> <p className="text-sm text-gray-600">#Javascript</p> <p className="text-sm text-gray-600">#Java</p> <p className="text-sm text-gray-600">#Typescript</p> <p className="text-sm text-gray-600">#Python</p> <p className="text-sm text-gray-600">#Data Science</p> <p className="text-sm text-gray-600">#Machine Learning</p> </div> </div> </div> </> );};export default HomePage;Recap
In this first part we have learned how to set up and authenticate a user.
In the second we are going to create an article and send it to firebase and fetch the post from firebase.
This article was originally published at melbite-firebase-react-tutorial
Also check out my Blogging website https://melbite.com
Original Link: https://dev.to/evansifyke/how-to-create-a-blog-website-with-react-firebase-series-34pk
Dev To
More About this Source Visit Dev To