
Some of Our Sources
- Simplebits
- Just Creative
- Joshua Blankenship
- Creative Curio
- Inspiredology
- Naldz Graphics
- FanExtra - PSD
- Web Design Ledger
- 24 Ways
- Android Headlines
Help Webnuz
Referal links:
Everything I learnt building my first DApp - a frontend perspective
This article is a walkthrough of my process and learnings building a DApp using React, WAGMI & ethers.js.
I was recently given a task at work to build the client side of a DApp (decentralised application). I watched a number of tutorials but still had a hard time figuring out why I needed certain libraries / services and more importantly, how to put all the various pieces together. If youre trying to figure this out too, then keep reading!
The frontend of a DApp is built very similarly to a traditional web application (using a mix of HTML, CSS & JavaScript), but instead of interacting with a database via an API, youre interacting directly with the blockchain via a smart contract (a program written to execute a set of instructions). In order to be fully decentralised, DApps are also often hosted on peer-to-peer (P2P) networks instead of centralised hosting servers. Here's a summary:
Traditional web application: Client API Database
Decentralised application: Client Smart Contract Blockchain
Here's how it went!
Setting up the DApp
After initialising a new React project, the first thing I did was to install a package that will enable communication with the blockchain. Two of the most widely-used Javascript libraries for this are Web3.js and Ethers.js. I did some digging to understand how they work under the hood.
The blockchain is made up of many nodes, each of which stores a copy of the data on the blockchain. To read or write any of this data, my application needed to be able to communicate with one of these nodes. These libraries provide developers with access to various modules (with methods and properties) for interacting with a local or remote Ethereum node. For example:
ethers.Wallet is used to connect to an Ethereum wallet.ethers.Contract is used to interact with a smart contract on the Ethereum blockchain.
Both libraries will allow you to achieve the same things. However, if youre unsure about which one to use, this article does a good comparison study.
I also needed a crypto wallet. A wallet acts as a login / gateway to a DApp. In traditional web applications, users are prompted to sign in with an email address and a password. In the decentralised world, DApps need to be given permission to access a user's wallet in order to enable certain functionality (more on this later). I installed Metamask which is one of the most popular wallet solutions, and is accessible via a Chrome extension or a mobile app.

Once I had both ethers.js and Metamask installed, I was good to go.
Interacting with the smart contract
I had what I needed to communicate with the blockchain. Next, I needed to figure out how to interact with the "middleman" - the smart contract.
Connecting to a smart contract requires you to have:
- The contract address
- The contract ABI
- A provider and/or a signer
The contract address is the address of the contract on the blockchain. The ABI (Application Binary Interface) is a file that contains a breakdown of each function in the contract along with its input parameters (if any), expected output and data types, in JSON format. Both of these can be found on Etherscan, a blockchain explorer for Ethereum that allows you to view smart contracts (plus much more).
Providers and signers are essential parts of a DApp. A smart contract can consist of both read and write functions. To read data from a smart contract, you require a provider. To write data (i.e. perform transactions that will change the state of the data on the blockchain), you require a signer. To do both, you require a signer that has a provider.
A provider provides (pun intended) a link to an Ethereum node that your application will communicate with. Because Ethereum has a standard communication protocol (i.e. a specific standard for sending and receiving messages to and from the blockchain) called JSON-RPC protocol. Providers are necessary because they use this protocol.
There are multiple third party services that offer node providers so you don't have to run your own local node. Some of them are Infura, Metamask (uses Infura under the hood), Quicknode and Alchemy.
I got started with Infura, created an account and got a Project ID in a few minutes. I was able to create a provider using the built-in Infura provider option on Ethers.js:
const provider = new ethers.providers.InfuraProvider('rinkeby', INFURA_PROJECT_ID);Signers on the other hand are essentially an abstraction of the user's wallet address. If you are performing any write operation to the blockchain, you will need to sign the transaction (i.e. prove that you are who you are).
Finally, I created a contract instance that will be used across the application, passing in the contract address, ABI and signer.
const contract = new ethers.Contract(CONTRACT_ADDRESS, CONTRACT_ABI, provider or signer);With this done, I could call any smart contract function like this:
const result = await contract.functionName();Handling the wallet connection
The final bit was to figure out how to handle connecting the DApp to a wallet.
In addition to Metamask, my application was to provide users with two other wallet connector options.

Fortunately, there are several packages that removes the need to write code for each connector separately. I used WAGMI which is a React hooks library built on top of ethers.js. WAGMI does a lot more than just handle wallets. It uses over 20 different hooks to abstracts a lot of the ethers.js functionality.
This guide on their website explains in detail how to configure wallets. I found it really easy to integrate. Other similar libraries include web3-react and web3-modal.
One important thing to note: Wallets come with a number of networks you can select from.
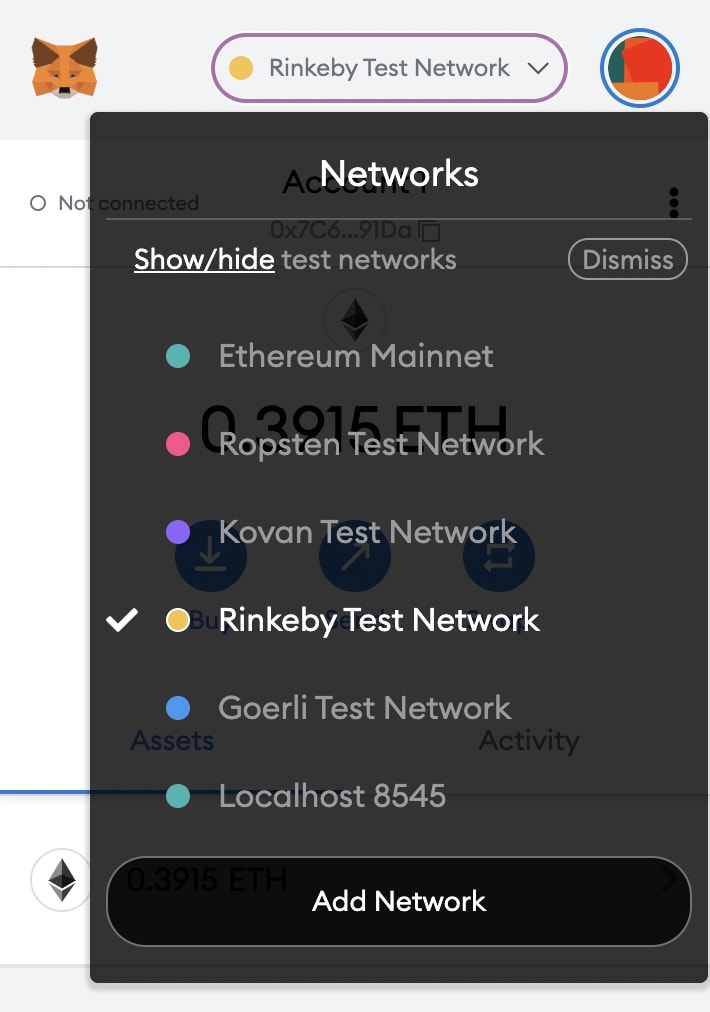
There is the main network (Ethereum mainnet) which is for production purposes and multiple test networks (Ethereum testnets) that replicate the Ethereum production environment and are used to develop and test smart contracts. Each testnet has its own properties and supports a specific set of clients.
It's also important to make sure that your wallet is on the same network your smart contract is deployed on - in my case, Rinkeby - otherwise, requests will fail. I used WAGMI's useNetwork hook to check that the user is on the right network.
Other things worth mentioning:
To fund your wallet with test tokens (particularly for write functions as they incur gas fees), you will need to use a faucet - a website that distributes small amounts of crypto for free. I used Rinkeby's faucet and got some test ETH within minutes. However, other options are Chainlink's faucet and MyCrypto.
It's extremely important to pass each contract function the correct data in the expected data type. Otherwise, you might end up paying an exorbitant amount in gas fees due to an input error. Thankfully, Metamask warns you when your transaction is likely to fail.
If your application needs to display a list of tokens (with their meta information, current prices etc), I would recommend Coingecko's API which is what I used.
Helpful resources:
- A guide to Web3 for Web2 Frontend Developers
- Understanding how to call different smart contract functions
- Create your DApp frontend with React
- Integrate a smart contract into your React app
Please feel free to reach out if you have any questions, comments or notice any errors.
Also, heres to finally publishing my first article!
Original Link: https://dev.to/daraolayebi/everything-ive-learnt-building-my-first-dapp-a-frontend-perspective-4in4
Dev To
More About this Source Visit Dev To