
An Interest In:
Web News this Week
- April 26, 2024
- April 25, 2024
- April 24, 2024
- April 23, 2024
- April 22, 2024
- April 21, 2024
- April 20, 2024
Some of Our Sources
- BoingBoing
- TutsPlus - Code
- Web Designer Wall
- Smashing Magazine
- Six Revisions
- TutsPlus - Design
- Line 25
- Wal You
- Willems Lab
- Hashedout
Help Webnuz
Referal links:
Docker setup for yarn workspaces
Introduction
As monorepos seem to be having their moment in the developer community right now, we can see quite a bit of new monorepo tools popping up. npm recently announced npm workspaces with version 7, Nx has been gaining a lot popularity and lerna has been around for quite a while now. I use yarn in most of my projects now, and thought it would be fun to explore yarn workspaces with a simple monorepo setup.
In this workspace, I am going to be adding two React applications. Further, we can also add docker support to make it easier for deployments. Let's get started.
Initialising the workspace
Let's start by creating a folder for our project and initialise yarn
mkdir yarn-docker-setupcd yarn-docker-setupyarn init -pIf you do not have yarn installed already, you can install by
npm install yarn -g.
After filling out basic questions, you would have a package.json file.
To turn this project into a workspace, we need to add workspaces option in our package.json
"workspaces": ["apps/*"]apps is a directory where all our apps live.
Great! We've initialised our workspace, next step is to add applications.
Adding apps
We're going to be adding two React applications to this project namely admin and product. I'm using Create React App to scaffold our apps.
yarn create react-app apps/adminyarn create react-app apps/productThis would take a couple of minutes to finish and by the end you would have two folders called admin and product inside the apps folder.
Great! We've added two apps to our workspace. The next step is let yarn know about each app's dependencies, so it can optimise and cache them. In the project root folder, run
yarn installThis goes through the dependencies and moves them to a central node_modules folder in the project's root.
Let's test out our setup to see everything works. Let's add scripts in our package.json to start and build our apps
"scripts": { "admin": "yarn workspace admin start", "product": "yarn workspace product start", "build:admin": "yarn workspace admin build", "build:product": "yarn workspace product build"}We've also added build scripts to compile our apps into static files.
If we run yarn admin or yarn product, we should see the standard create react app screen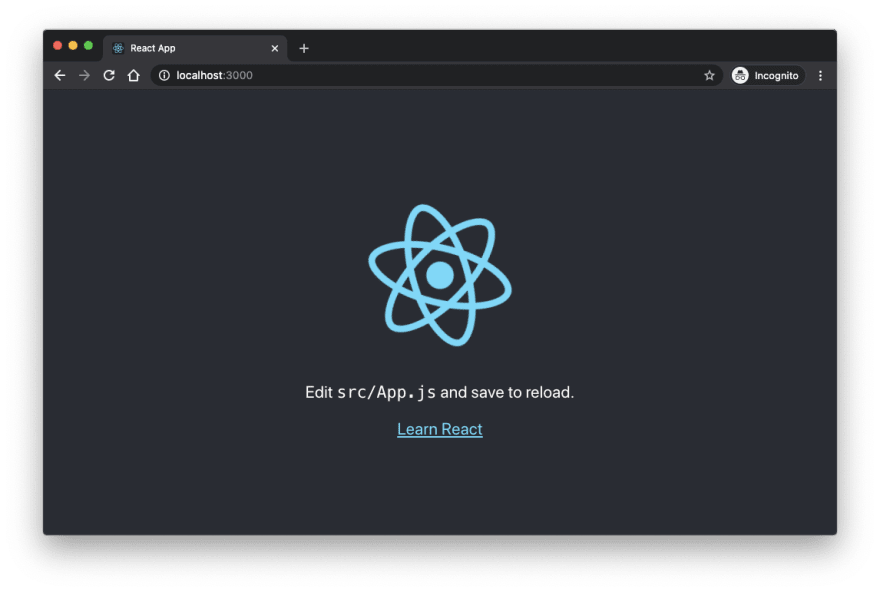
Adding Docker support
Docker provides us with a simple and effective way to package our apps into images that could be run anywhere without any dependence on the environment or operating system. With docker-compose, we can orchestrate multiple services(apps) with a simple configuration. Going too much into docker and docker-compose maybe a bit out of reach for this article, so let's dive into the docker setup.
First step is add a Dockerfile. We can add individual Dockerfiles for each app, but since the build process is same for both the apps, we can use a single Dockerfile for both of them.
First, we need a node environment to compile our React projects, and we need the name of the folder which we need to build, in this case admin or product. We get that using the BUILD_CONTEXT argument.
FROM node:14.17.1 as buildARG BUILD_CONTEXTThe next step is to copy over the source code into the image.
WORKDIR /baseCOPY package.json .COPY yarn.lock .COPY ./apps/$BUILD_CONTEXT/package.json apps/$BUILD_CONTEXT/RUN yarn installWe are defining /base as our working directory. All our code goes here.
In the next 3 lines, we are copying package.json, yarn.lock and the package.json file of the particular app into the image.
Then we run yarn install to install our dependencies.
Interesting thing to note here is, we could have copied our entire source code into the container in one go. The reason we don't do that is, every instruction in a Dockerfile is cached in the background. By copying just the
package.jsonandyarn.lockfiles, we can take advantage of this caching system. These files rarely change in the course of the project, so if we install our dependencies once, and if they don't change the next time we build, Docker will use the existing cache and not runyarn installevery-time we build. This will significantly reduce our build times.
The next step is to copy the app's code and build.
COPY ./apps/$BUILD_CONTEXT apps/$BUILD_CONTEXTRUN yarn build:$BUILD_CONTEXTGreat, as of now our Dockerfile looks like this
FROM node:14.17.1 as buildARG BUILD_CONTEXTWORKDIR /feCOPY package.json .COPY yarn.lock .COPY ./apps/$BUILD_CONTEXT/package.json apps/$BUILD_CONTEXT/RUN yarn installCOPY ./apps/$BUILD_CONTEXT apps/$BUILD_CONTEXTRUN yarn build:$BUILD_CONTEXTOur compilation step is complete. Our React app has been compiled into static files and they are inside the image. But order to serve them, we need a web server. We could use node as our web server as we are already using it for building. But a node image is significantly bigger(close to a gigabyte) in size compared to a traditional web server like nginx.
We'll add nginx configuration as part our build step in our Dockerfile.
FROM nginx:stable-alpineARG BUILD_CONTEXTCOPY --from=build /fe/apps/$BUILD_CONTEXT/build /usr/share/nginx/htmlCOPY nginx.conf /etc/nginx/conf.d/default.confEXPOSE 80CMD ["nginx", "-g", "daemon off;"]The first two lines are self-explanatory.
The third line is where is gets interesting. If you see the first line of our Dockerfile, it says as build next to our node version. This is done so we can refer to this as context in later parts of our build steps.
We have our compiled React app in the node image. We need to take those files and put it in our nginx image. That's what this line does. It copies the /fe/apps/$BUILD_CONTEXT/build folder from build context into /usr/share/nginx/html.
The last line is to start our nginx web server.
The next step is to define an nginx.conf config file nginx can use to run our app, which looks like this. This is a barebones nginx web server configuration which can be used for any frontend application.
server { listen 80; location / { root /usr/share/nginx/html; index index.html index.htm; try_files $uri $uri/ /index.html; } error_page 500 502 503 504 /50x.html; location = /50x.html { root /usr/share/nginx/html; }}Our entire Dockerfile now looks like this
#buildFROM node:14.17.1 as buildARG BUILD_CONTEXTWORKDIR /baseCOPY package.json .COPY yarn.lock .COPY ./apps/$BUILD_CONTEXT/package.json apps/$BUILD_CONTEXT/RUN yarn installCOPY ./apps/$BUILD_CONTEXT apps/$BUILD_CONTEXTRUN yarn build:$BUILD_CONTEXT#webserverFROM nginx:stable-alpineARG BUILD_CONTEXTCOPY --from=build /base/apps/$BUILD_CONTEXT/build /usr/share/nginx/htmlCOPY nginx.conf /etc/nginx/conf.d/default.confEXPOSE 80CMD ["nginx", "-g", "daemon off;"]This setup is enough for us to build a Docker image of our app and run by running
docker run <image-name> -e BUILD_CONTEXT=admin/productWe want to go a bit further and add in an orchestration step using docker-compose
For this, we need to add a docker-compose.yml file in the root of our project.
version: '3'services: admin: container_name: admin build: context: . dockerfile: Dockerfile args: - BUILD_CONTEXT=admin ports: - '8080:80' product: container_name: product build: context: . dockerfile: Dockerfile args: - BUILD_CONTEXT=product ports: - '8082:80'We define two services here, admin and product for our two apps.
In our service section, we define three properties, container_name, build and ports.
container_namedefines the name of the containercontextinbuildrefers to the directory this build needs to be executed on,dockerfilerefers to the name and location of theDockerfileandargsrefer to build time arguments. These are the arguments that will be used in theDockerfileARGsectionportslets us map ports on the host machine to the container port. Value8082:80indicates that any request on port 8082 on host machine will be routed to port 80 on the container.
Awesome! We are done with our docker-compose setup. Final thing left to do is run and see for ourselves.
docker-compose buildcommand is used to build out both our apps. This will compile our app using instructions from our Dockerfile and create an image.
To run these images,
docker-compose upThis command will take our images and create containers and run them.
Now we can go to http://localhost:8080 and http://localhost:8082 to see our apps in action.
Conclusion
What we have now is a very simple implementation of workspace and docker setup. We can use this as a starting point and start adding backend services and component libraries to this setup.
If you are interested in setting up a component library from scratch, check out my article on Setting up a component library with React, TypeScript and Rollup
We can add new projects into the apps folder and yarn would take care of the dependency resolutions for us.
The source code for this setup can be found here
Cheers!
Original Link: https://dev.to/sidv93/docker-setup-for-yarn-workspaces-4pnj
Dev To
More About this Source Visit Dev To