
An Interest In:
Web News this Week
- April 27, 2024
- April 26, 2024
- April 25, 2024
- April 24, 2024
- April 23, 2024
- April 22, 2024
- April 21, 2024
Some of Our Sources
- BoingBoing
- Mashable
- Technology Review
- Web Designer Wall
- Pearsonified
- You The Designer
- FanExtra - PSD
- Wal You
- CSS Tricks
- Hashedout
Help Webnuz
Referal links:
10 Things You Should Know About the Crop Tool
While the Crop Tool is one of Photoshop’s most-basic tools, you might find that there is more to this tool than you might know. In this tutorial, we will explain 10 useful things about the Crop Tool that you might not already know. Let’s get started!
1. Crop Guide Overlays
There are several Crop Guide Overlays you can choose from in Photoshop. You can see them once you start using the Crop Tool and you can cycle through them by pressing O. The available overlays are:
- Rule of Thirds
- Grid
- Diagonal
- Triangle
- Golden Ratio
- Golden Spiral
You can also change the orientation of the Crop Guide in case you have the Golden Spiral or the Triangle Options selected.

2. Change Crop Orientation
You will find it difficult to rotate your Crop area more than 90 degrees in Photoshop. In case you want to keep the aspect ratio and size of your crop and just want to change its orientation you should press X. This way you can easily switch between landscape and portrait orientations.

3. Hide Cropped Areas
If you want to hide the cropped areas completely, press H. You can also change the Crop Shield Opacity and Color from the Options Bar.

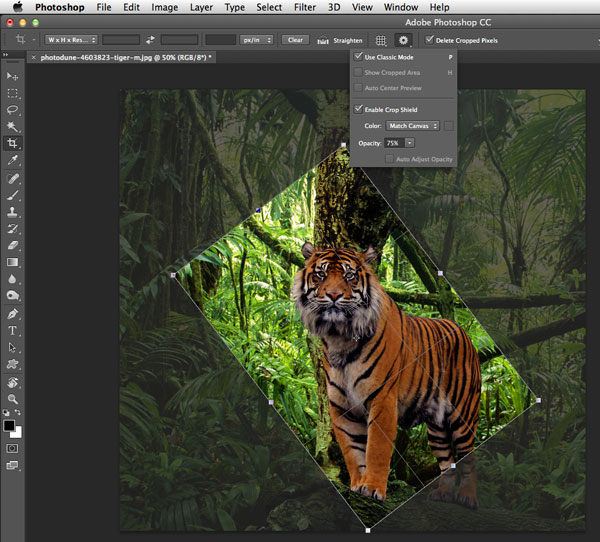
4. Classic Crop Mode
For those users who prefer the traditional way of using the Crop Tool it is possible to switch to the Classic Mode by pressing P. When using the Crop Tool in Classic Mode you will move the Crop Rectangle around and the image will stay in one place in the background. On the contrary in Normal Mode you will be moving the image around behind the static Crop rectangle.
5. Use Front Image
You can use this option to match the size and resolution of two documents. You have to first open both documents and choose the one that you want to use as the reference. Next, you need to select the Crop Tool and from the pop-up in the Options Bar select Front Image or press I. This will record the size and resolution of this document. Next you can switch to another document and the Crop Tool will keep the size and resolution settings referenced from the other image.

6. Ways of Accepting Crop
There are several ways to do most things in Photoshop. This is also true about accepting crops. You can use any of these techniques to accept your crop:
- Press Enter
- Double click in the crop area
- Click on the Commit Icon in the Options Bar
- Context Menu > Crop
- Image Menu > Crop

7. Perspective Crop Tool
If you want to correct keystone distortion in your images, you should use the Perspective Crop Tool. You have to specify the 4 corners of the plane you wish to straighten and press Enter when ready. If you want to do keystone distortion correction without cropping, you can also use the Auto Upright feature under the Lens Correction tab in the Camera Raw Filter.

8. Non-Destructive Cropping
The best way to make sure you don’t lose any details when using the Crop Tool is to uncheck the Delete Cropped Pixels option in the Options Bar. Alternatively you can also turn your layer(s) into Smart Object(s), which will allow you to keep the cropped details even if the Delete Cropped Pixels option is checked.

9. Extend Canvas With Crop Tool
While most people know the Crop Tool as a means of trimming a photo, some users might not know that you can also use it to expand your canvas, as well. All you need to do is to drag the Crop Rectangle control points outside the canvas. In case you have a Background Layer this feature will fill in the new canvas area with your currently selected Background color. In case you don’t have a Background Layer, Photoshop will create transparent pixels while increasing the canvas.

10. Straightening Photos
You can also use the Crop Tool to straighten your photographs. All you need to do is to hold down Command/Ctrl and click and drag to draw a line indicating the horizon of the photo. You can also use any vertical straight lines to align your image to.

Original Link: http://feedproxy.google.com/~r/psdtuts/~3/bw3JDu_x8fQ/
TutsPlus - Design
More About this Source Visit TutsPlus - Design