
An Interest In:
Web News this Week
- April 2, 2024
- April 1, 2024
- March 31, 2024
- March 30, 2024
- March 29, 2024
- March 28, 2024
- March 27, 2024
Some of Our Sources
- Mashable
- Smashing Apps
- Abduzeedo
- Naldz Graphics
- FanExtra - PSD
- Crazy Leaf Design
- Fudge Graphics
- Reencoded
- CSS Tricks
- Web Resource Source
Help Webnuz
Referal links:
OpenBSD Full Disk Encryption (on VirtualBox)
Summary
OpenBSD supports full disk encryption (FDE) with softraid and bioctl. The tutorial for it is officially provided. With FDE, even if you lose your computer, your data is strongly protected (as long as the key is in safety).
It is available on VirtualBox as well as physical servers and VPS servers (such as CloudSigma and ConoHa supporting OpenBSD machine image).

This post shows how to apply full disk encryption to OpenBSD vm on VirtualBox with each output of the steps and sideline notes about envs of the latter.
Environment
- OS: OpenBSD 7.2
Caution - All existing data will be deleted
You may have to make backup beforehand.
Device names
The device names are due to your env. In my case with VirtualBox, wd0 is for the origin and sd0 is for the softraid, the encrypted one. In another case, for example, with VPS, they are sometimes different so that the origin is sd0 and the softraid is sd1.
Table on device names pairs in my past cases
| env | origin | softraid |
|---|---|---|
| VirtualBox | wd0 | sd0 |
| Phisycal or VPS | sd0 | sd1 |
It depends on your hardware, especially the drives such as SATA.
Tutorial
It is based on the official tutorial. (See the beginning in this post.)
Run VM with installer media
Have you installed Oracle VM Virtualbox ? Prepared VM to which OpenBSD installer .iso (install72.iso in my case) is attached? Let's run it!
Start shell
When you get the first question:
Welcome to the OpenBSD/amd64 7.2 installation program.
(I)nstall, (U)pgrade, (A)utoinstall or (S)hell?
enter "s" aka Shell.
Then, if you have to adjust keyboard mapping, run. (kbd jp in my case):
# kbd %your-locale%The output in my case was:
kbd: keyboard mapping set to jpMake sure the origin disk exists
Again, this tutorial uses wd0 for the origin.
# cd /dev# sh MAKEDEV wd0(Optional but recommended) Write random data to disk
We are now at the first step to manipulate the disk.
This process is not absolutely necessary, which, however, helps the machine hide the actual volume used. It may have a negative side in VPS and so on, for it consumes the whole volume and the size of snapshot images can be very big.
It is sometimes very time-consuming, which depends on the disk size.
# dd if=/dev/urandom of=/dev/rwd0c bs=1mThe output was:
dd: rwd0c: end of device7169+0 records in7168+0 records out7516192768 bytes transferred in 57.711 secs (130236923 bytes/sec)Initialize the disk
In case that MBR is used at boot:
# fdisk -iy wd0The output was:
Writing MBR at offset 0.Well, in case that GPT for UEFI booting is used, you should run fdisk -gy -b 960 wd0 instead.
Create the softraid partition
Run:
# disklabel -E sd0Then, inside it, operate as follows:
Label editor (enter '?' for help at any prompt)wd0> a aoffset: [64]size: [14680000] *FS type: [4.2BSD] RAIDwd0*> wwd0> qNo label changes.Besides, although the entire disk is used, the installer can split it into multiple partitions with the encrypted one later.
Build the encrypted device
Here comes bioctl.
# bioctl -c C -l wd0a softraid0The prompt will ask:
New passphrase:Re-type passphrase:The output was:
sd0 at scsibus1 targ 1 lun 0: <OPENBSD, SR CRYPTO, 006>sd0: 7167MB, 512 bytes/sector, 14679472 sectorssoftraid0: CRYPTO volume attached as sd0You can see sd0 was got as CRYPTO volume.
Besides, a keydisk is available instead of passphrase.
Make sure the CRYPTO device exists
# cd /dev# sh MAKEDEV sd0Thanks to them, all data written to it will be "encrypted with AES in XTS mode".
Overwrite the first megabyte of the new pseudo-device
This is the final step of the first and the main chapter. Run:
# dd if=/dev/zero of=/dev/rsd0c bs=1m count=1The output was:
1+0 records in1+0 records out1048576 bytes transferred in 0.016 secs (64883162 bytes/sec)Return to the installer
Now the disk is ready.
Type to say goodbye to the shell:
# exitYou will see the welcome messages from the installer, again.

Choose the encrypted volume in installation
The rest is to choose the encrypted volume when you are asked where to install the OS.

Remember sd0 is my encrypted one. (Of course, in case that your encrypted one is sd1, choose sd1.)
Conclusion
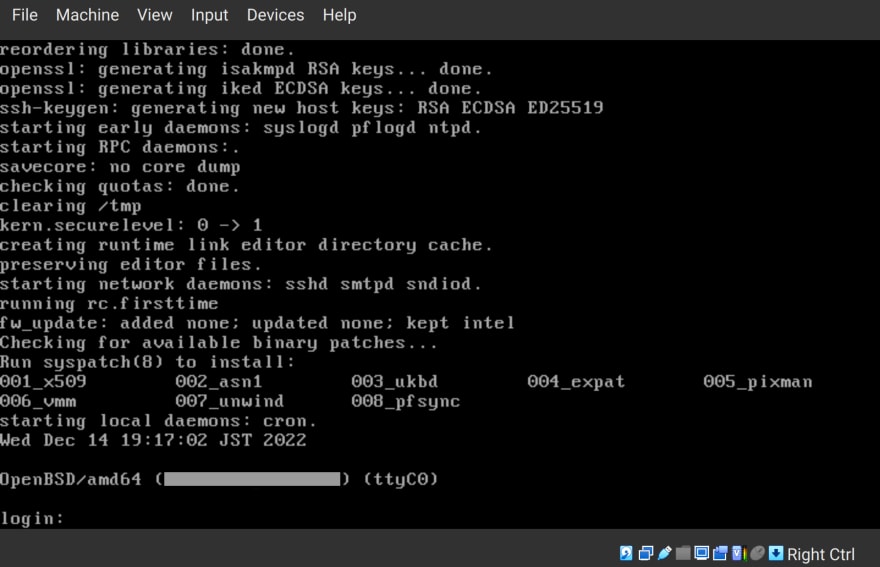
Installation is completed
Congratulations
You got your encrypted disk where OpenBSD is installed.

Prompt for passphrase at boot
At next boot, your security will work like a charm.
With the correct passphrase (or the keydisk), you will be accepted, and the machine will nicely stand by you.
Original Link: https://dev.to/nabbisen/openbsd-full-disk-encryption-on-virtualbox-2963
Dev To
More About this Source Visit Dev To