
An Interest In:
Web News this Week
- April 16, 2024
- April 15, 2024
- April 14, 2024
- April 13, 2024
- April 12, 2024
- April 11, 2024
- April 10, 2024
Some of Our Sources
- Technology Review
- TutsPlus - Code
- The Logo Smith
- Abduzeedo
- Creative Curio
- Noupe
- Line 25
- Web Resource Source
- Dev To
- Hashedout
Help Webnuz
Referal links:
Connect your contact form to an email account with HTML only (Simple, quick, and beginner friendly)
Your developer portfolio website, a small online shop, or a small startup. All of these websites would likely benefit from a contact form, through which customers, or recruiting managers can get in touch with your or your business.
While bigger applications take care of this through their backend, smaller websites that are just not meant to be big and dont have a backend, need a solution as well. In this article I will go through two very simple ways to integrate a contact form and connect it to your private or business email account, using HTML only.
Shall we have a look?
1. The first option is using a parameter called mailto:
You can use this parameter inside an a tags href attribute, like so:

Thats it. In its simplest form, this option only needs the mailto: parameter in combination with the email address that shall receive the emails. If you hover over the Send Email link with your mouse, you can see the email address that will receive the email in the bottom left of your browser.
When you go ahead and click the link, your email service will open a new email with the defined address already sitting in the address field. You are then ready to write and send the email. For a very basic use case or just for testing this can be a very convenient option.
There are also a couple of upgrades you can do here.
If you wanted to receive the emails from your contact form in more than one email account, you can simply add another address, separated by a comma:
![]()
In order to add a predefined subject to all incoming emails, you can use the subject parameter to the href attribute:
![]()
All your incoming emails from your contact form will then have Sent via contact form as subject, which, for example, could easily be used for email routing within your inbox. Not bad.
Other options are CC, BCC and even some predefined text inside the actual email body.
CC and BCC:

Text in the email body:

If you want, you can also combine all of those options.
While this is a very simple and quick way to achieve the goal, it does come with a downside. If you go back to the very first image above, you can see that by hovering over the Send Email link, everyone on the internet can see the email address that is used. If this is something you would like to avoid, then this option is nothing for you. Also, the mailto: parameter invites spam into your mailbox. Another thing to consider, when using this option. So think about it beforehand and only use option 1, if you can live with these aspects or if you just need to test something.
Lets move on to the second option, which is just a tiny bit more difficult, I promise.
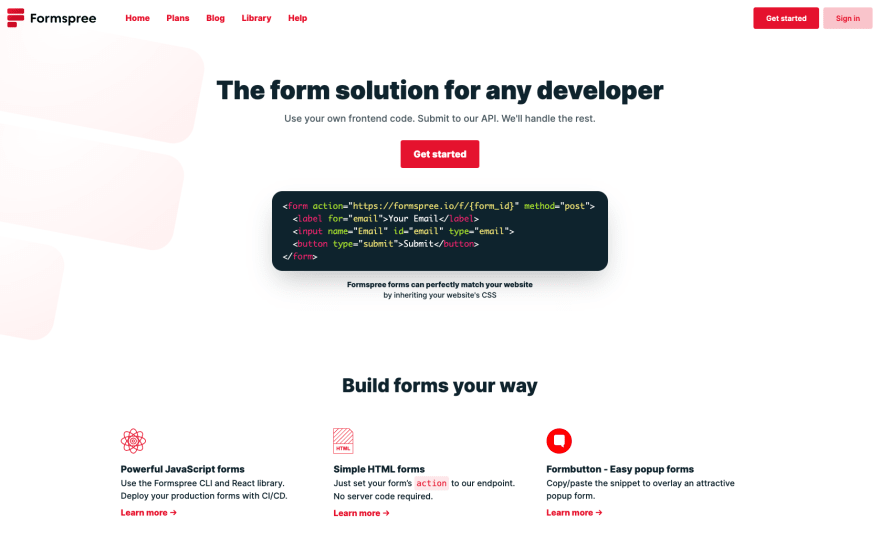
2. The second option is, to use a form backend service provider
Even though a simple website like ours doesnt use a backend, we can still make use of one in the form of a form backend provider. All you need to do is create an account with the provider and connect it to your frontend code. Thats a very basic explanation, I know. Lets look at it in a bit more detail.
This is a very basic contact form.

When you add this bit of code to your HTML code and then click the Submit button, nothing much happens. Thats because the form doesnt have anywhere to point to yet. However, this code already has all the necessary bits needed to use it in combination with the service mentioned above. You just have to connect it.
All it takes now, is to create a free account with a provider like Formspree (there are others, Google knows them).
Once you have your account, log in. You will now see something similar to this (you wont see the contact form settings yet). Create a new form by clicking the + and New form:

And then simply set a name for the form and most importantly add the email address you would like to use in order to receive the messages sent through your contact form. All thats left to do now, is to integrate your new form into your HTML code. For this you need two things:
- the action attribute set to the new form endpoint provided to you
- the method attribute set to POST
Add both attributes to your form element and thats it. If you want, you can also go through the settings menu and add things like reCAPTCHA to your form.

One thing to mention here is, at the time of writing this article the free version of this set up allows up to 50 submissions per month. If you need more, youll have to subscribe to a paid account. If 50 submissions are enough, youre all set.
Conclusion:
Connecting a (contact) form on your website to your email account can be very easy, if you dont have any specific requirements. There are also other rather simple ways to achieve this goal, that dont require you to build a dedicated backend. However, the two options explained in this article, are the entry point to the question How can I connect my form to my email and therefore provide a simple solution to this task.
Original Link: https://dev.to/patricklemmer/connect-your-contact-form-to-an-email-account-with-html-only-simple-quick-and-beginner-friendly-4j6j
Dev To
More About this Source Visit Dev To