
Some of Our Sources
- BoingBoing
- Web Designer Wall
- Just Creative
- Pearsonified
- Spoon Graphics
- Smashing Apps
- Six Revisions
- CSS Globe
- Design Modo
- Web Resource Source
Help Webnuz
Referal links:
How to configure a DFX project to use a React Frontend?
Prerequisites
I would highly recommend you go ahead and fork the following Google Keep project from the Codesandbox playground:

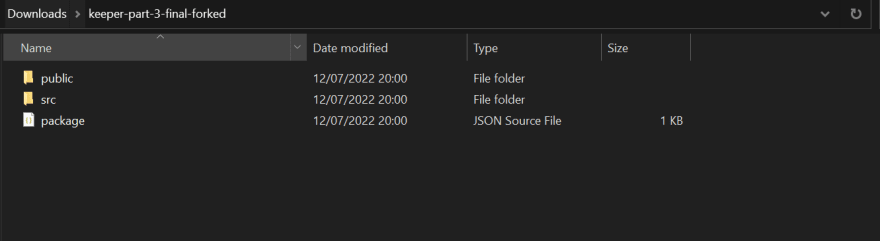
Then export the newly forked sandbox to your local directory like so:
Getting started
Before you start working with dfx projects, see the following documentation available online:
Setting up your react project
If you want to start working on your project right away, you might want to try the following commands from your Ubuntu terminal:
mkdir react-projectsChange directory into that folder using the command:
cd react-projectsInside this react-projects folder, were going to create our first Internet Computer DApp using the following command:
dfx new dkeeperYou should now see the Dfinity logo like so:
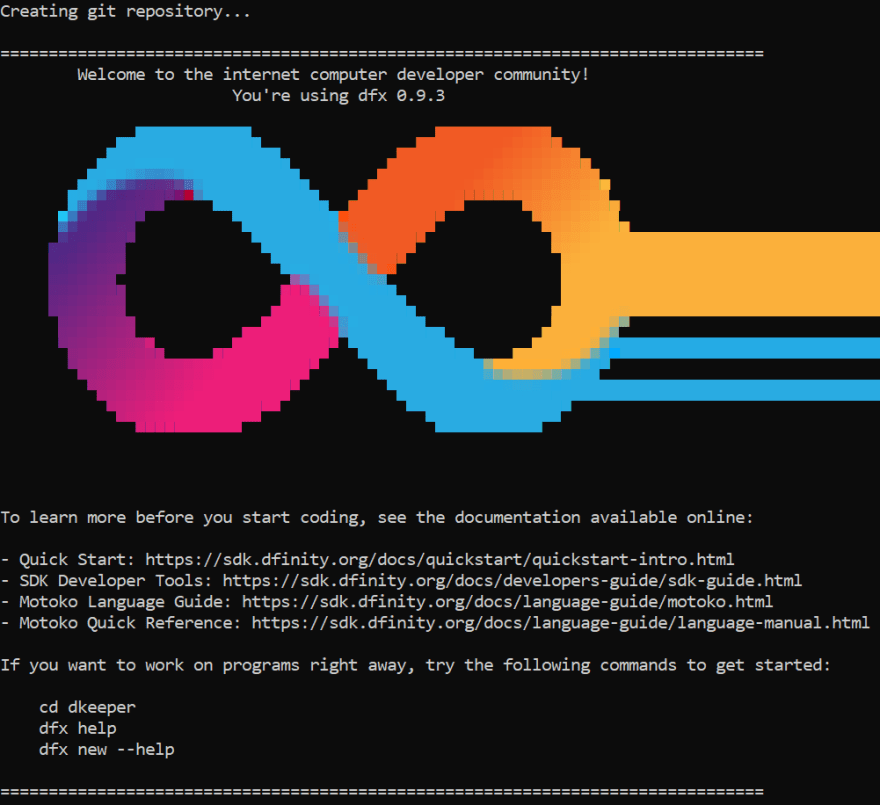
You can see this new project and folders by running the following command within the terminal:
explorer.exe .Now we can open up VSCode and see our brand new templated ICP DApps. It should open like this:

Then you can go ahead and replace the following files with the files from your Google Keep project like so:
DKEEPER [wsl: Ubuntu]|- /src |- declarations |- dkeeper |- dkeeper_assets |- styles.css (1) |- src |- index.html (2) |- index.jsx (3) |- components (4)Note - Remember to change the extension for our index.js file to index.jsx so that it works in-line with our webpack.config.js.
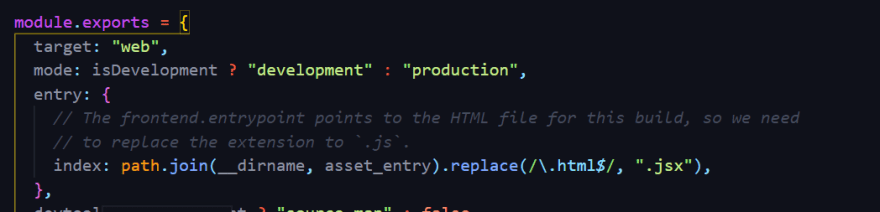
Modifying our Webpack Configuration
Cool! Now we have to configure our webpack.config.js entry point at line 51 so that it points to our renamed index.jsx file.
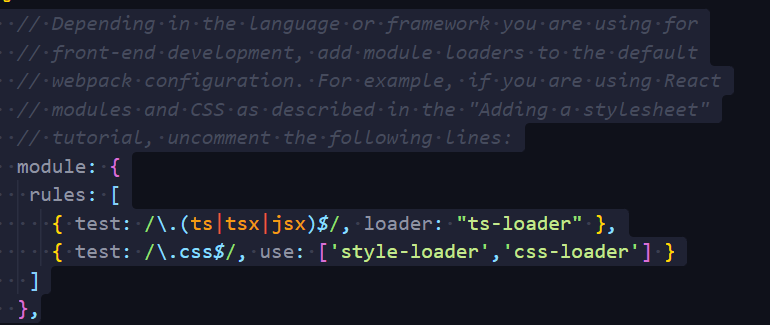
If you are using React then you should uncomment the following lines:
Creating our TsConfig Configuration
Then we will create a new file called tsconfig.json right above our webpack.config.js:
{ "compilerOptions": { "target": "es2018", /* Specify ECMAScript target version: 'ES3' (default), 'ES5', 'ES2015', 'ES2016', 'ES2017', 'ES2018', 'ES2019' or 'ESNEXT'. */ "lib": ["ES2018", "DOM"], /* Specify library files to be included in the compilation. */ "allowJs": true, /* Allow javascript files to be compiled. */ "jsx": "react", /* Specify JSX code generation: 'preserve', 'react-native', or 'react'. */ }, "include": ["src/**/*"],}Now you should go inside your package.json file and delete everything as we need to add the following dependencies we need for our project:
{ "name": "dkeeper_assets", "version": "0.1.0", "description": "Internet Computer starter application", "keywords": [ "Internet Computer", "Motoko", "JavaScript", "Canister" ], "scripts": { "build": "webpack", "prebuild": "npm run copy:types", "start": "webpack serve --mode development --env development", "prestart": "npm run copy:types", "copy:types": "rsync -avr .dfx/$(echo ${DFX_NETWORK:-'**'})/canisters/** --exclude='assets/' --exclude='idl/' --exclude='*.wasm' --delete src/declarations" }, "devDependencies": { "@dfinity/agent": "0.10.3", "@dfinity/candid": "0.10.3", "@dfinity/principal": "0.10.3", "@material-ui/core": "4.6.1", "@material-ui/icons": "4.5.1", "assert": "2.0.0", "buffer": "6.0.3", "copy-webpack-plugin": "^10.2.4", "css-loader": "^6.5.1", "events": "3.3.0", "html-webpack-plugin": "5.5.0", "process": "0.11.10", "stream-browserify": "3.0.0", "style-loader": "^3.3.1", "terser-webpack-plugin": "5.3.1", "ts-loader": "^9.2.6", "typescript": "^4.5.5", "util": "0.12.4", "webpack": "5.69.1", "webpack-cli": "4.9.2", "webpack-dev-server": "^4.4.0" }, "browserslist": [ "last 2 chrome version", "last 2 firefox version", "last 2 safari version", "last 2 edge version" ], "dependencies": { "@material-ui/core": "4.6.1", "@material-ui/icons": "4.5.1", "react": "^16.8.2", "react-dom": "^16.8.2", "react-scripts": "5.0.0", "uuid": "8.3.2" }}Deploy the DApp
Go to Terminal New Terminal
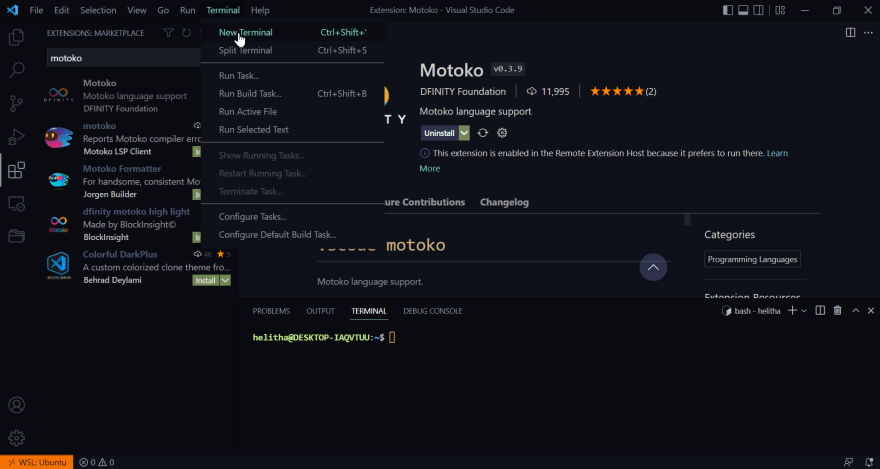
Inside your Terminal, run the following command to start the local dfx:
dfx startOnce you see the line INFO Starting server. Listening on https://x.x.x.x:8000/, then split out another terminal using (Ctrl + Shift + S).
Now go back to your new terminal pane and run the following command to deploy your hello project:
dfx deployFinally, once thats done, run the following command:
npm startNow youre ready to see your dkeeper project, open up your browser and go to: https://localhost:8080/
You should now see this:

Original Link: https://dev.to/hr21don/how-to-configure-a-dfx-project-to-use-a-react-frontend-1en2
Dev To
More About this Source Visit Dev To