
An Interest In:
Web News this Week
- April 24, 2024
- April 23, 2024
- April 22, 2024
- April 21, 2024
- April 20, 2024
- April 19, 2024
- April 18, 2024
Some of Our Sources
- Engadget
- Team Treehouse
- Smashing Apps
- TutsPlus - Design
- Web Design Ledger
- Freelance Switch
- Design Modo
- Android Dissected
- Codrops
- Hashedout
Help Webnuz
Referal links:
Amplication & React: Create the App
Welcome to this tutorial on how to build a full-stack application with Amplication.
What we will do is go step by step to create a Todos application using React for your frontend and Amplication for your backend.
If you get stuck, have any questions, or just want to say hi to other Amplication developers like yourself, then you should join our Discord!
Table of Contents
- Step 1 - Creating a new directory
- Step 2 - Starting with a blank canvas
- Step 3 - Adding our components
- Step 4 - Putting it together
- Step 5 - Wrap Up
Step 1 - Creating a new directory
create-react-app will create a new directory for our frontend application as well as handle the heavy lifting of configuring all of our build tools.
- Create a new folder to contain the frontend, and eventually the backend, application and then open a new terminal and run the command:
npx create-react-app web- In the newly created folder that contains
web/create apackage.jsonfile and copy into it the following:
{ "scripts": { "start": "npm --prefix web start", "postinstall": "npm ci --prefix web" }}- Then create a
.gitignorefile and copy into it the following:
/node_modules- Finally return to the terminal and run the command:
npm run startYou'll be greeted by the following screen:
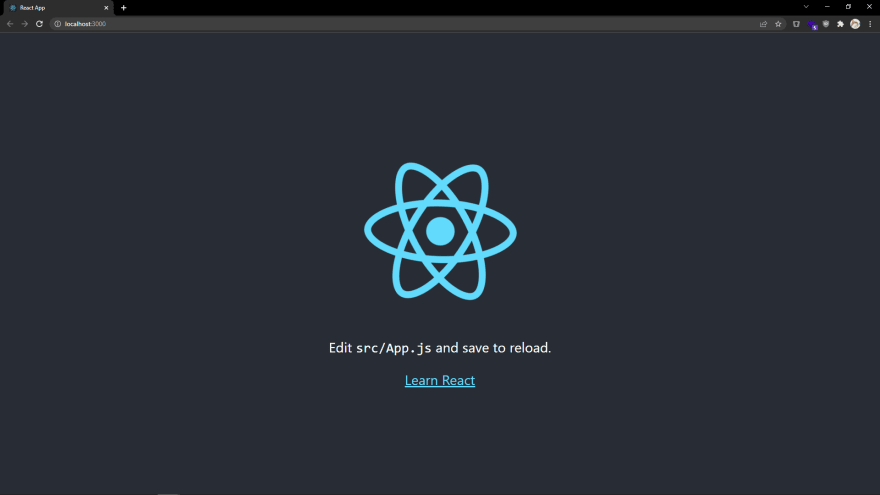
Step 2 - Starting with a blank canvas
While the introductory application is nice, we'll want to start with a blank canvas.
Open up the
amplication-reactdirectory in the IDE of your choice.Open up
web/src/App.cssand delete all the content in this file. Delete the fileweb/src/logo.svg.Open
web/src/index.cssand replace the content of this file with the following:
web/src/index.css
:root { --spacing: 4px; --font-size: 20px; --on-primary: #ffffff; --on-secondary: #ffffff; --primary: #f44336; --secondary: #2196f3; --text: #212121;}body { margin: 0; font-family: -apple-system, BlinkMacSystemFont, "Segoe UI", "Roboto", "Oxygen", "Ubuntu", "Cantarell", "Fira Sans", "Droid Sans", "Helvetica Neue", sans-serif; -webkit-font-smoothing: antialiased; -moz-osx-font-smoothing: grayscale;}button { border: none; background-color: var(--secondary); color: var(--on-secondary); font-size: var(--font-size); height: 60px; margin: var(--spacing) 0; max-width: 450px; width: 100%;}button[type="submit"] { background-color: var(--primary); color: var(--on-primary); text-transform: uppercase;}button:hover { filter: brightness(80%);}button:active { filter: brightness(120%);}code { font-family: source-code-pro, Menlo, Monaco, Consolas, "Courier New", monospace;}form { align-items: center; display: flex; flex-direction: column; margin: var(--spacing) 0; padding: calc(4 * var(--spacing));}input { background: transparent; border: 1px solid var(--text); border-radius: 3px; line-height: 30px; font-size: var(--font-size); margin: var(--spacing) 0; max-width: 416px; padding: calc(4 * var(--spacing)); width: 100%;}input[type="checkbox"] { height: 48px; margin: var(--spacing); width: 48px;}li { display: flex; height: calc(48px + calc(2 * var(--spacing))); max-width: 450px; width: 100%;}li.completed { text-decoration: line-through;}span { flex: 1; font-size: var(--font-size); line-height: calc(48px + calc(2 * var(--spacing)));}ul { align-items: center; display: flex; flex-direction: column; list-style-type: none; padding: calc(4 * var(--spacing));}- Then open
web/src/App.jsand replace the content in this file with below:
web/src/App.js
import "./App.css";function App() { return <div></div>;}export default App;Step 3 - Adding our components
To build this todo list app, we'll need a few components.
Task
Our first component will be used to render an individual task. It takes in as parameters:
task- The task object itself. It has the following properties:text- A string of the task itself.completed- A boolean property that tracks if a task is completed.id- A unique number to identify a task.
toggleCompleted- This function bubbles up when a user taps on the checkbox, toggling the state of the task.
Create the following file with this code.
web/src/Task.js
import { useState } from "react";export default function Task({ task, toggleCompleted }) { const [completed, setCompleted] = useState(task.completed); return ( <li className={completed ? "completed" : "incompleted"}> <span>{task.text}</span> <input type="checkbox" checked={completed} onClick={() => toggleCompleted(task.id)} onChange={() => setCompleted(task.completed)} readOnly /> </li> );} Tasks
Our second component will be used to render a list of tasks. It takes in as parameters:
tasks- An array of tasks.toggleCompleted- This function bubbles up when a user taps on the checkbox in theTaskcomponent, toggling the state of the task.
Create the following file with this code.
web/src/Tasks.js
import Task from "./Task";export default function Tasks({ tasks, toggleCompleted }) { return ( <ul> {tasks.map((task) => ( <Task key={task.id} task={task} toggleCompleted={toggleCompleted} /> ))} </ul> );} CreateTask
The final component will be a form to allow users to create a new task. It takes in as parameters:
addTask- This function bubbles up when a user submits the form with the new task they want to create.
Create the following file with this code.
web/src/CreateTask.js
import { useState } from "react";export default function CreateTask({ addTask }) { const [task, setTask] = useState(""); const handleChange = (e) => { setTask(e.target.value); }; const handleSubmit = (e) => { e.preventDefault(); addTask(task); setTask(""); }; return ( <form onSubmit={handleSubmit}> <input type="text" placeholder="TODO" value={task} onChange={handleChange} required /> <button type="submit">Add</button> </form> );}Step 4 - Putting it together
With our different components created, we'll next put them together and see how they work!
- Open up
web/src/App.jsand import React'suseStatefunction as well as our newly createdCreateTaskandTaskscomponents.
+ import { useState } from "react";import "./App.css";+ import CreateTask from "./CreateTask";+ import Tasks from "./Tasks";- In the
Appfunction we will want to create our tasks array, so we'll useuseStateto create a reactive array.
function App() {+ const [tasks, setTasks] = useState([]);- We'll also want ways to add and toggle the state of tasks.
function App() { const [tasks, setTasks] = useState([]);+ const createTask = (text, id) => ({+ id,+ text,+ completed: false,+ });++ const addTask = (task) => {+ const temp = [...tasks];+ temp.push(createTask(task, tasks.length));+ setTasks(temp);+ };++ const toggleCompleted = (id) => {+ let temp = [...tasks];+ const i = temp.findIndex((t) => t.id === id);+ temp[i].completed = !temp[i].completed;+ setTasks(temp);+ };- With all of our logic and components in place, we'll finally render our components! Replace the return statement with the following so we can see our tasks list and add tasks to that list.
return ( <div> <CreateTask addTask={addTask} /> <Tasks tasks={tasks} toggleCompleted={toggleCompleted} /> </div>);Step 5 - Wrap Up
Go ahead and try adding tasks or marking them as complete.

The only problem is that these tasks aren't being saved anywhere, so when you refresh the page poof they're gone. In our next step, we will create our backend with Amplication to be able to save our tasks to a database!
Check back nest week for step two, or visit the Amplication docs site for the full guide now!
To view the changes for this step, visit here.
Original Link: https://dev.to/amplication/amplication-react-create-the-app-4977
Dev To
More About this Source Visit Dev To