
An Interest In:
Web News this Week
- March 22, 2024
- March 21, 2024
- March 20, 2024
- March 19, 2024
- March 18, 2024
- March 17, 2024
- March 16, 2024
Some of Our Sources
- Techcrunch
- Just Creative
- Joshua Blankenship
- The Logo Smith
- Abduzeedo
- Line 25
- 24 Ways
- CSS Tricks
- Codrops
- TechPowerUp
Help Webnuz
Referal links:
How to Create NFT Pixel Art - Much Exclusive Doge Yacht Club Collection - Part II - Backgrounds
This tutorial is a continuation of How to Create NFT Pixel Art - Much Exclusive Doge Yacht Club Collection - Part I.
If you haven't checked out the previous tutorial, I recommend going over it since you will need it in order to follow this tutorial.
In the last tutorial, we created the different layers for our NFT collection.
In my case, I have created the following layers:
Base Folder -> Standard.png , Grey.png, Silver.png (3 total)
Eyes Folder -> Standard.png , Suspicious.png, Red.png (3 total)
(You can see some extra layers below compared to the ones we had in the last tutorial. This really depends on you and how many layers you want).
In this tutorial, we will be creating even more layers for our NFT collection. We will be creating the background layers.
To start doing this, open a new project on Photopea.
Set the following values in the pop-up window and click on Create.

Name: NFT ALIGNED (Could be any name)
Width: 600 Pixels
Height: 600 Pixels
DPI: 300
Background: Transparent
You might notice that the values correspond to the same values we used on the previous tutorial when we sized up the images.
This is because we need to have the same dimensions for the background layers as for the layers that we created in the first part of the tutorial, so that when we stack the layers on top of each other, the dimensions match and we get a single image (NFT).
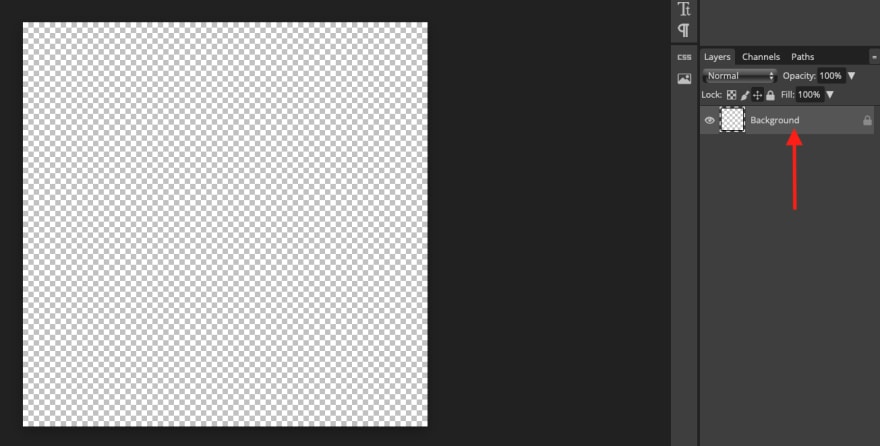
Once you create the new project, you should have a single layer on the right side named Background.
Go to the folder where you have the rest of your layers.
Grab the layers in the Base folder and drop them on the right side of the editor under the single Background layer.

Do the same with the other folders until you have moved all the layers in the editor.
Once you have moved all the layers to the editor, arrange them in the following order:
- Traits (eyes, ears, accessories, etc)
- Base/Body
- Background
You can arrange the layers by clicking on them
and moving them up and down.
Select the Background layer and go to bottom bar.
Click on the half circle icon and then on Color Fill.

Select a color for your background and click OK.
You will see that the canvas on the left will change to that color.

Choose a new name for the Background layer based on the color.
Make copies of the Background layer by using Command + J (On Mac) and create some more background layers for your collection.
You can double-click on any of these background layers to select a new color.

Now that we have the background layers ready, click on the eye icon next to the layers and activate only one trait per folder to see what one complete NFT will look like.
In my case, I have activated the following layers:
Background: Red
Eyes: Right
Base/Body: Black

As you can see, the layer for the eyes is not aligned at all.

To move a layer on the canvas, go to the left bar of the editor and select the move tool.
Select the layer on the right side of the editor, go to the layer on the canvas and click and hold to move that layer around the canvas.

Try activating the different layers for your NFTs and make sure that they're all aligned. If not, this is where you want to align them.
Once you have all the layers where you want them to be, it's time to download them again.
Activate the eye icon on the layer that you want to download and deactivate the eye icon for the rest of layers.
Go to File > Export As > PNG

A new pop-up window will appear. Give a name to the layer and click Save.

Do this with all the layers including the background layers.
We did something similar in the last tutorial, however, those layers were not aligned and we were missing the background layers.
After you download all the layers, go to the folder for your collection and create a new folder for these new aligned layers.

Inside this folder, create folders to organize the layers as we did in the previous tutorial and move the layers accordingly.
The only difference with the layers from the previous tutorial is that these layers are aligned and we also have a new folder for the background layers.

These folders will contain the layers that we will put into the Python library to generate the NFT collection.
For now, I will stop here, but stay tuned for Part III.
If you are a visual learner, make sure to check out the video series on how to make NFTs.
Don't forget to subscribe and follow me on Twitter.
If you think this tutorial is helpful, please share it with others.
Twitter:
OpenSea
Youtube:
Original Link: https://dev.to/balt1794/how-to-create-nft-pixel-art-much-exclusive-doge-yacht-club-collection-part-ii-backgrounds-158c
Dev To
More About this Source Visit Dev To