
An Interest In:
Web News this Week
- April 2, 2024
- April 1, 2024
- March 31, 2024
- March 30, 2024
- March 29, 2024
- March 28, 2024
- March 27, 2024
Some of Our Sources
- Web Designer Wall
- Joshua Blankenship
- TutsPlus - Design
- Creative Curio
- Fuel Your Creativity
- Naldz Graphics
- My Ink Blog
- Specky Boy
- CSS Tricks
- Freelance Switch
Help Webnuz
Referal links:
Nextjs: Oauth and Credentials authentication with NextAuth
If you've been looking for a good authentication solution for your Nextjs project you've probably heard about NextAuth.
NextAuth is a popular library with useful features such as: magic links, JWT, Sessions with databases, Arbitrary credentials and a (probably) full list of all the Oauth 2.0 providers! Today we're gonna take a look at NextAuth.
Let's Get Started
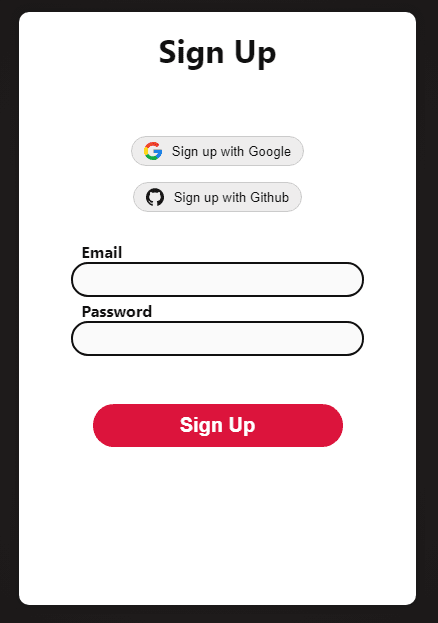
We will build a simple registration form. Once we successfully sign up either with Google, Github, or with our credentials the app will redirect us to a protected page.
This guide is divided by two part:
The first part we'll look to how to integrate Google and Github registration with our project, This is why you'll find the inputs are disabled in the starter project below.
The second part i'll talk about registering with your credentials (i'm sure you're already guessed it hehe)
You may also find this article worth taking a look at:

Table Of Contents
- Starter Project
- Configuration needed for Oauth 2.0
- Configuring NextAuth
- How does It Work
- Signing Up
- Protecting the Secret Page
- Welcoming the user
- Signing Out
- Conclusion
Starter Project
Go ahead and clone this repo, This is just a simple form with simple styling git clone https://github.com/m0nm/next-auth-example // clone the repo npm install // install the depsnpm i next-auth // install next-auth package
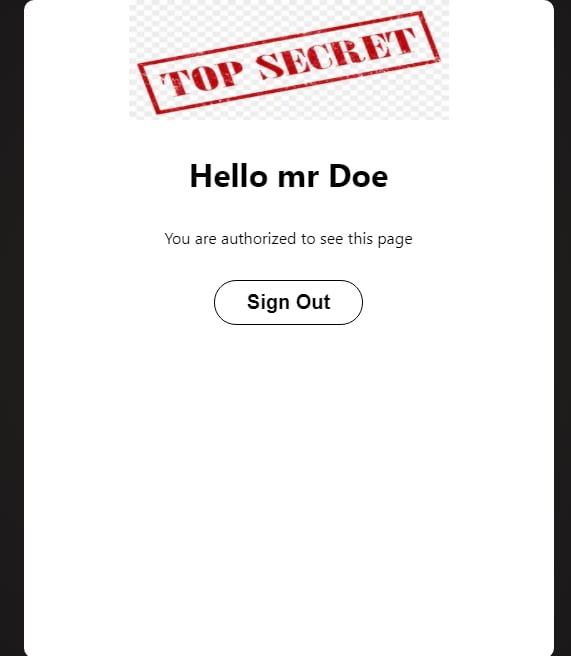
And here is the secret page the user will be redirected to.
pretty stylish i know
Configuration needed for Oauth 2.0
Before proceeding we need to get what is called as the Client ID and the Client Secret from Google and Github so we can use them for our app.
Go to google console and follow me:
- Create a new project

- Configure Oauth screen consent

- Create new Oauth credentials
Note: Since we're working on a local machine the homepage URL is: "http://localhost:3000". But once you deploy your app make sure to change it to the new website address.
Authorized JavaScript origins: http://localhost:3000
Authorized redirect URIs: http://localhost:3000/api/auth/callback/google
Github
Go to GitHub Developer website and fill the required fields
Note: Since we're working on a local machine the homepage URL is: "http://localhost:3000". But once you deploy your app make sure to change it to the new website address.
HomePage URL: http://localhost:3000
HomePage Callback URL: http://localhost:3000/api/auth/callback/github

After you finish with the fields hit "Register application" and Github will give you the client id and the client secret.
Store them in .env.local file
// .env.localGOOGLE_ID="YOUR GOOGLE CLIENT ID"GOOGLE_SECRET="YOUR GOOGLE CLIENT SECRET"GITHUB_ID="YOUR GITHUB CLIENT ID"GITHUB_SECRET="YOUR GITHUB CLIENT SECRET"After we obtained what we need now we can continue.
Configuring NextAuth
To Add NextAuth to our app create a file called [...nextauth].js in pages/api/auth. This is a catch-all dynamic route handler, meaning that all requests (signIn, signOut) will be handled by NextAuth
import NextAuth from "next-auth"import GoogleProvider from "next-auth/providers/google"import GithubProvider from "next-auth/providers/github"export default NextAuth({ providers: [ // Configure Google GoogleProvider({ clientId: process.env.GOOGLE_ID, clientSecret: process.env.GOOGLE_SECRET, }), // Configure Github GithubProvider({ clientId: process.env.GITHUB_ID, clientSecret: process.env.GITHUB_SECRET, }) ],})We also need to wrap our app inside SessionProvider
import "../styles/globals.scss";import { SessionProvider } from "next-auth/react";function MyApp({ Component, pageProps }) { return ( <SessionProvider session={pageProps.session}> <Component {...pageProps} /> </SessionProvider> );}export default MyApp;And that's it! NextAuth is ready to be used.
How Does It Work
the NextAuth package provide a client side hook useSession and a server side method getSession. These two return a session object which we can use to protect a page or to conditionally render a component.
const {data: session} = useSession()The session object will generally looks like this
session: { user: { name: "user name", email: "user email", image: "user image" }}The package also provide us with signIn and signOut methods. We can know their use intuitively by their name.
Note!
The signIn() method acceptes a string that represent a provider (ex: "google" or "github"), If you don't specify an argument, the method will redirect the user to the built-in sign in page. Which we don't want in our case
// This will redirect the user to built-in sign page<button onClick={() => signIn()}>Sign In</button>// This will skip the built-in page and redirect the user directly to the google Oauth sign-in flow<button onClick={() => signIn("google")}>Sign In</button>Signing Up
Now all we is to fire signIn when a user click on Google or Github sign in button.
// ./pages/index.jsimport React from "react"import {signIn} from "next-auth/react"function Home() { const handleSignIn = (provider) => { // the redirect url must be an absolute url! const redirect = window.location.href + "/secret" signIn(provider, {callbackUrl: redirect}) } return ( {/* oauth */} {/* google */} <button onClick={() => handleSignIn("google")} className={styles.oauth}> <Image src={googleSvg} width="18" height="18" alt="" /> <span>Sign up with Google</span> </button> {/* github */} <button onClick={() => handleSignIn("github")} className={styles.oauth}> <Image src={githubSvg} width="18" height="18" alt="" /> <span>Sign up with Github</span> </button> )}After the user successfully sign in he will be redirected to the protected page because we specified callbackUrl option for signIn method
// the redirect url must be an absolute url!const redirect = window.location.href + "/secret"signIn(provider, {callbackUrl: redirect})Protecting the Secret Page
To protect this page we need to check if there is a session, If none the user will be automatically redirected to the start page.
We'll use the getSession method on the server side to check for session and to handle redirection.
// ./pages/secret.jsximport {getSession} from "next-auth/react"function Secret() { ...}export const getServerSideProps = async (context) => { // get the session const session = await getSession(context); // redirect the user if there is no session if (!session) { return { redirect: { destination: "/", permanent: false, }, }; } return { props: {} };}; As you can see we're using the redirect key if no session was provided by getSession
Welcoming the user
We can use the session object we get from getSession to render the user name in the secret page
import React from "react"import {getSession} from "next-auth/react"function Secret() { return ( <h1>Hello mr {session.user.name}</h1> <p>You are authorized to see this page</p> )}export const getServerSideProps = async (context) => { // get the session const session = await getSession(context); // redirect the user if there is no session if (!session) { return { redirect: { destination: "/", permanent: false, }, }; } // passing the session object to the page return { props: {session} };}; Signing Out
Just like with signing in, We have to fire signOut when the user click on sign out button
import React from "react"import {signOut} from "next-auth/react"function Secret() { const handleSignOut = () => { signOut() } return ( ... <button onClick={handleSignOut}>Sign Out</button> )}And now our app is working, Here is the final code
Conclusion
We've reached the end of this post, If it was helpful to you i would appreciate it if you leave a . See you soon on the next part!
Original Link: https://dev.to/m0nm/nextjs-oauth-and-credentials-authentication-with-nextauth-553h
Dev To
More About this Source Visit Dev To