
An Interest In:
Web News this Week
- April 19, 2024
- April 18, 2024
- April 17, 2024
- April 16, 2024
- April 15, 2024
- April 14, 2024
- April 13, 2024
Some of Our Sources
- Slashdot
- Simplebits
- The Logo Smith
- Smashing Apps
- TutsPlus - Design
- You The Designer
- Inspiredology
- Crazy Leaf Design
- 24 Ways
- Android Dissected
Help Webnuz
Referal links:
How to Protect Your NextJS Website from Clickjacking?
Hey Guys
In this blog, I will be discussing how to protect the NextJS website from Clickjacking vulnerability using X-Frame-Options or Content-Security-Policy.
Introduction
Clickjacking is one of the most common vulnerabilities, which occurs when a web browser allows HTML content from one domain, to be displayed inside a framed page from another domain.
Clickjacking attacks trick victims into clicking buttons or links on a different site than the main webpage. This attack tricks victims into clicking on links or buttons that they didn't intend to, with the attackers' malicious links.
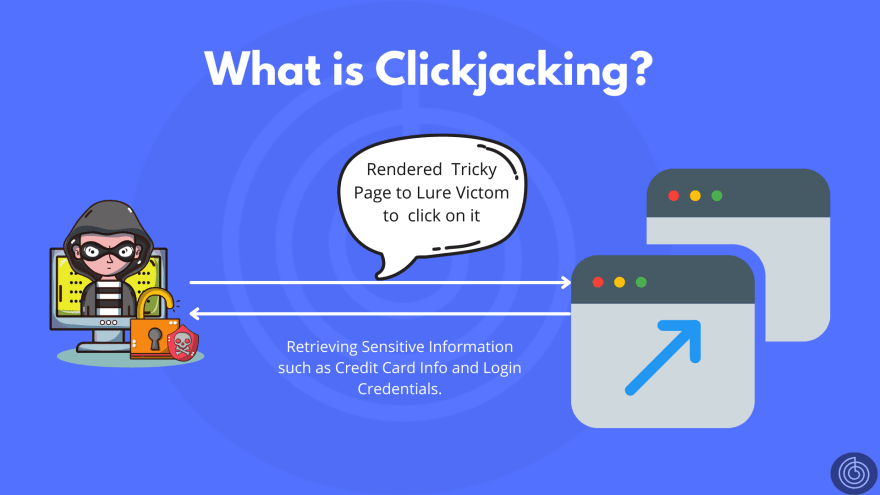
What is Clickjacking?
Clickjacking is a web security vulnerability that allows an attacker to hijack clicks meant for a victim. The attacker creates an invisible iframe and uses it to display the contents of a legitimate webpage in the background while the victim is browsing a different website.
How to prevent Clickjacking on NextJS Application?
Clickjacking can be prevented using Content Security Policy or using X-Frame-Options header. Before knowing how to fix Clickjacking, let's understand both terms in detail.
Content Security Policy (CSP) is a mechanism web applications can use to mitigate a broad class of content injection vulnerabilities, such as cross-site scripting (XSS).
On the other hand, the **X-Frame-Options** header is an HTTP response header that instructs the browser whether the current page can be rendered in a <frame> , <iframe> , <embed> or <object> .
Step 1 - Create a NextJS Config File
First of all, create a new file named next.config.js. In this config file, we will add our security headers.
Step 2 - Add Security Headers
Now that we have our config file let's add X-Frame-Options header details. Create a following array of objects in next.config.js file.
const securityHeaders = [ { key: 'X-Frame-Options', value: 'SAMEORIGIN' },]You can add CSP as well to prevent clickjacking.
Content-Security-Policy: frame-ancestors 'none';
Feel free to change value SAMEORIGIN to DENY or ALLOW-FROM uri based on your needs.
Step 3 - Set Headers to Routes
After creating an array of headers, we need to apply these headers to different routes (all routes in our case). Add the following code block just below the securityHeaders array.
module.exports = { reactStrictMode: true, async headers() { return [ { // Apply these headers to all routes in your application. source: '/(.*)', headers: securityHeaders, }, ] }}Step 4 - Test Your Application
We have now added the X-Frame-Options header to all our routes to protect our application from Clickjacking vulnerability. It's time we check if we have successfully prevented Clickjacking.
- Visit Vulnerable.Live
- Enter your domain URL and hit Enter
- Check if your application is vulnerable or not.
Conclusion
I hope you enjoyed this article about how to protect your NextJS site from Clickjacking. With this knowledge, we know that you can make the most of your website and not worry about it being vulnerable to Clickjacking! If you have any doubt, feel free to ask in the comments section. I will be happy to answer.
Original Link: https://dev.to/theinfosecguy/how-to-protect-your-nextjs-website-from-clickjacking-2jbg
Dev To
More About this Source Visit Dev To