
An Interest In:
Web News this Week
- April 24, 2024
- April 23, 2024
- April 22, 2024
- April 21, 2024
- April 20, 2024
- April 19, 2024
- April 18, 2024
Some of Our Sources
- Engadget
- Web Designer Wall
- Team Treehouse
- Spoon Graphics
- Six Revisions
- Abduzeedo
- Fuel Your Creativity
- FanExtra - PSD
- Freelance Switch
- Android Headlines
Help Webnuz
Referal links:
How to install Tailwind CSS via Visual Studio Code using NPM
Tailwind CSS lets you leverage utility classes to build your own components. This means you can reference Tailwind CSS classes directly in HTML.
Yup, you heard that right. You no longer need to create your own CSS. This will save you plenty of development time, so you can focus on other parts of your project.
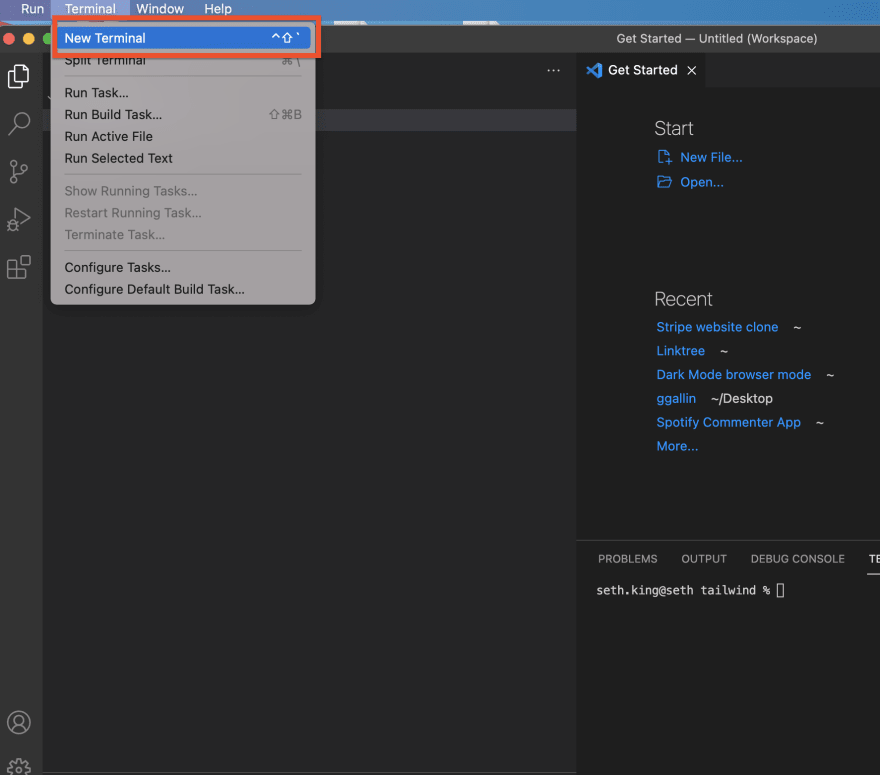
To begin, create a new folder on your desktop and open the folder in Visual Studio Code.
Get started
If you have Visual Studio Code, pull up the terminal.
Then type in npm -v. This command is necessary to see which version of npm you are running. If you don't have it installed, you'll have an error message. If you didn't download npm, don't worry. It's pretty easy, just search for it on Google.
Now go ahead and also install node.js. To make sure it's there, run npm -v again in the terminal. If you see your version, it's running and installed properly. If not, you're out of luck.
Nows our time for real trickery - type in npm install -d tailwindcss@latest postcss@latest autoprefixer@latest in your console.
You should see a lot of GET requests and 200 messages (which mean everything worked fine) roll in.

Reviewing your folders
After installing Tailwind CSS, you should see your folder has 3 files: node-modules, package-lock.json, package.json. In my case they are in the tailwind folder, that I set up. For the sake of this exercise, I also pulled in a Linktree clone I was working on.

The node-modules is a modules package. It's not really something I'm that well versed with, but it seems necessary to include (or so I hear). The package.json folder has the dependencies we download, as well as their file version.
At this point, we will add a configuration file to the package.json file.
Add a configuration file to the package.json file.
In the terminal, write down "npx tailwindcss init". It's something that has to happen eventually (or so I'm told), so it's better to get it out the way now. You'll then see a tailwind.config.js file pop up in your folder.

Now create a style.css file int the tailwind folder (it's fine if you call it something different). In this file, we will add some Tailwind directives. Type in:
@tailwind base;
@tailwind components;
@tailwind utilities;
These directives are pulled from the node_modules > Tailwind CSS folders.

Switch to package.json folder
Below is curly braces of the dependencies, add a comma and then in double qoutes add:
"scripts": {
    "build-css": "tailwindcss build style.css -o css/style.css"
  }
It's a simple key-value pair. build-css is the key, the value is tailwindcss. Build refers to what we want to build i.e our style.css file that we got. the -o specifies the output file. The final portion css/style/css tells the computer where we will store it.
Now in the console type in the script.
npm run build-css
This tells it to run the build-css key-value. Now you will see a new folder built with CSS file inside. I'll end our lesson here, as you've set everything up correctly. Now the fun part begins - building!
Original Link: https://dev.to/seth_king/how-to-install-tailwind-css-via-visual-studio-code-using-npm-445a
Dev To
More About this Source Visit Dev To