
An Interest In:
Web News this Week
- March 19, 2024
- March 18, 2024
- March 17, 2024
- March 16, 2024
- March 15, 2024
- March 14, 2024
- March 13, 2024
Some of Our Sources
- Slashdot
- TutsPlus - Code
- Pearsonified
- Spoon Graphics
- Six Revisions
- Abduzeedo
- Stylized Web
- Wal You
- Specky Boy
- Design Modo
Help Webnuz
Referal links:
Built-In Angular Pipes -Part 5
Today we will continue to learn the built in Angular pipes.
Pipes covered in this post -
LowerCasePipePercentPipeSlicePipeTitleCasePipeUpperCasePPipe
LowerCasePipe
This pipe is used to convert the string of alphabets in to lower case or in small letters
Syntax{{ value | lowercase }}
It is Exported from the CommonModule
It takes only string as Input.
Now lets see the example. Our playground

Lets paste in the below code in the component.ts file-
myName = 'JOHN DOE';In the component html file lets paste in the below code -
<hr><h2>Lowercase Pipe Demo</h2><h3>Without Pipe</h3><p>{{myName }}</p><h3>With Pipe</h3><p>{{myName | lowercase}}</p>In the browser you will see the below output 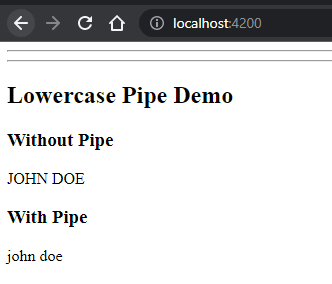
So here you can see without using pipe we are getting the original value but after using the lowercasePipe we are getting the value converted to lowercase.
PercentPipe
It modifies a number to a percentage string. It can be formatted according to locale rule that determines the size of the group and the separator.
Syntax{{ value_expression | percent [ : digitsInfo [ : locale ] ] }}
It is Exported from the CommonModule
It takes only string or number as Input.
ParametersdigitsInfo -
Its exactly the same as the digitsInfo in the decimal pipe. I would recommend you to have a look here
Lets see in practice -
We will be working in the same playground.
In the component.ts file lets paste the below code -
percentValue = 0.234769;& in the template file lets paste the below code -
<h2>Percent Pipe Demo</h2><p>{{ percentValue | percent }} </p>Lets see the output -
Here we can see that the output is 23%
Things to watch
The value got rounded and a percent sign has been appended.
Now if you update the percentValue variable to 0.237769
you will see the output to become 24%
If we do not pass the digits info in that case there is no digits after the decimal point and it will be rounded off.
Now lets see how digits info works. Lets paste in the below code in the template file -
<hr><h3>digitsInfo Example</h3><p>{{ percentValue | percent: '2.2-3'}} </p>Here the output will become -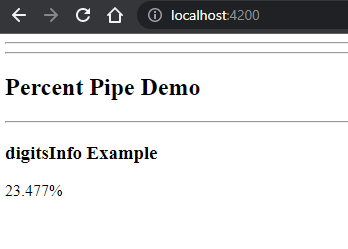
Explanation of the above output
Digit two (2) before the decimal signifies how many digits will be there before decimal point in the output.
Note
If the output value has 2 digits before decimal (for example in this case) but you give 1 before decimal in the digitsInfo (example <p>{{ percentValue | percent: '1.2-3'}} </p>) still you will see 2 digits before the decimal.
If you want 3 digits before the decimal then the digitsInfo should look like - 3.2-3 and 0 would be appended at the beginning.
1.2-3 => 2 and 3 signifies the minimum and maximum digits after the decimal place. It means minimum 2 digits will be there and maximum 3. Since the value we passed has more than 3 digits so we can see 3 digits after the decimal place.
SlicePipe
This pipe creates a subset of the input string or array of items.
Syntax{{ value_expression | slice : start [ : end ] }}
It is Exported from the CommonModule
It takes string or array as Input
Parametersstart
It is of type number
It is mandatory.
end
It is a number. Marks the end position of the string/ array (But end is not included).
It is optional
Default value is undefined.
Now lets jump in to see the example.
Lets add the below code in the component.ts file.
sliceDemoString = 'John Snow'; sliceDemoArray = ['a', 'b', 'c', 'd', 'e'];& in the template file lets add the below code -
<h2>Slice Pipe Demo</h2><hr><h3>Without using slice pipe</h3><p>{{ sliceDemoString }} </p><p>{{ sliceDemoArray }} </p><h3>Without using slice pipe</h3><p>{{ sliceDemoString | slice: 2 }} </p><p>{{ sliceDemoArray | slice: 1}} </p>Now the output will be like below - 
Explanation
Here we have used the slice pipe and in the first example we passed 2 as the staring point. So from the string John Snow the character Jo was sliced out/ removed and the remaining string was returned (J is the 0th index and it started from 2nd index).
In the second example we passed 1 so the first item or the 0th index item was removed and started from the 1st index.
Lets update the above code and write the below code in the template file -
<p>{{ sliceDemoString | slice: 2:4 }} </p><p>{{ sliceDemoArray | slice: 1:3}} </p>& the output will become -
So here in the first example the subset starts from 2nd index and ended in (end - 1) index the 3rd index.
In the second example the start index was 1 and end index was not 3 but (endIndex - 1) i.e. the 2nd index so b, c was returned.
TitleCasePipe
This pipe transforms the text to the title case. That is if you pass a sentence then every first letter of the word passed would become in capital case.
Syntax{{ value_expression | titlecase }}
It is Exported from the CommonModule
It takes a string as input.
Lets see in example. Lets add the below code in the component.ts file
titleCasePipeDemoString = 'You will be master in Angular very soon!';In the template file -
<h2>TitleCase pipe</h2><h3>Without using pipe</h3><p>{{ titleCasePipeDemoString }}</p><h3>With using the Titlecase pipe</h3><p>{{ titleCasePipeDemoString | titlecase}}</p>The output will become -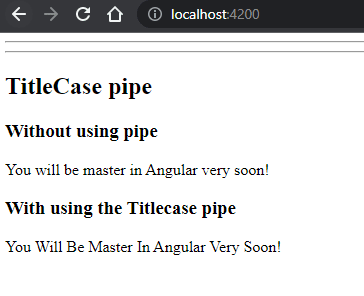
So here you can see every first letter of the word is capitalized.
The last pipe...........
UpperCasePipe
Its the opposite of LowerCasePipe. Converts the string into uppercase.
Syntax{{ value_expression | uppercase }}
It is Exported from the CommonModule
It takes a string as input.
Lets see in example. Lets add the below code in the component.ts file -
uppsercasePipeDemo = 'john snow';
In the template file -
<h2>UpperCase Pipe Demo</h2><h3>Without Pipe</h3><p> {{ uppsercasePipeDemo }}</p><h3>With Pipe</h3><p> {{ uppsercasePipeDemo | uppercase }}</p>The output will become -
It transforms the string we passed to uppercase.
That's all my friend. You have done a great job covering all the pipes (few I left intentionally will cover very soon).
Next coming up Creating custom pipe
Hope you enjoyed the post.
If yes do like comment and share. More Angular topics are on the way. Stay tuned.
Cheers!!!
Happy Coding
Original Link: https://dev.to/this-is-angular/built-in-angular-pipes-part-5-pco
Dev To
More About this Source Visit Dev To