
An Interest In:
Web News this Week
- April 25, 2024
- April 24, 2024
- April 23, 2024
- April 22, 2024
- April 21, 2024
- April 20, 2024
- April 19, 2024
Some of Our Sources
- TutsPlus - Code
- Web Designer Wall
- Just Creative
- The Logo Smith
- Smashing Apps
- Naldz Graphics
- FanExtra - PSD
- CSS Globe
- 24 Ways
- Web Resource Source
Help Webnuz
Referal links:
How to apply filters to images with Python
A few weeks ago, we received a new ticket: Users want to be able to apply filters to their pictures, yes, something like Instagram does. We immediately thought about the Lightroom API, but after some research, we came to the conclusion that it doesnt quite meet our needs. We were searching for something like a library, where we can just load the image, apply the filters and then save the new image with the filters applied, since we couldnt find it we decided to build one.
FImage
FImage is a Python module to apply and create multiple filters to images, it exposes an API that you can use for applying the different color transformations to the images. It works by converting the image to an RGB matrix and applying different math formulas to it. We used NumPy for all the matrix operations since it is faster and optimized, and Pillow for handling the loading and saving of the images.
How to use it?
First, we need to install it, for this you need to be using Python 3.6 or greater to be able to use FImage.
pip install fimageAnd for these examples, Im gonna use this picture to apply it filters:

Applying a simple filter
Create a file app.py with:
from fimage import FImagefrom fimage.filters import Sepiadef main(): # replace 'my_picture.jpg' with the path to your image image = FImage('my_picture.jpg') # apply the Sepia filter to the image image.apply(Sepia(90)) # save the image with the applied filter image.save('my_picture_sepia.jpg')if __name__ == "__main__": main()Now, just run it :
python app.pyAnd this is how the new image my_picture_sepia.jpg looks like after the filter was applied.
Applying multiple filters
FImage offers more filters besides the Sepia one, even you can combine multiples filters to give a better look to your picture.
Modify the file app.py to import more filters from FImage
from fimage import FImagefrom fimage.filters import Contrast, Brightness, Saturationdef main(): image = FImage('my_picture.jpg') # apply the mutiple filters to the image image.apply( Saturation(20), Contrast(25), Brightness(15) ) # save the image with the applied filter image.save('my_picture_mixed.jpg')if __name__ == "__main__": main()We run it by
python app.pyAnd our new my_picture_mixed.jpg looks like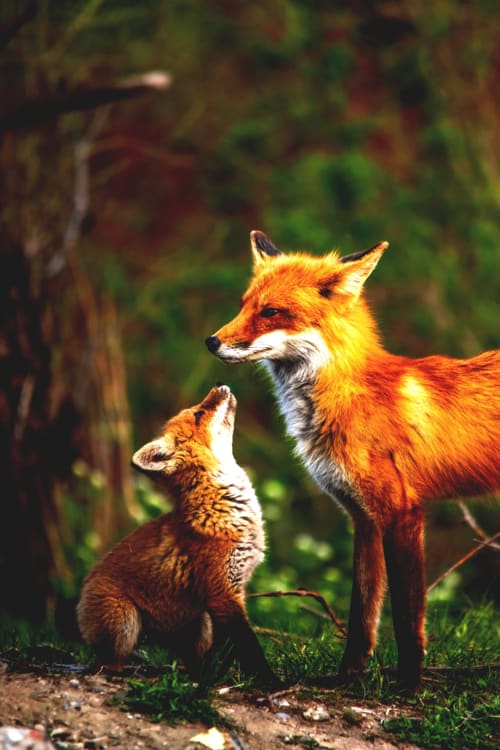
The order in which the filters are passed to the apply function matters, this is because the filters are applied sequentially, so the next filter will be applied over the resultant image from the previous one.
Presets
Presets are just the combinations of multiple filters with already defined adjustment values.
Lets change our app.py one more time to use the Presets
from fimage import FImagefrom fimage.presets import SinCitydef main(): # replace 'my_picture.jpg' with the path to your image image = FImage('my_picture.jpg') # apply the SinCity preset to the image image.apply(SinCity()) # save the image with the applied preset image.save('my_picture_sincity.jpg')if __name__ == "__main__": main()After we run it, we get our new my_picture_sincity.jpg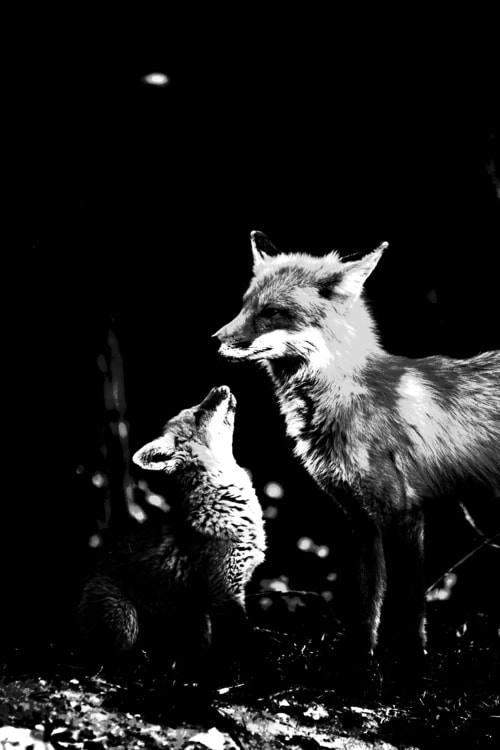
Custom Presets
If you like the look your picture got after testing different filters and want to store this combination for applying it to more pictures, you can create your own Preset by just extending the Preset Class and specifying these filters and their adjust values in it.
In our app.py lets do
from fimage import FImagefrom fimage.presets import Presetfrom fimage.filters import Contrast, Brightness, Saturation# Create my custom preset and specify the filters to applyclass MyOwnPreset(Preset): transformations = [ Contrast(30), Saturation(50), Brightness(10), ]def main(): # replace 'my_picture.jpg' with the path to your image image = FImage('my_picture.jpg') # apply MyOwnPreset to the image image.apply(MyOwnPreset()) # save the image with the applied preset image.save('my_picture_custom.jpg')if __name__ == "__main__": main()The new my_picture_custom.jpg

This is basic usage of FImage, we are still developing it, and it would be really great any feedback or contribution you have.
Original Link: https://dev.to/juanbenitezdev/how-to-apply-filters-to-images-with-python-3p8e
Dev To
More About this Source Visit Dev To