
An Interest In:
Web News this Week
- April 16, 2024
- April 15, 2024
- April 14, 2024
- April 13, 2024
- April 12, 2024
- April 11, 2024
- April 10, 2024
Some of Our Sources
- Web Designer Wall
- Team Treehouse
- Pearsonified
- Spoon Graphics
- Smashing Magazine
- Vandelay Design
- FanExtra - PSD
- My Ink Blog
- Design Modo
- Android Dissected
Help Webnuz
Referal links:
Deep Dive to Train, Deploy and Evaluate a Model in Amazon SageMaker
Problems faced to train a model as it is complex and time consuming. Amazon SageMaker makes a task easy and quick to train, deploy and evaluate a model. It is also secured and cost optimized.
Amazon SageMaker is a managed service in the Amazon Web Services (AWS) public cloud. It provides the tools to build, train and deploy machine learning (ML) models for predictive analytics applications. The platform automates the tedious work of building a production-ready artificial intelligence (AI) pipeline. Machine learning has a range of uses and benefits. Among them are advanced analytics for customer data and back-end security threat detection. Deploying ML models is challenging, even for experienced application developers. Amazon SageMaker aims to simplify the process. It uses common algorithms and other tools to accelerate the machine learning process.
In this post, you will get to know how to train, deploy and evaluate a model in Amazon Sagemaker. Here I have created a sagemaker notebook instance and created a jupyter notebook where I have run python to train, deploy and evaluate a model with Amazon S3. Also checked the logs and metrics in cloudwatch.
Architecture Overview

The architecture diagram shows the overall deployment architecture with data flow, Amazon SageMaker, Amazon S3.
Solution overview
The blog post consists of the following phases:
- Create a Amazon SageMaker Notebook Instance
- Create a Jupyter Notebook and also Download, Explore and Transform a Dataset
- Check of IAM role created and Train a Model
- Deploy the Model to SageMaker Hosting Services as Amazon EC2 and Evaluate the Model
- Check of Log Streams in Cloudwatch Log Groups for SageMaker and other parameters in Metrics of Cloudwatch
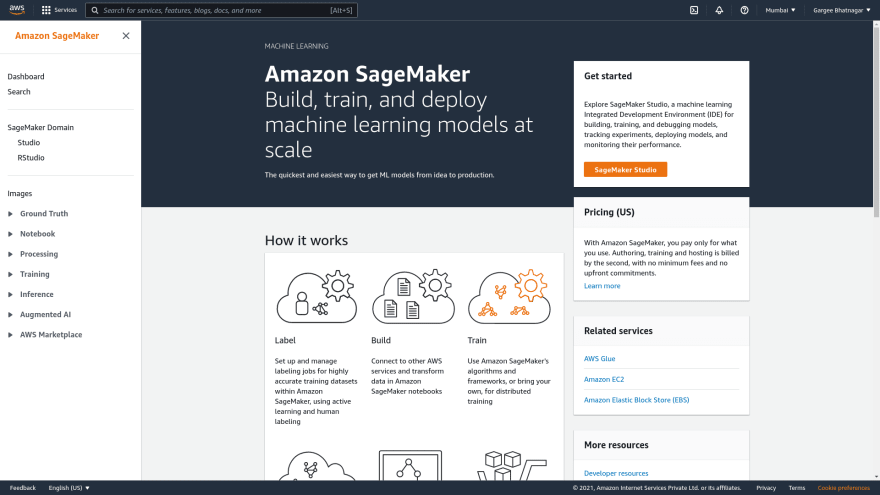
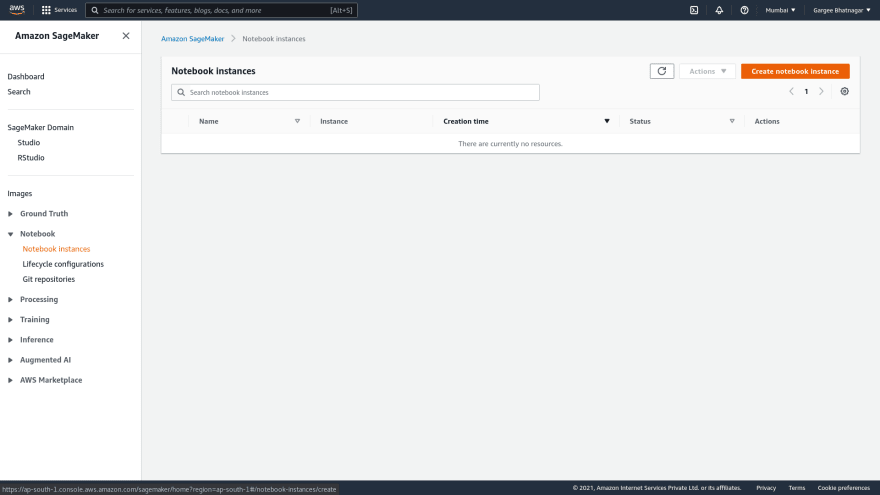
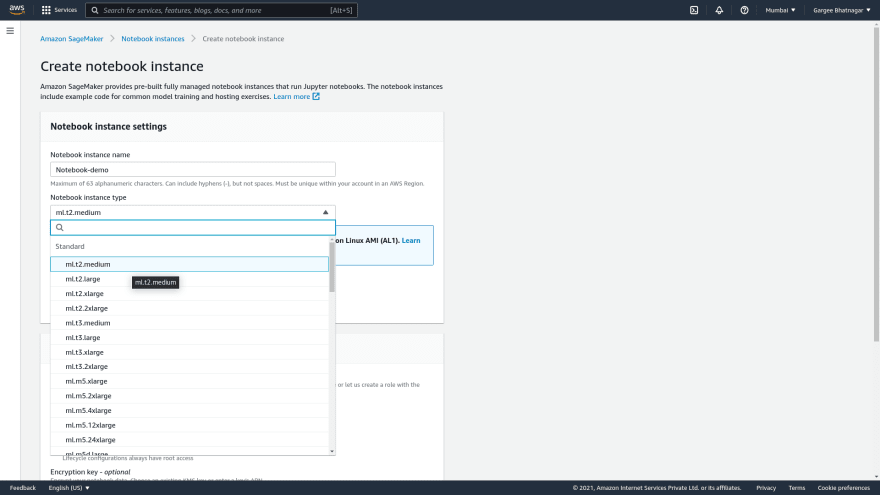
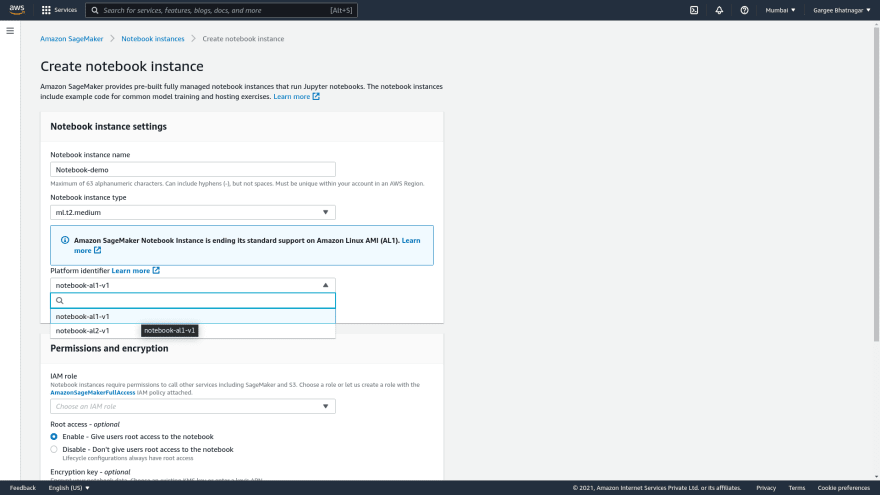
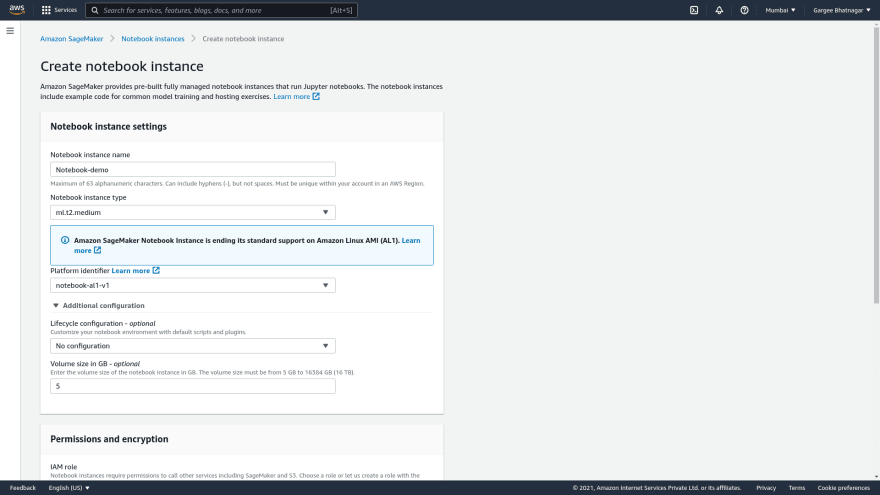
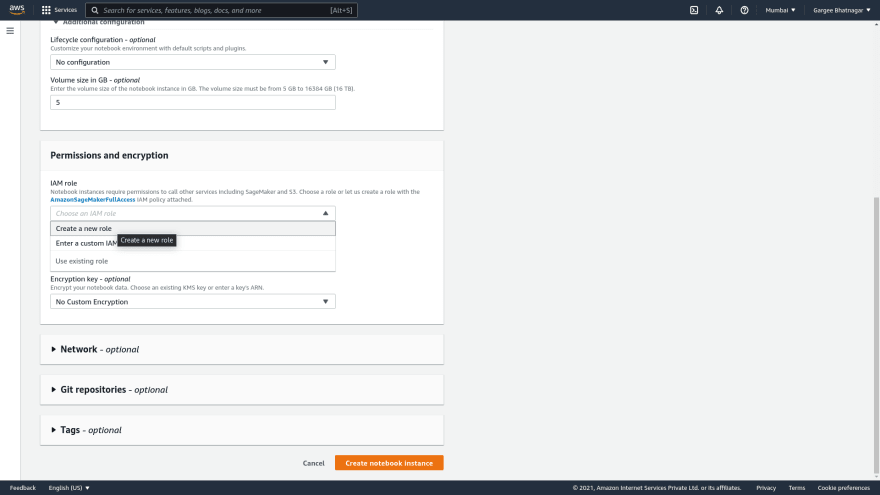
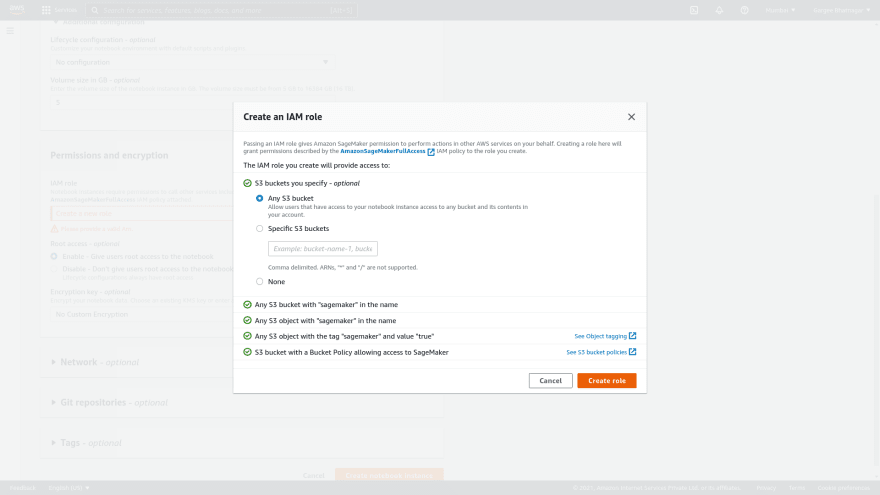
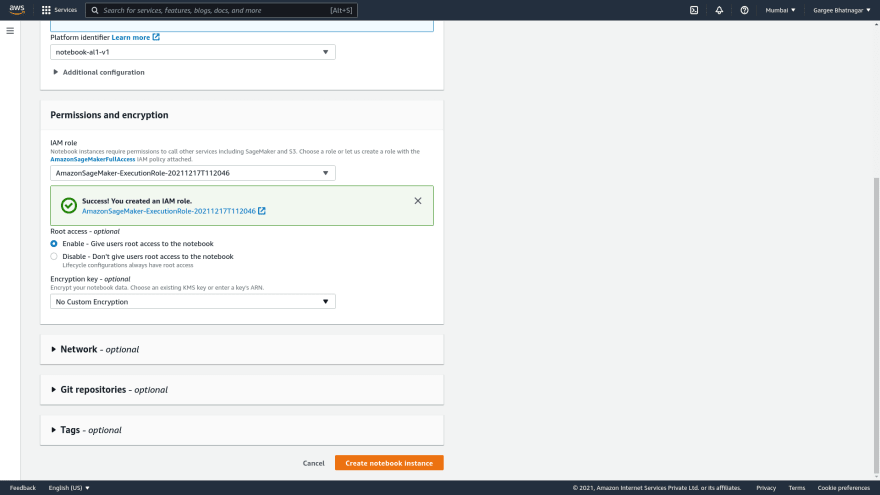
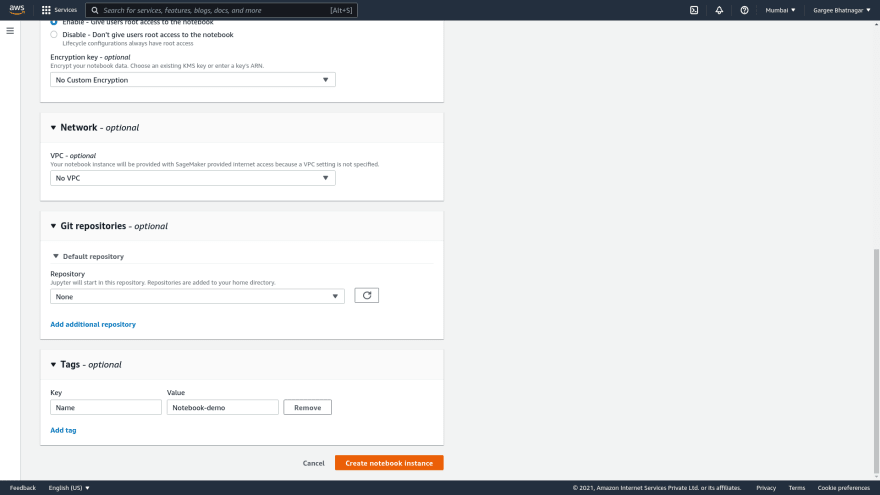
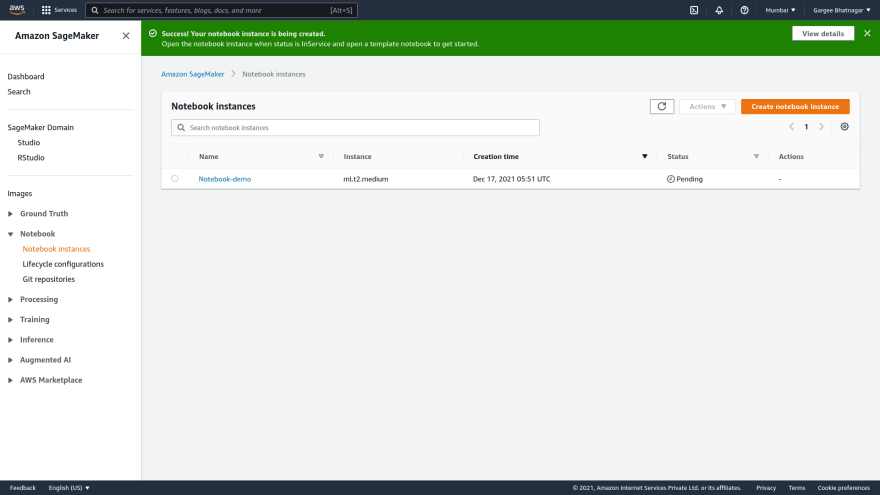
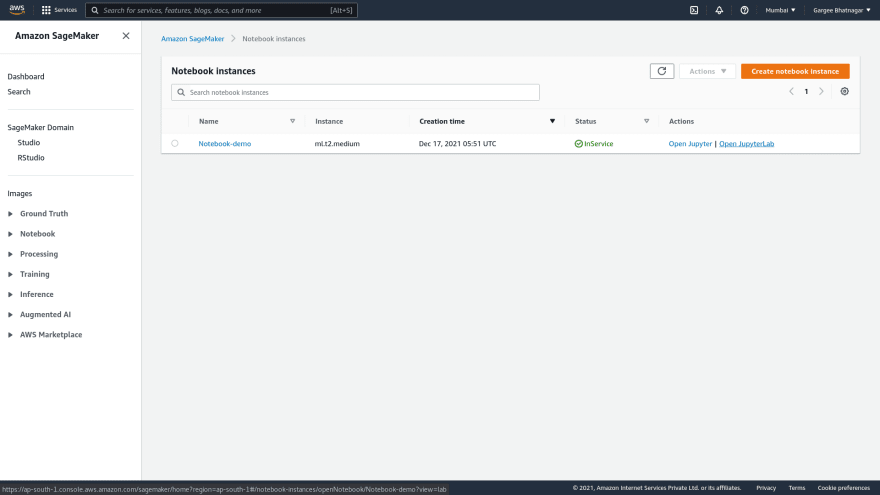
Phase 1: Create a Amazon SageMaker Notebook Instance
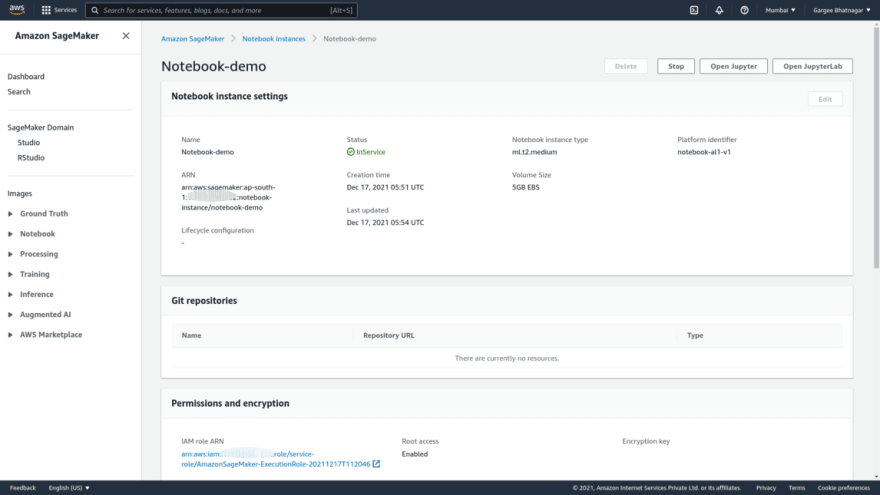
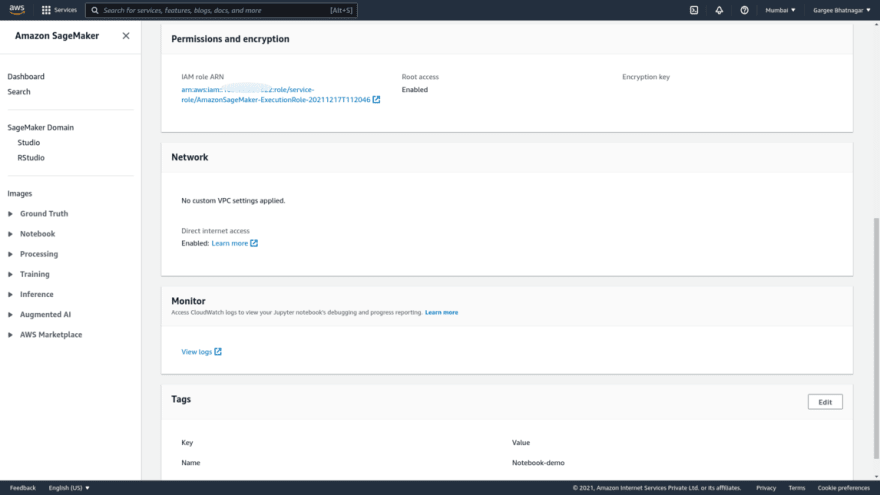
- Open the Amazon SageMaker console and then click on create a notebook instance. Given the notebook name as Notebook-demo and instance type as ml.t2.medium. Choose the platform identifier as notebook-al1-V1 and leave the other options as default. Create a new IAM role as for any s3 buckets. And then create a notebook instance. Once the notebook instance status is InService, we can check the configurations of the instance as per given. We can also modify the instance type and volume size after stopping the notebook instance.
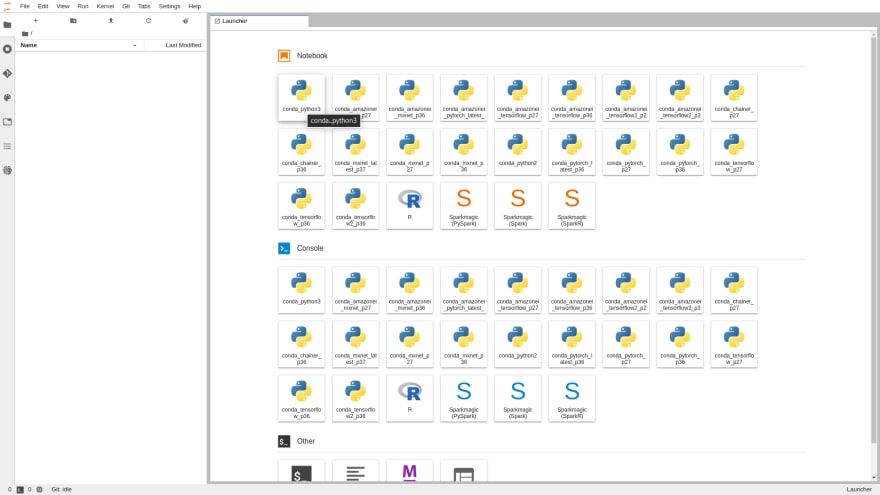
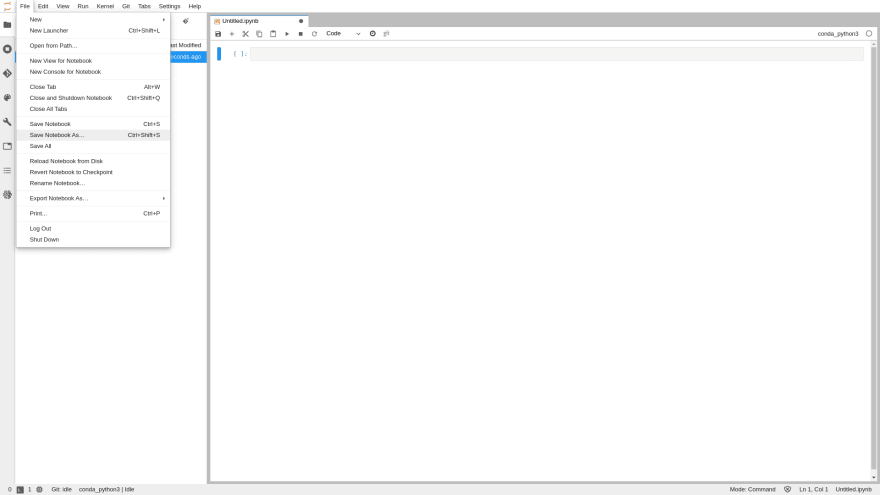
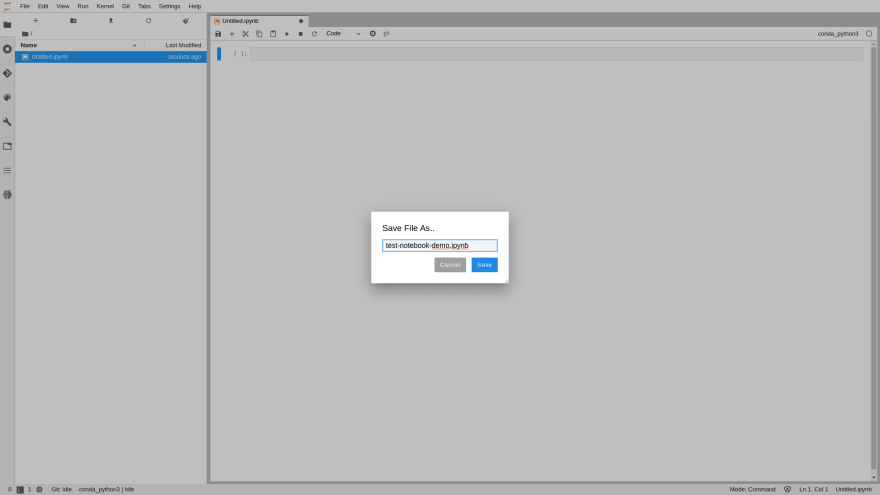
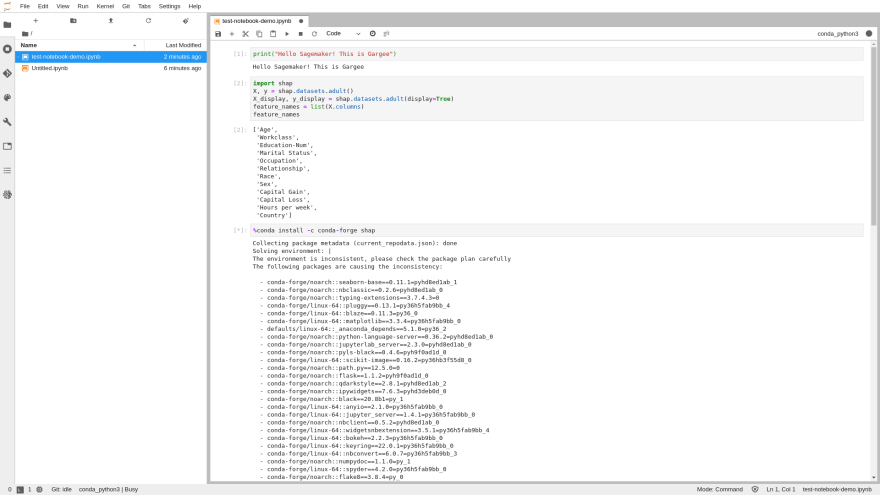
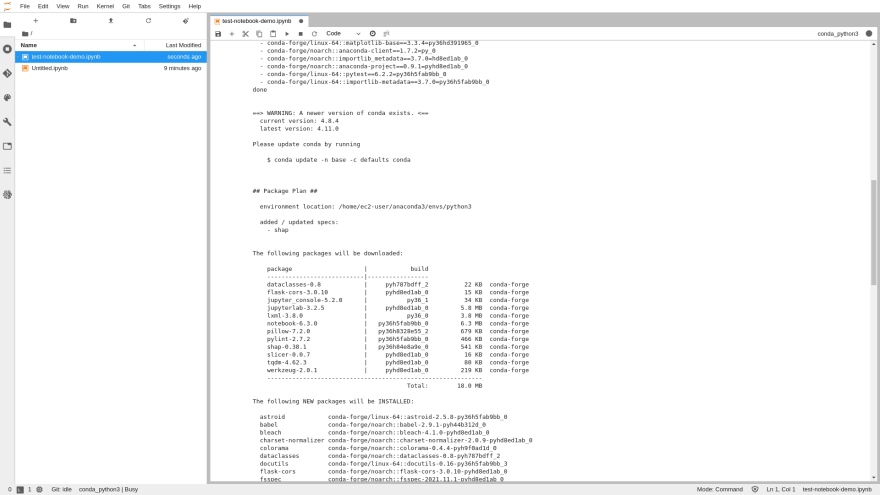
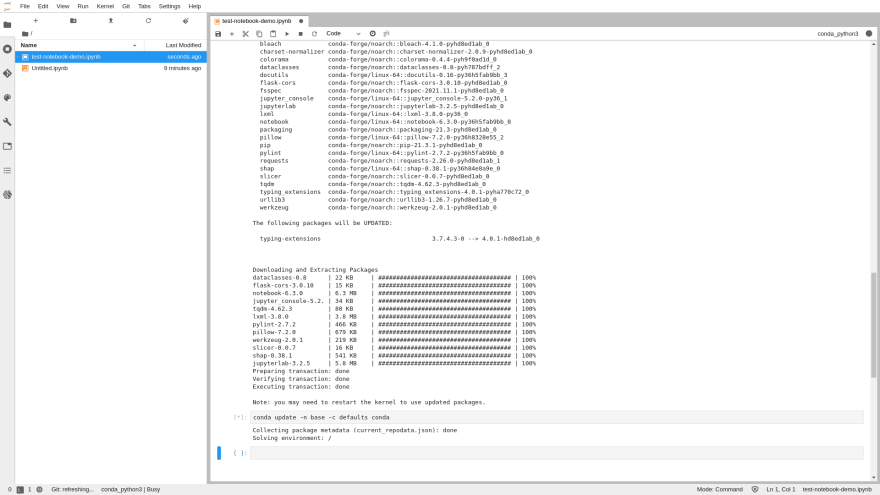
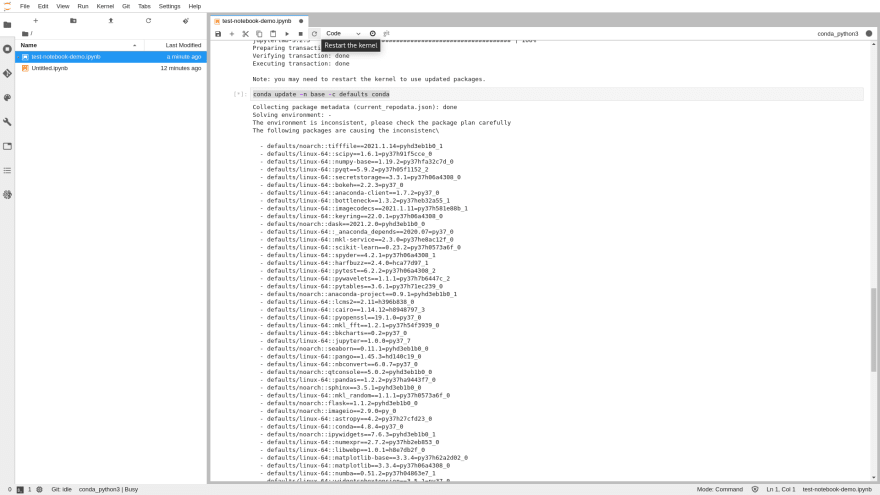
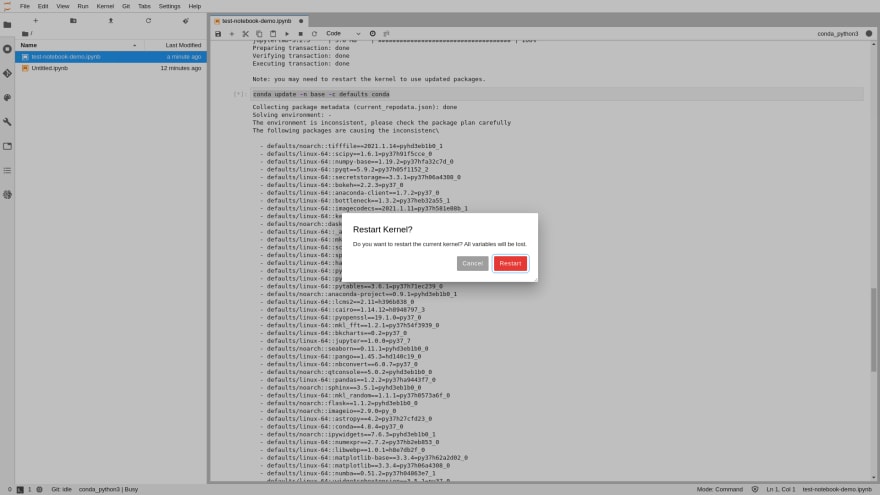
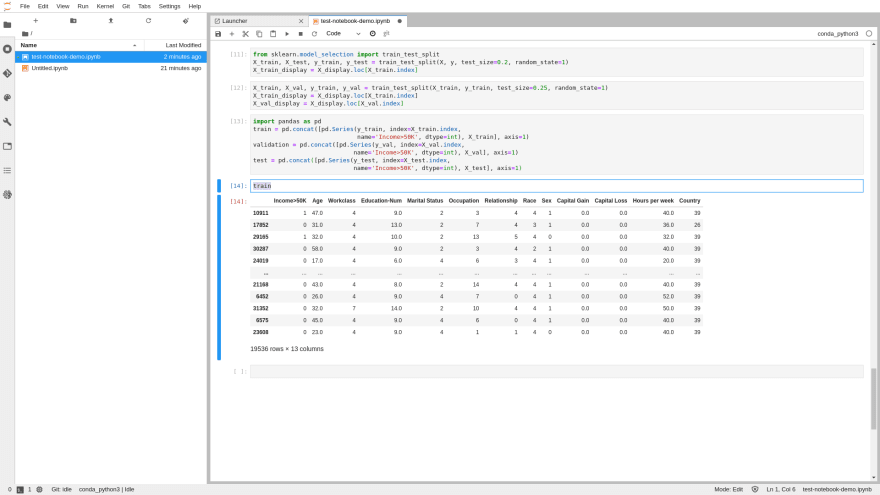
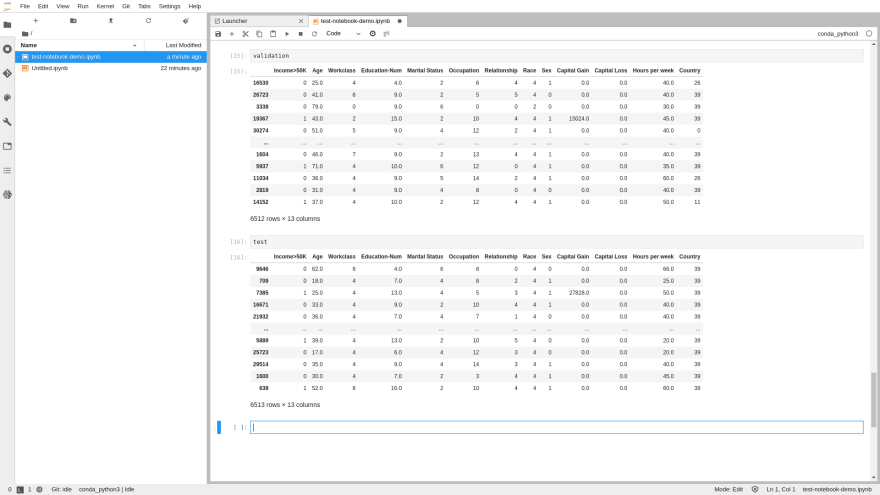
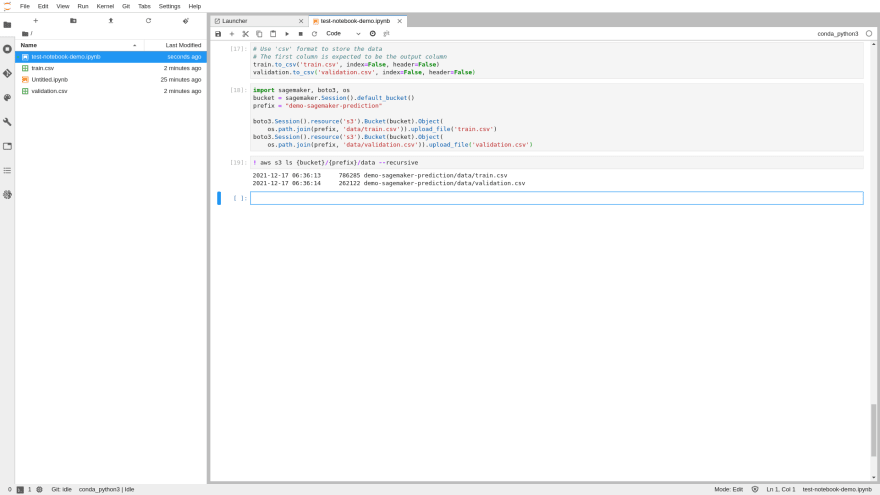
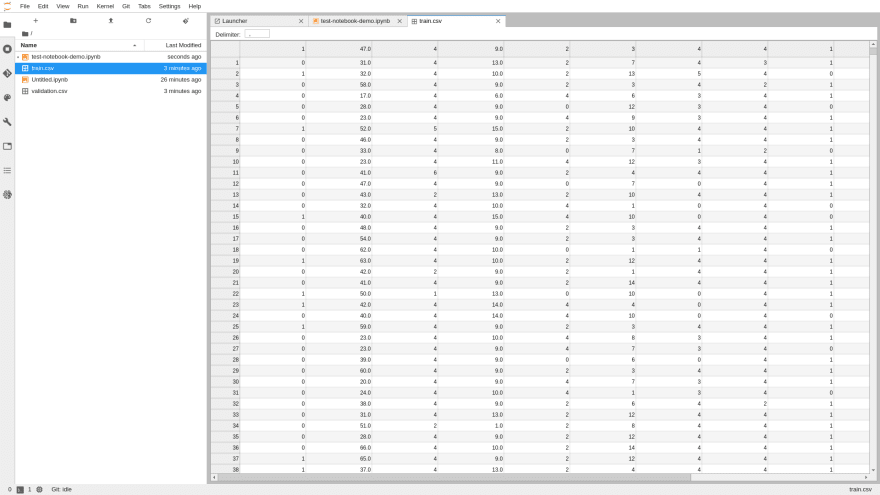
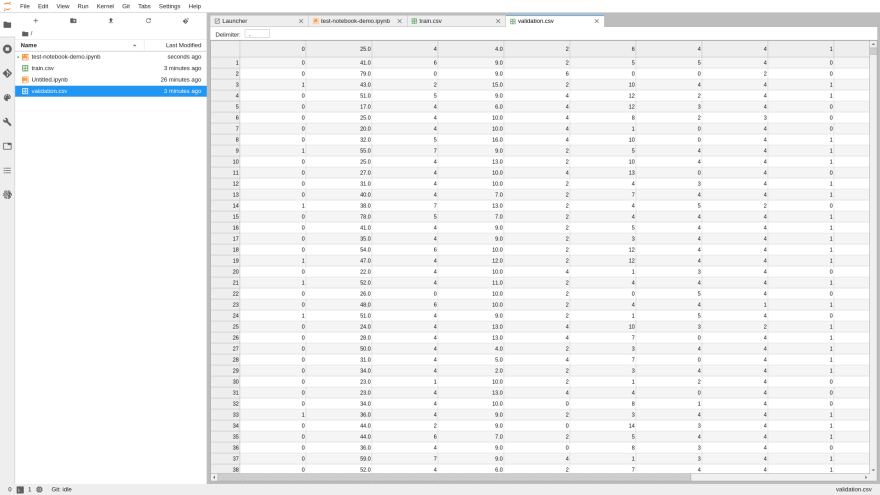
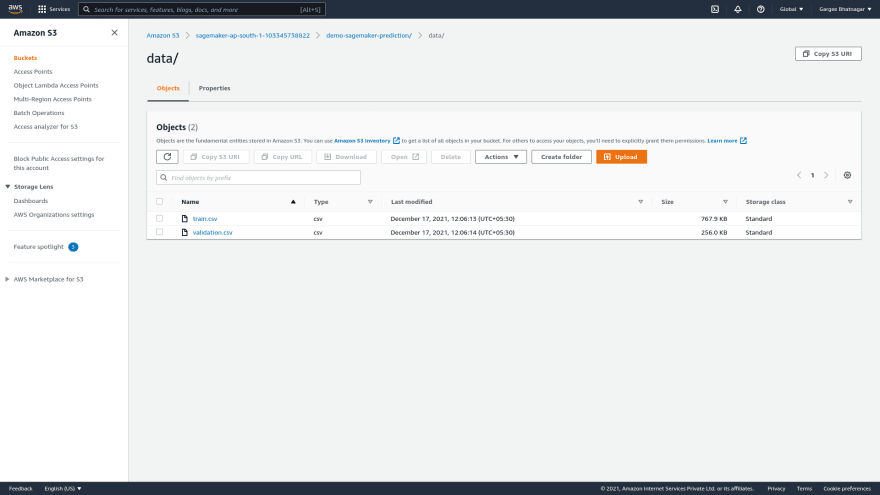
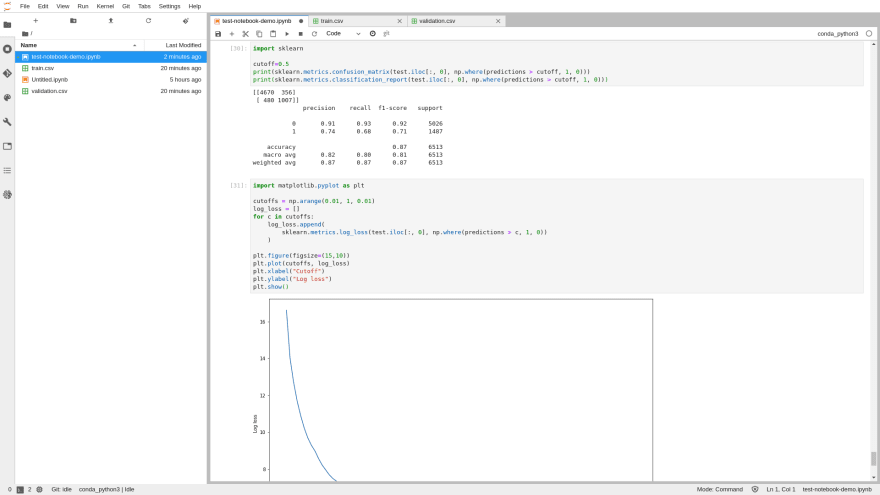
Phase 2: Create a Jupyter Notebook and also Download, Explore and Transform a Dataset
- Open the JupyterLab then choose conda_python3 and save the notebook as test-notebook-demo.ipynb. And download, explore and transform a dataset by running python lines. Also able to restart the kernel by clicking the restart option on the upside bar. You are able to train, validate and test the data in it. Also able to see the csv files for train and validation in s3 bucket.


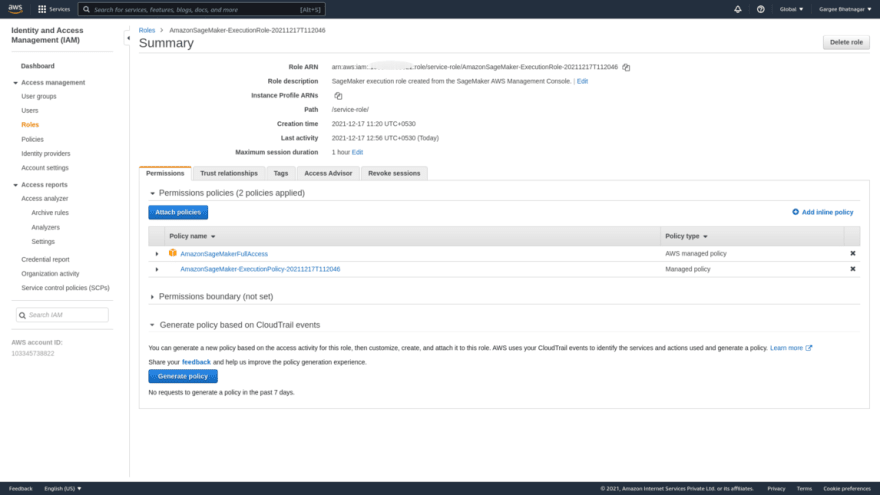
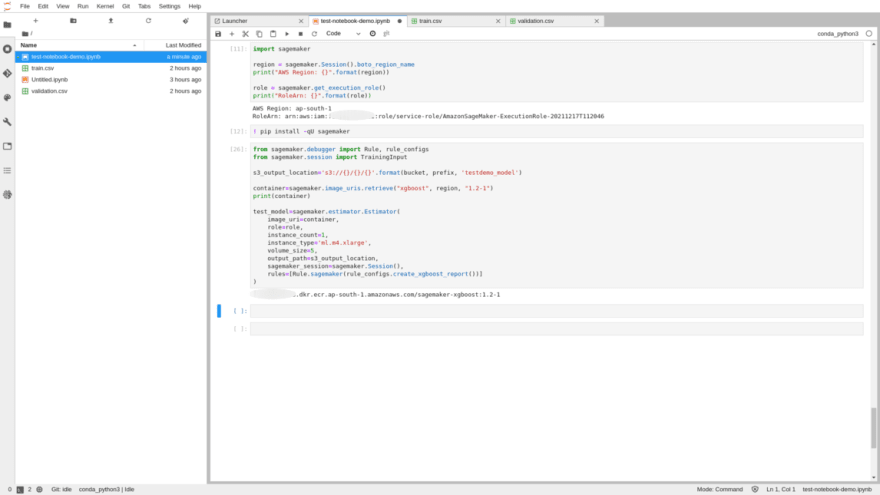
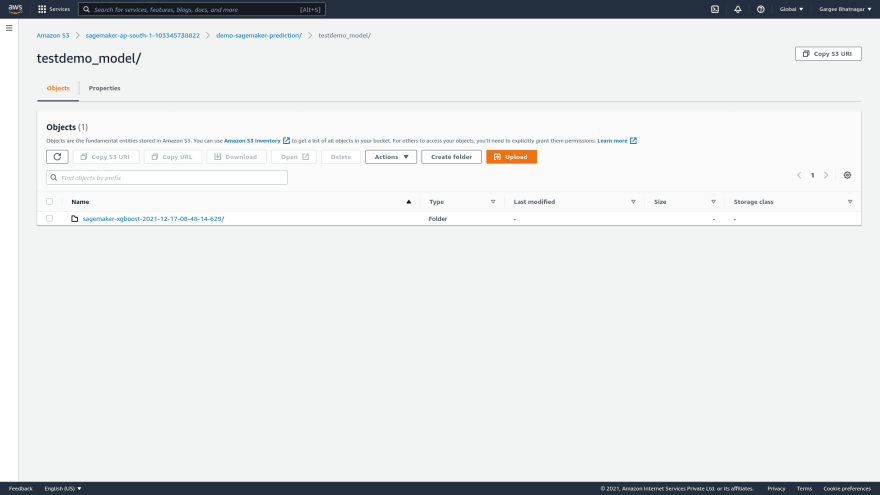
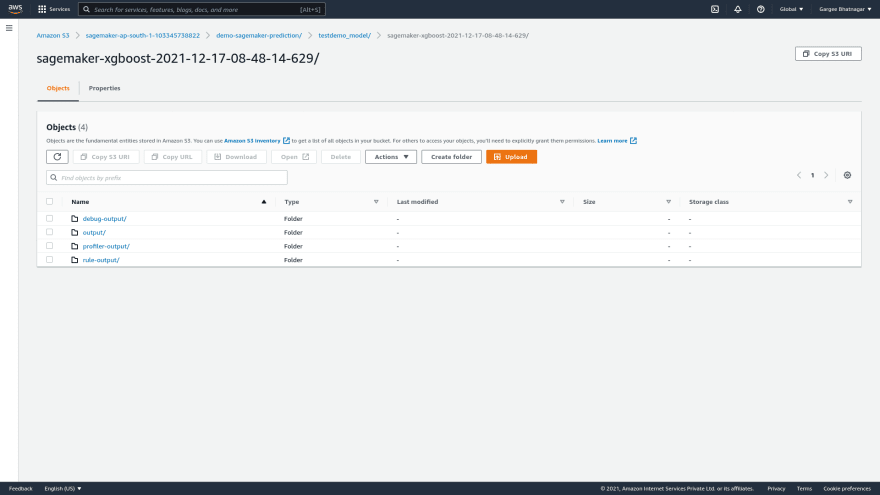
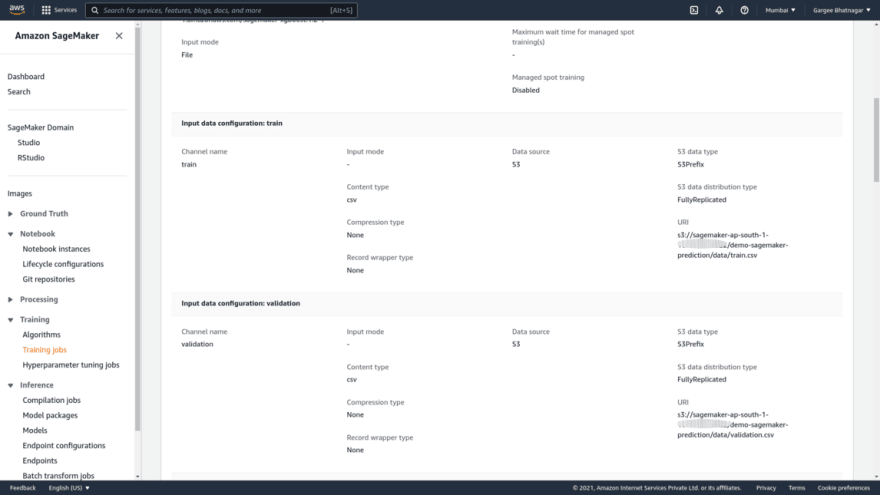
Phase 3: Check of IAM role created and Train a Model
- Check the permissions in the IAM role for sagemaker and create a folder in s3 bucket named as testdemo_model. And also run of python lines to train a model. Once the model gets trained, you are able to see the model artifact in s3 bucket.
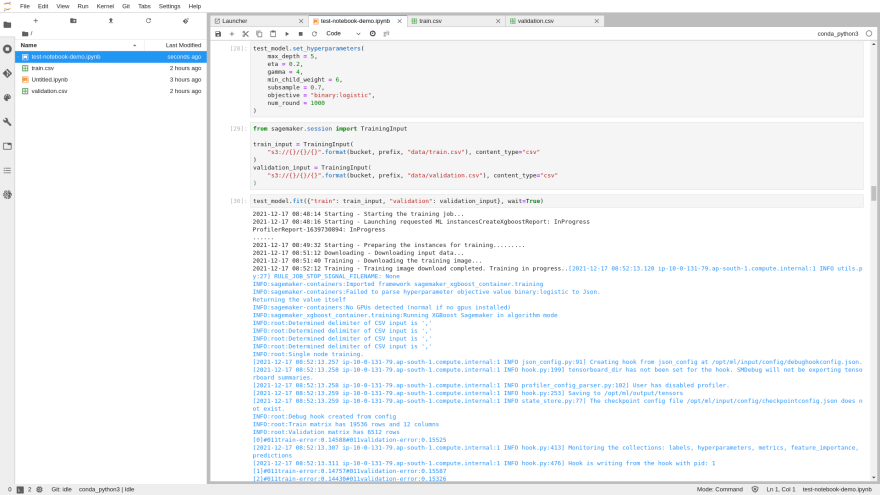
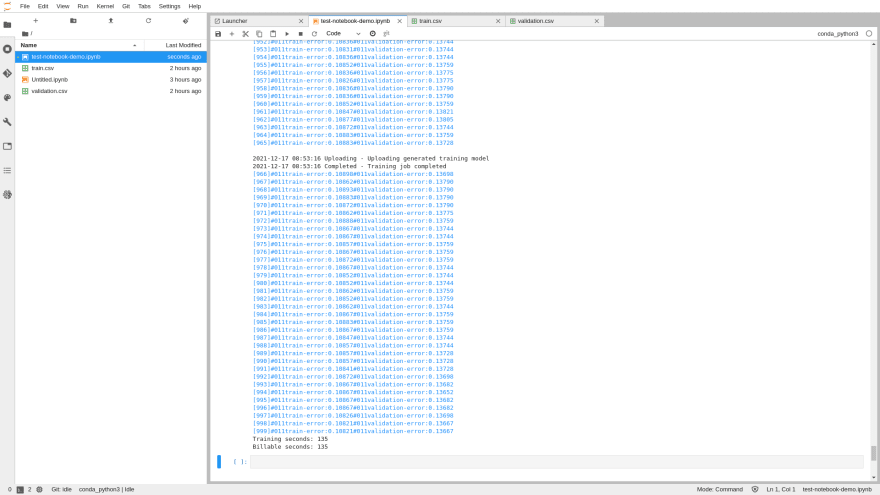


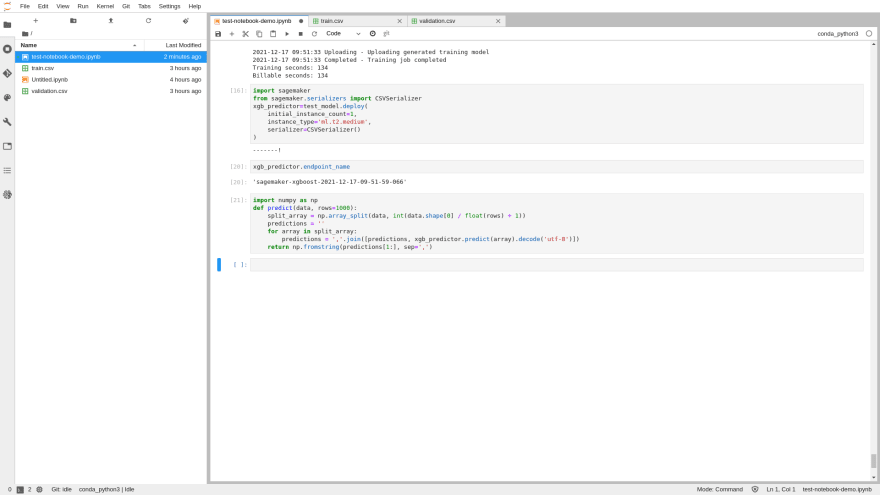
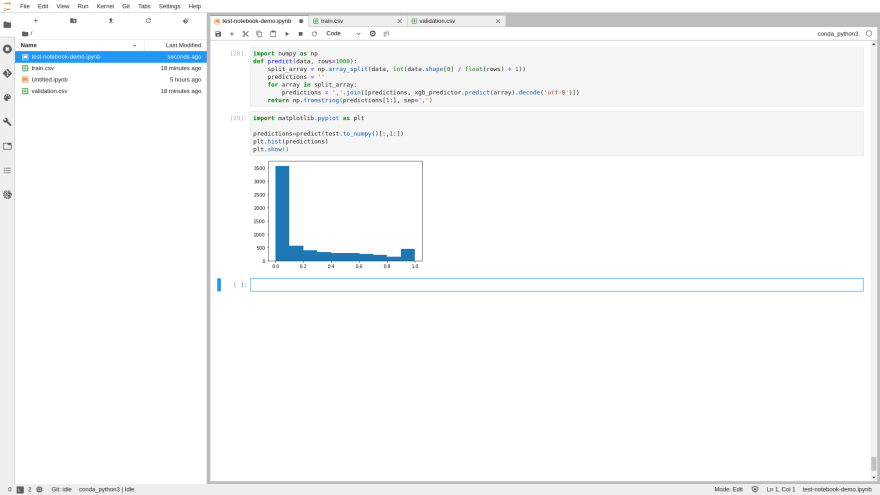
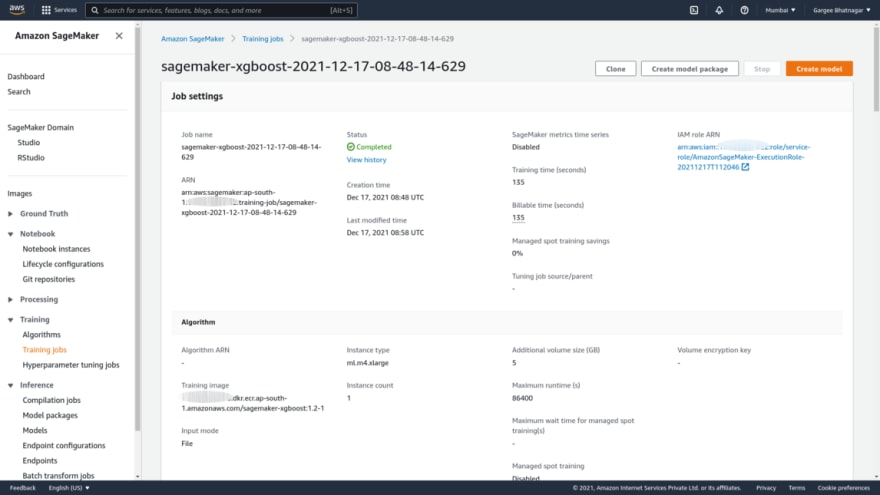
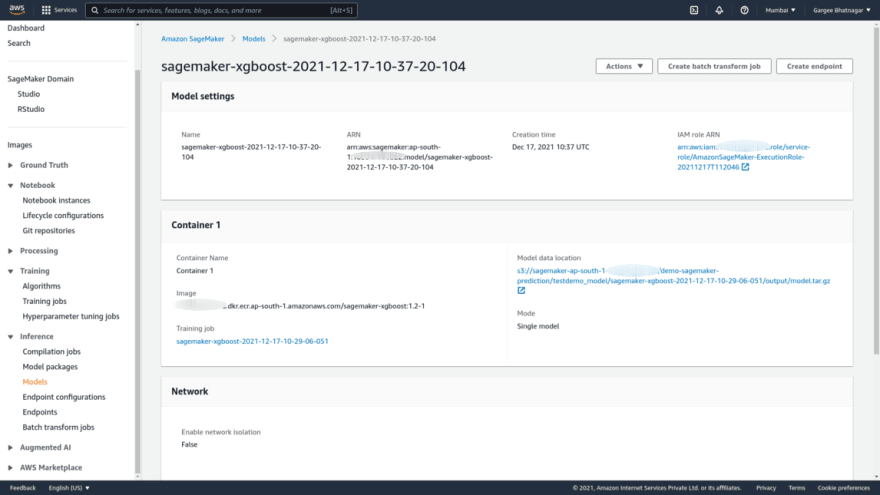
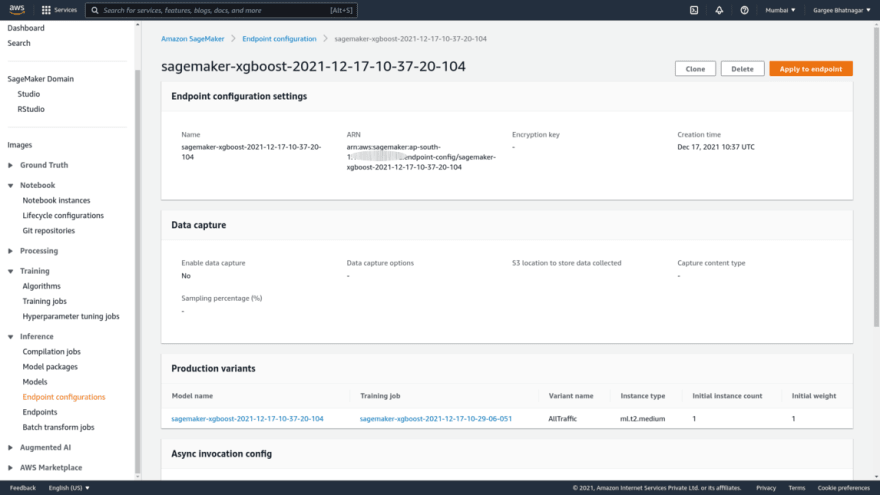
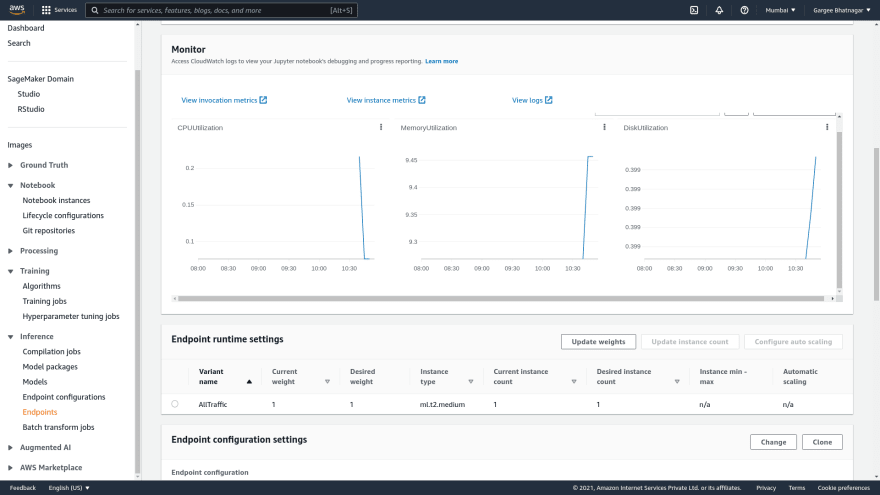
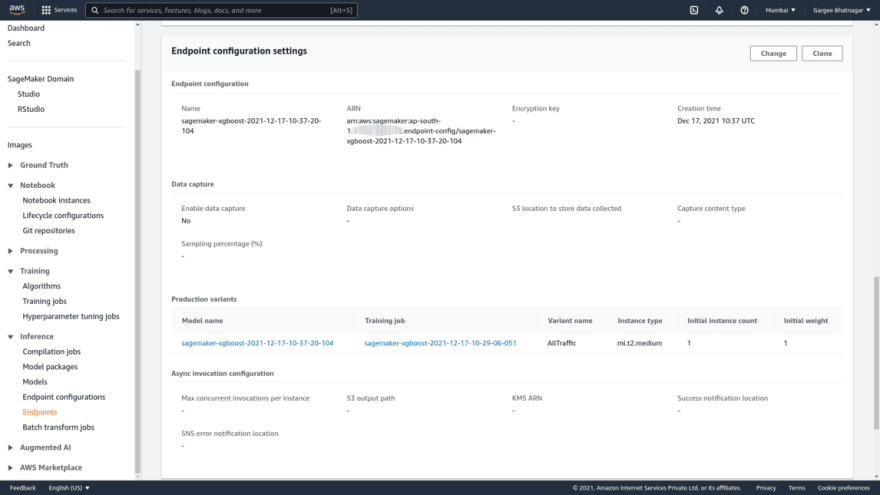
Phase 4: Deploy the Model to SageMaker Hosting Services as Amazon EC2 and Evaluate the Model
- Run the python lines to deploy and evaluate the model. And can see the training jobs, models, endpoint configurations, endpoints in sagemaker console.


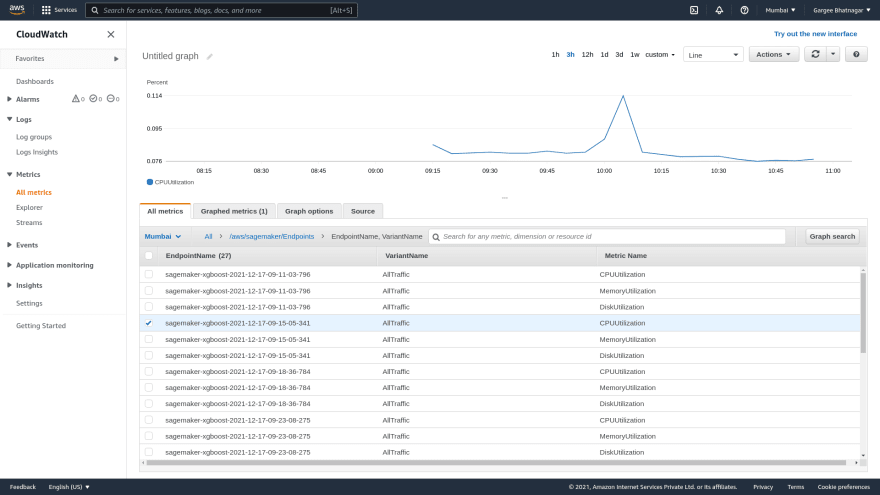
Phase 5: Check of Log Streams in Cloudwatch Log Groups for SageMaker and other parameters in Metrics of Cloudwatch
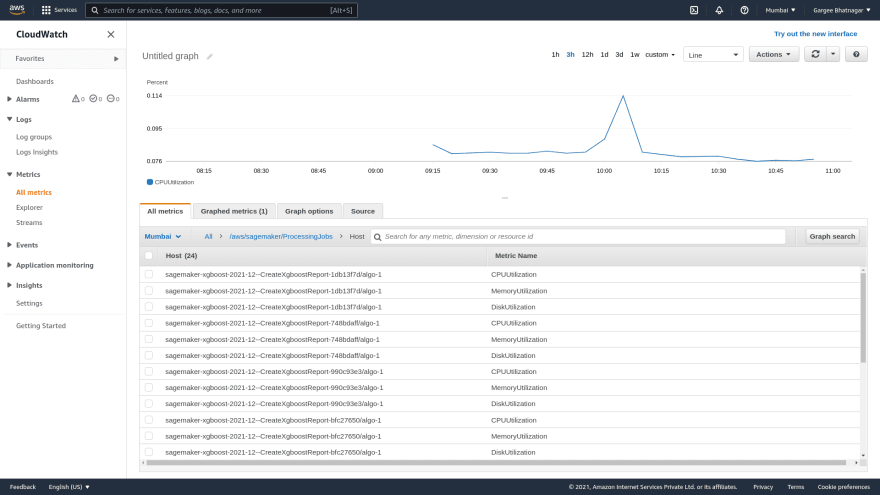
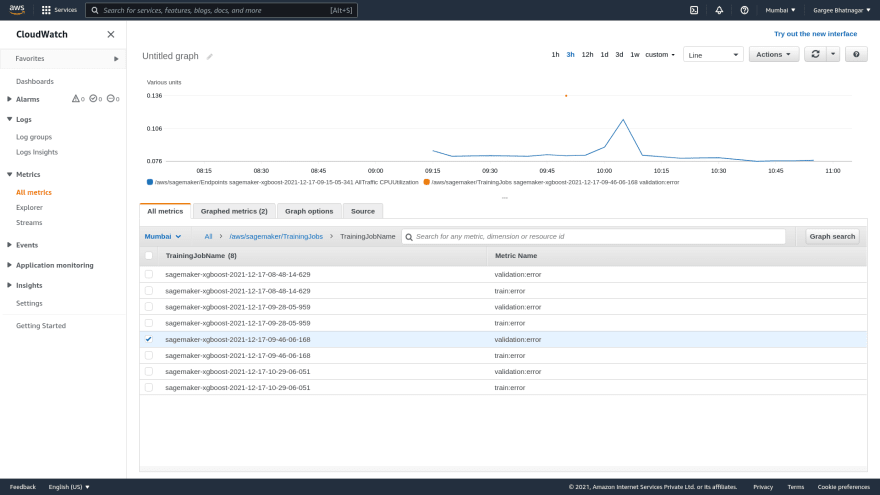

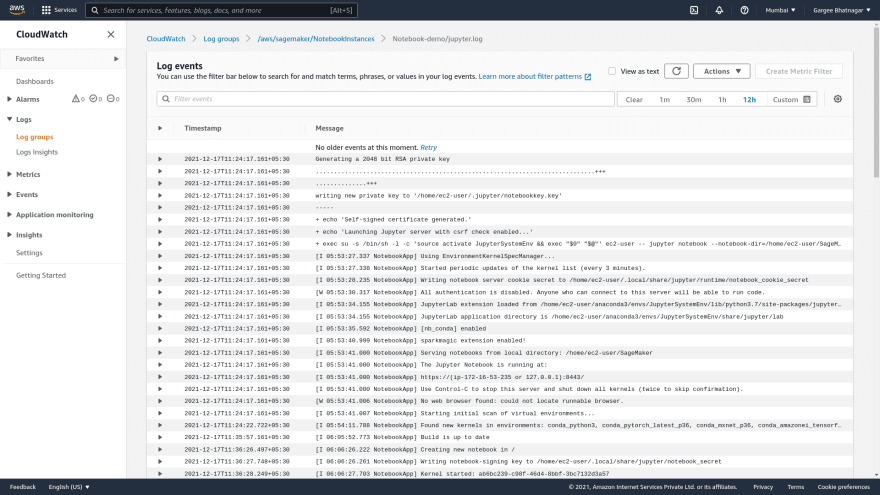
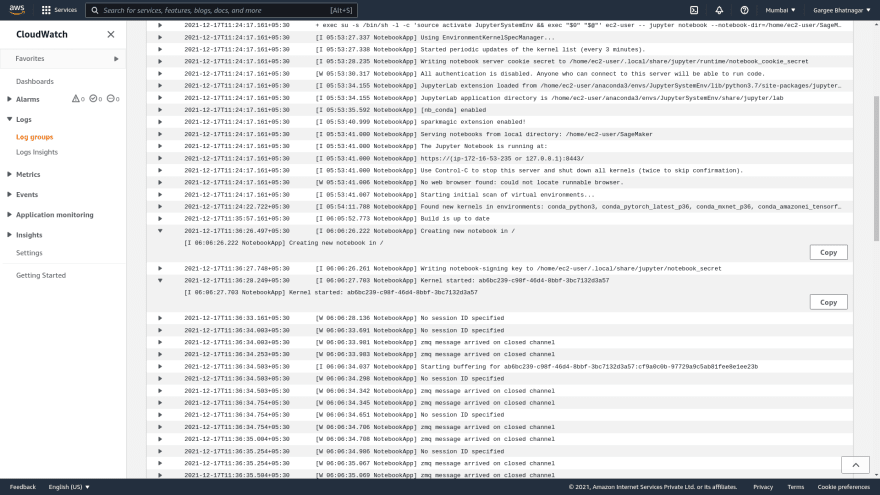


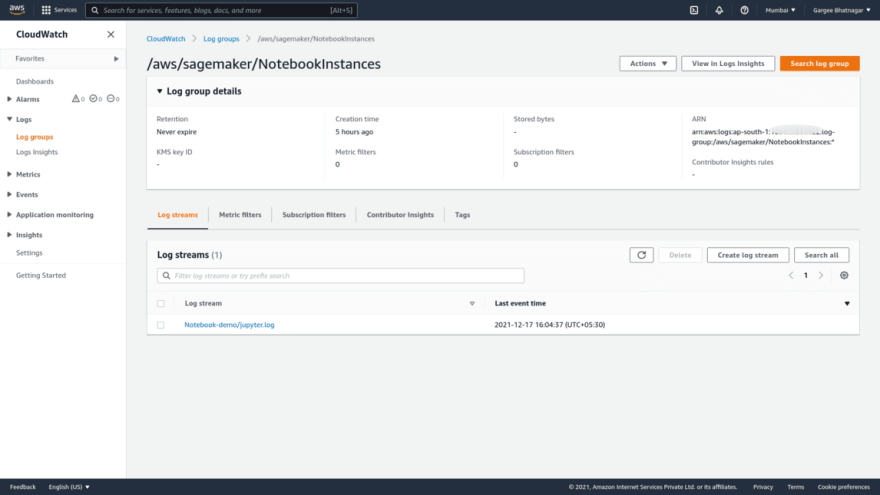


Clean-up
Delete Amazon SageMaker, Amazon Simple Storage Service, IAM, Cloudwatch Log group.
Pricing
I review the pricing and estimated cost of this example.
Cost of Sagemaker
Amazon Sagemaker createvolume-Gp2 = $0.02
Amazon Sagemaker Invoke-Endpoint = $0.0
Amazon Sagemaker RunInstance = $0.77
Total = ($0.02+$0.0+$0.77) =$0.79
Cost of Simple Storage Service = $0.04
Total Cost = $(0.79+0.04) = $0.83
Summary
In this post, I showed how to train, deploy and evaluate a Model in Amazon SageMaker.
For more details on Amazon SageMaker, Checkout Get started Amazon SageMaker, open the Amazon SageMaker console. To learn more, read the Amazon SageMaker documentation. For more details on Amazon S3, Checkout Get started Amazon S3, open the Amazon S3 console. To learn more, read the Amazon S3 documentation.
Thanks for reading!
Connect with me: Linkedin
Original Link: https://dev.to/aws-builders/deep-dive-to-train-deploy-and-evaluate-a-model-in-amazon-sagemaker-35i0
Dev To
More About this Source Visit Dev To