
An Interest In:
Web News this Week
- April 25, 2024
- April 24, 2024
- April 23, 2024
- April 22, 2024
- April 21, 2024
- April 20, 2024
- April 19, 2024
Some of Our Sources
- Slashdot
- The Logo Smith
- My Ink Blog
- Reencoded
- Spyre Studios
- Freelance Switch
- Design Modo
- Willems Lab
- Dev To
- The Verge
Help Webnuz
Referal links:
Developing for Polygon and Sidechains
Introduction
In our last tutorial, we covered how to develop and deploy an NFT Collectible Smart Contract from scratch. Last week, we published another article showing you how to estimate your costs while operating on the Ethereum mainnet and why it would be a good idea to consider a scalability solution like Polygon.
In this article, we will show you how to deploy your project to the Polygon network and in the process, end up saving potentially thousands of dollars.
Overview of developing on sidechains
If you followed our tutorial on how to create an NFT Collectible Smart Contract, then congratulations! You are already a Polygon developer. Youre also a developer on the Binance Smart Chain, the Fantom Opera Network, and any sidechain or L2 scalability solutions that are EVM compatible.
This tutorial will demonstrate deployment to Polygon but the steps are almost identical for any other Ethereum sidechain and (to an extent) L2 chains like Arbitrum.
Steps
- Write a smart contract like you would for the Ethereum mainnet.
- Recalibrate payable currency to reflect the chains token value.
- Add the sidechain network to Metamask and Hardhat configuration file.
- Acquire the chains token directly or by bridging from the Ethereum mainnet.
- Deploy to the sidechain by paying fees using the chains token.
Writing a Smart Contract
Note
You can skip this section if you completed our smart contract tutorial.
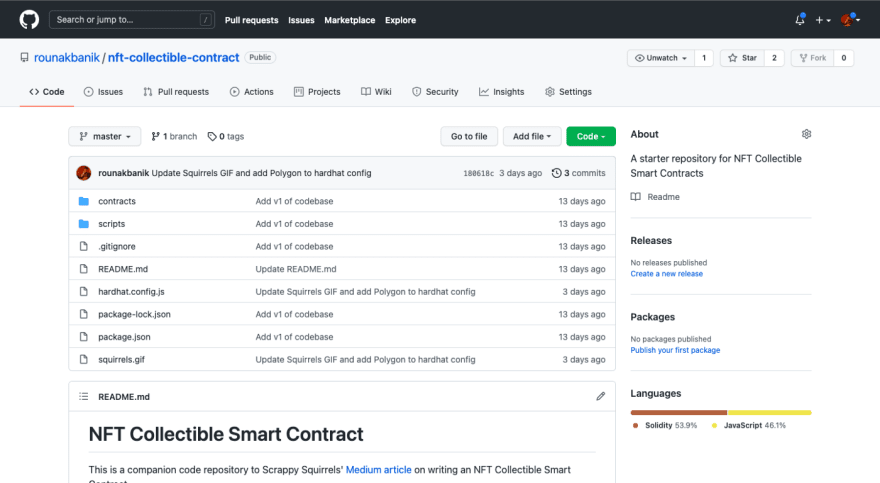
We have already covered how to develop a smart contract for Ethereum in detail (and I have a feeling Im mentioning this a little too often). I hope you already have your custom project ready to go. If not, you can clone a starter repository that we created.
Make sure you have Git and run the following commands:
git clone https://github.com/rounakbanik/nft-collectible-contract polygon-nftcd polygon-nftnpm installCreate a new file called .env and input the following details.
API_URL = "<--Rinkeby RPC URL-->"PRIVATE_KEY = "<-- Metamask wallet private key -->"ETHERSCAN_API = ""POLYGON_URL = ""You wont need API_URL for this tutorial so feel free to set this to a blank string (dont delete it though, the configuration file will break).
You should already know how to get your Metamask wallets private key. Let ETHERSCAN_API and POLYGON_URL stay blank for the time being.
Now, go to the hardhat.config.js file and remove line 25 (the one with the defaultNetwork configuration. We wont be needing this either.)
Finally, run the following command:
npx hardhat run scripts/run.jsIf this runs without any errors, congratulations! You are up to speed, and we can finally concentrate on the Polygon aspects of the project.
Recalibrating price

We set the base price of our NFT at 0.01 ETH. In other words, users would have to pay 0.01 ETH for each NFT that they minted (plus gas, of course). We encapsulate this information in line 16 of NFTCollectible.sol in the contracts folder of our project.
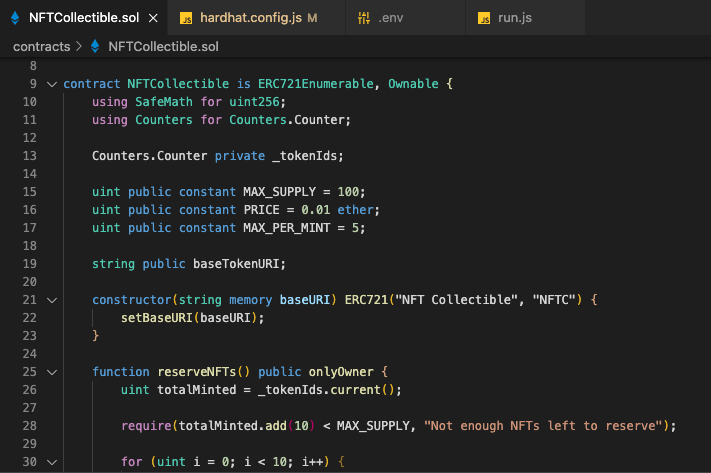
Transactions on the Polygon sidechain arent conducted in ETH though. The Polygon chain has its own ERC20 token called MATIC. We, therefore, need to set our price in MATIC.
At the time of writing, ETH is touching $5000 whereas MATIC is touching $2. Therefore, if we wanted our NFT to be priced the same (in terms of USD), we would price it at 25 MATIC.
Lets make a change in our contract to reflect this change.
uint public constant PRICE = 25 ether;Wait, what? Why does this say 25 ether and not something like 25 matic?
Solidity does not really understand what ETH is. In Solidity, the keyword ether is just a shorthand for 10. To Solidity, the line above is the same as this:
uint public constant PRICE = 25000000000000000000;To put it another way, you can specify payable amounts in Solidity in terms of Wei. On the mainnet, 1 ETH is 10 Wei. On Polygon, 10 Wei is 1 MATIC. This is a huge difference considering the difference in the price of ETH and MATIC. Always make sure you calibrate your prices correctly if you are moving to a different network!
In this tutorial, we are going to be working with the Polygon Mumbai testnet and Im going to price the NFT at 0.01 MATIC (for reasons youll see soon). So, Im going to reset the line back to what it originally was.
uint public constant PRICE = 0.01 ether;Please remember. On Polygon, this is 0.01 MATIC. Not 0.01 ETH.
Add Polygon Network to Metamask and Hardhat
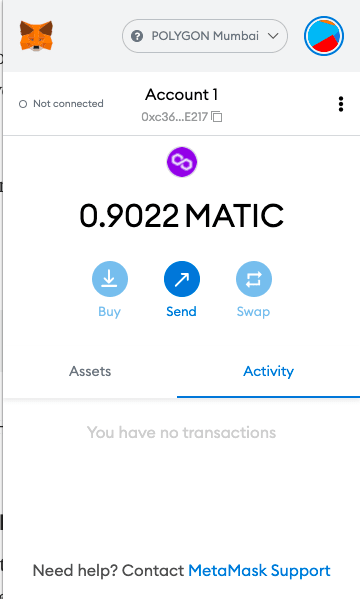
Lets add the Polygon and Polygon MUMBAI networks to our Metamask wallet. This is really simple to do and Polygon has a short, excellent tutorial on this. Here is a snapshot of my wallet connected to the Mumbai network.
For Hardhat, we will use a custom RPC URL from Alchemy. Go ahead and create an Alchemy account if you havent already. Next, create an App by setting the chain to Polygon and the network to Mumbai.

Finally, click on VIEW KEY for your app and get the HTTP URL. Go back to your .env file and fill in the value for POLYGON_URL.
POLYGON_URL = "<---Alchemy Polygon URL -->"Finally, our hardhat.config.js file should add Mumbai as one of our deployment networks. I have done this already for you in lines 3033.
Get fake MATIC

Now that we have configured our network on both Metamask and Hardhat, lets proceed to get some fake MATIC.
Go to https://faucet.polygon.technology/ and request for test tokens for the Mumbai network. Unlike Rinkeby, you shouldnt face too many issues acquiring these tokens. You will almost always get 1 MATIC almost near instantaneously.
Note about Polygon and sidechain main networks
When youre ready to deploy to the main Polygon network (or the sidechain of your choice), you will need to acquire real MATIC.
There are two ways to do this:
- Buy MATIC on the Ethereum mainnet and bridge it to the Polygon network.
- Buy MATIC on a centralized exchange (like Wazirx or Coinbase) and transfer it directly to Metamask.
In the case of sidechains, it is almost always easier and cheaper to do (2).
Deploy to the Polygon Mumbai network
Were ready to go! Run the following command on your terminal.
npx hardhat run scripts/run.js --network mumbai
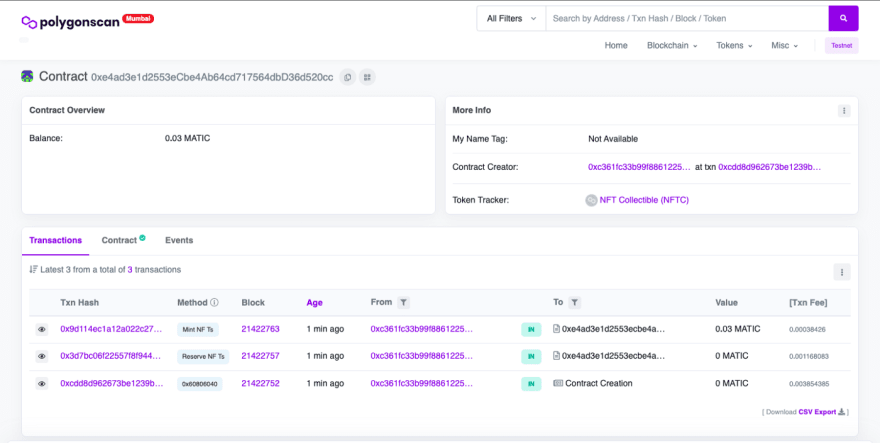
We can confirm that our contract was deployed and our NFTs were minted by visiting https://mumbai.polygonscan.com/ and searching for our contract address. As you can see above, our contract was deployed to 0xe4ad3e1d2553eCbe4Ab64cd717564dbD36d520cc.
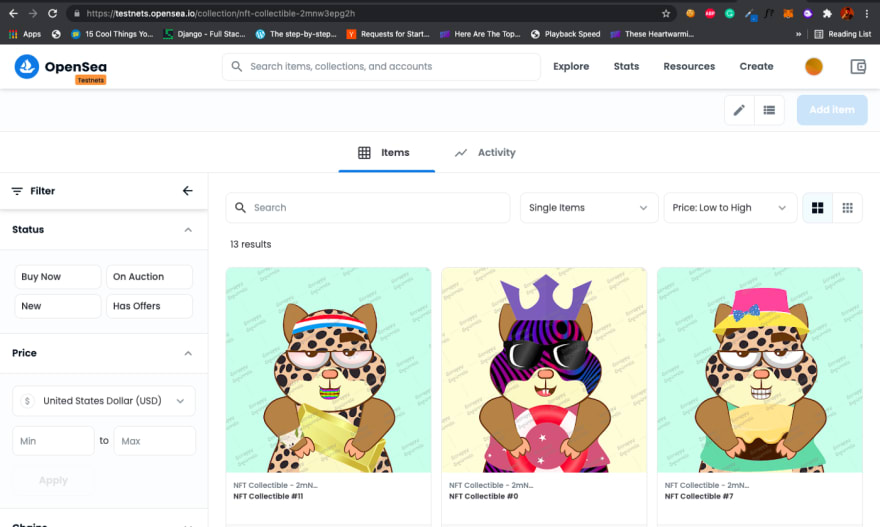
One of the biggest advantages that Polygon has over other sidechains is that it is supported by OpenSea, the largest NFT marketplace in the world and the defacto platform for secondary sales for almost every popular NFT project.
Visit https://testnets.opensea.io/ and search for your contract address. You will see that your collection has already been uploaded to OpenSea almost magically.
Check out our collection here.
Verifying our contract
As a bonus, lets verify our contract on Polygonscan so our users are able to mint from Polygonscan directly.
To do this, you will need to sign up for a Polygonscan account. Next, proceed to create an API key.
Go back to the .env file one last time and fill in the value for ETHERSCAN_API.
ETHERSCAN_API = "<--Polygonscan API key-->"I have kept the name ETHERSCAN_API from the previous tutorial because Polygonscan is powered by Etherscan and we still use the hardhat-etherscan library to verify our contract. Feel free to change the naming if you wish.
Now, run the following command on your Terminal.
npx hardhat verify --network mumbai DEPLOYED_CONTRACT_ADDRESS "ipfs://QmZbWNKJPAjxXuNFSEaksCJVd1M6DaKQViJBYPK2BdpDEP/"In my case, this was the exact command I ran.
npx hardhat verify --network mumbai 0xe4ad3e1d2553eCbe4Ab64cd717564dbD36d520cc "ipfs://QmZbWNKJPAjxXuNFSEaksCJVd1M6DaKQViJBYPK2BdpDEP/"You should now see a small green checkmark on your contracts Polygonscan page. More importantly, your users will be able to read your contract and call functions from it.

Conclusion
Congratulations! You have a good understanding of how to build for Polygon or migrate existing projects into Polygon. The great news, as Ive stated already, is that this knowledge converts really well to any EVM-compatible network (Binance, Fantom, Arbitrum, Optimism, etc.)
If you have any questions, please feel free to drop them on the #suggestions-and-qna channel of our Discord.
If you dont have questions, come say hi to us on our Discord anyway! Also, if you liked our content, we would be super grateful if you tweet about us, follow us(@ScrappyNFTs and @Rounak_Banik), and invite your circle to our Discord. Thank you for your support!
About Scrappy Squirrels
Scrappy Squirrels is a collection of 10,000+ randomly generated NFTs on the Ethereum Blockchain. Scrappy Squirrels are meant for buyers, creators, and developers who are completely new to the NFT ecosystem.
The community is built around learning about the NFT revolution, exploring its current use cases, discovering new applications, and finding members to collaborate on exciting projects with.
Join our community here: https://discord.gg/8UqJXTX7Kd
Original Link: https://dev.to/rounakbanik/developing-for-polygon-and-sidechains-4h6a
Dev To
More About this Source Visit Dev To