
Some of Our Sources
- Slashdot
- Just Creative
- Spoon Graphics
- You The Designer
- Inspiredology
- Reencoded
- Line 25
- Freelance Switch
- Android Dissected
- Daily Now
Help Webnuz
Referal links:
Build a Web app using Next.js and Appwrite
In this blog tutorial, we are going to build a web app Next.js and Appwrite from complete scratch.
Live Demo - Made with Appwrite
Github - harisarang/madewithappwrite
Step 1: Initialize Appwrite and Create a Next.js project
I have used Digital ocean to host my Appwrite instance.(Feel free to explore other hosting options)
First create a droplet in digital ocean (min. 2GB RAM / 2vCPU),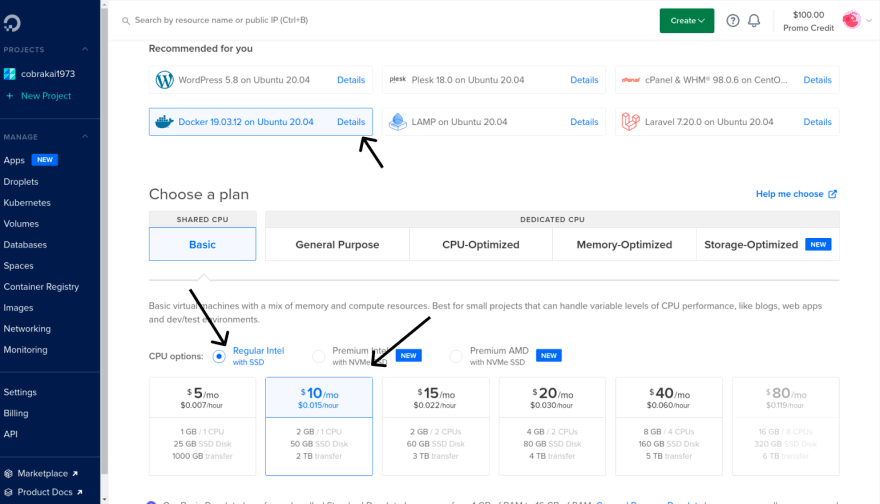
To install appwrite execute the following command (make sure you have docker installed in the instance),
docker run -it --rm \ --volume /var/run/docker.sock:/var/run/docker.sock \ --volume "$(pwd)"/appwrite:/usr/src/code/appwrite:rw \ --entrypoint="install" \ appwrite/appwrite:0.11.0Use you IP address of your VM in browser to access your Appwrite console or you can add DNS "A record" pointing to your Droplet IP address and access the console using that domain.

Now, create you Next.js project using create-next-app
npx create-next-app -e with-tailwindcss madewithappwriteAnd then install appwrite js package to your project.
npm install appwriteStep 2: Connect you Next App with Appwrite
Create a new project in Appwrite console named madewithappwrite.
Then, register a new web platform in Appwrite. For development purpose add localhost and for production register a new web platform with the domain name.


For this project, I am going to use anonymous users instead of OAuth and email and password.
Now, use the api wrapper below to perform various operations with appwrite server. (You can also extend by adding various functions to it)
// Create a new file under lib/appwrite.jsimport { Appwrite } from "appwrite";let api = { sdk: null, provider: () => { if (api.sdk) { return api.sdk; } let appwrite = new Appwrite(); appwrite .setEndpoint(process.env.NEXT_PUBLIC_APPWRITE_URL) .setProject(process.env.NEXT_PUBLIC_APPWRITE_PROJECT); api.sdk = appwrite; return appwrite; }, getAccount: () => { return api.provider().account.get(); }, createSession: (email, password) => { return api.provider().account.createAnonymousSession(); }, deleteCurrentSession: () => { return api.provider().account.deleteSession("current"); }, createDocument: (collectionId, data, read, write) => { return api .provider() .database.createDocument(collectionId, data, read, write); }, listDocuments: (collectionId) => { return api.provider().database.listDocuments(collectionId); }, getDocument: (collectionId, documentId) => { return api.provider().database.getDocument(collectionId, documentId); }, updateDocument: (collectionId, documentId, data, read, write) => { return api .provider() .database.updateDocument(collectionId, documentId, data, read, write); }, deleteDocument: (collectionId, documentId) => { return api.provider().database.deleteDocument(collectionId, documentId); }, createFile: (file) => { return api.provider().storage.createFile(file, ["*"], ["*"]); }, getFileView: (id) => { return api.provider().storage.getFileView(id); }};export default api;Create a new file named .env.local,
NEXT_PUBLIC_APPWRITE_URL=http://<your-ip-address>/v1NEXT_PUBLIC_APPWRITE_PROJECT=<your-project-id>You can find you project-id in appwrite console under settings in your project

Yay ! You have successfully connected you Next App with Appwrite.
Step 3: User Session management
For this project, I am going to use anonymous users (Feel free to explore other options too !)
You can explore other options here !
Now, create a anonymous user session when they land on your web app i.e. create new user under pages/_app.js using useEffect react hook.
import "tailwindcss/tailwind.css";import "../styles/global.css";import Navbar from "../components/Navbar";import Footer from "../components/Footer";import { useEffect } from "react";import api from "../lib/appwrite";function MyApp({ Component, pageProps }) { useEffect(() => { api .createSession() .then((response) => { console.log(response); }) .catch((err) => console.log(err)); }, []); return ( <div> <Navbar /> <Component {...pageProps} /> <Footer /> </div> );}export default MyApp;Step 4: Create and View posts from Appwrite
To create a post, first create a appwrite collection in the database.
Under settings in the collection add the following rules (columns in the database). Find out the collection details in JSON here

Create a form in you Next App and in the onSumbit part of the form call the api.createDocument() function
I have used react-hook-form to manage my form state.
// pages/submit.jsconst example_object = { title: "title", github: "github-url", desc: "Description", tags: "tags", url: "url-to-project", appwrite: "appwrite-tags", email: "email",}...const updatePost = async (object) => { console.log(object); api .createDocument( process.env.NEXT_PUBLIC_APPWRITE_PROJECT_COLLECTION, object, ["*"], ["*"] ) .then((response) => { console.log(response); console.log("Sumbitted project successfully"); router.push("/"); }) .catch((err) => { console.log(err); console.log( "Unable to submit project to server." ); }); };...To retrieve the list projects from the collection use the api.listDocuments() from the wrapper. Now, under pages/index.js retrieve all the projects.
// pages/index.js... const [projects, setProjects] = useState([]); useEffect(() => { api.listDocuments("collection-id") .then((response) => { console.log(response); setProjects([...response.documents.reverse()]); }); }, []); return ( <div> {projects.map((project) => { // Render a card component for the card here ... })} </div> );That's a wrap !. Now, you have successfully create web app using Next.js and Appwrite .
Original Link: https://dev.to/harisarang/build-a-web-app-using-nextjs-and-appwrite-4a0l
Dev To
More About this Source Visit Dev To