
An Interest In:
Web News this Week
- April 19, 2024
- April 18, 2024
- April 17, 2024
- April 16, 2024
- April 15, 2024
- April 14, 2024
- April 13, 2024
Some of Our Sources
- Techcrunch
- Simplebits
- Pearsonified
- Six Revisions
- Noupe
- Wal You
- Specky Boy
- CSS Tricks
- Android Dissected
- Hashedout
Help Webnuz
Referal links:
Deep Dive into CodeCast's Studio
We previously wrote about our Player in an earlier blog post, speaking about how it is the heart and soul of CodeCast. Following that analogy, our Studio is every other system in the body that keeps the heart pumping and alive.
Without the Studio, there would be no Casts to watch. The Studio,available to downloadon Mac, Windows & Linux, is how the users create Casts. The goal of this blog post is to take a deep dive into the Studio to show you exactly how it works, and exactly why you should be using it to teach code.
Firstly,its free.That may sound like a gimmick or a catch, but currently, our entire community and software are entirely free to use. The goal of CodeCast is to allow people to teach code in a way that is intuitive, simple, and using software that does all the work for them. So lets see how that works.
Creating An Account
Before you can get started with makingyour first ever Cast, you need to create an account. You can either use your email to sign up or you can authorize an account using your preexisting GitHub account.
You can do this either by signing up directly on the Studio or signing up onour website.
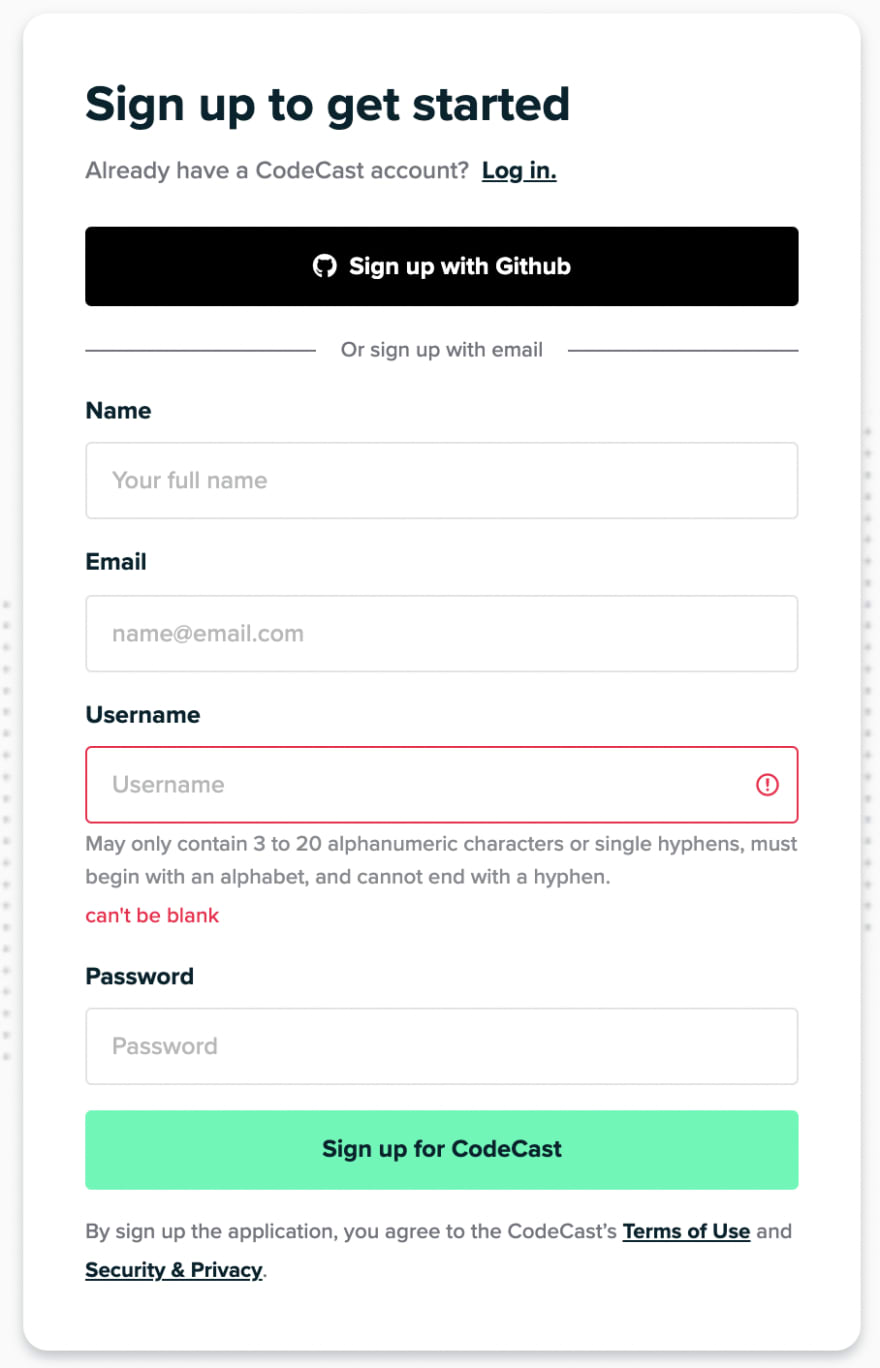
Note, you will be required to log in to the Studio and the website separately, as logging into one doesnt automatically log you into the other.
The Studio View
Now that youve made an account (and logged in), we will begin to go over the Studio. This is the view you see now that youre logged in:

Project Folder
Clicking on Add another Project Folder allows you to add directories to your Cast. Anything inside the directory (with some limitations like node_modules) will be available to anyone watching your Cast.
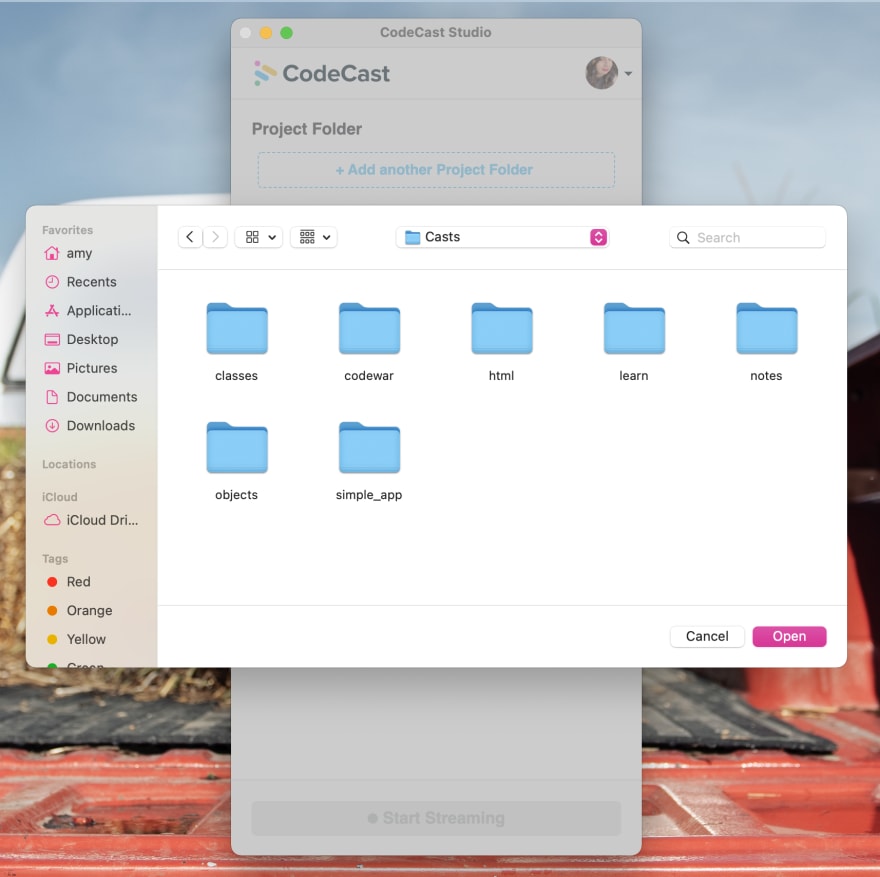
You are able to add multiple directories and you can add directories once a Cast is live.
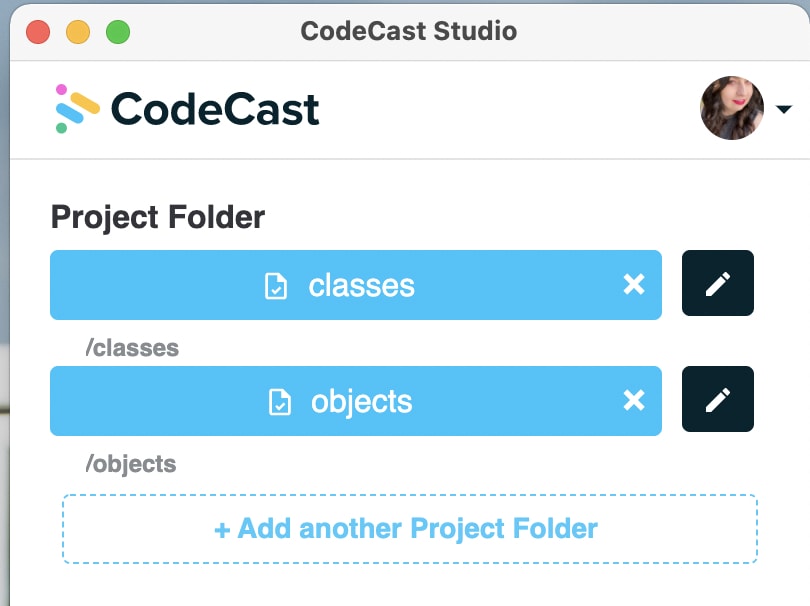
While the Cast is live, any edits you make within that directory will reflect live on the Player. This means that you can write new lines of code in any existing files on your local machine (in the code editor of your choice), or you can create new files, folders, etc. all within the directory you uploaded, and it will be available to your audience.
Youre also able to change the name of your directories within the studio by clicking on the pencil next to the uploaded directory.

Adding in any directories is encouraged, but completely optional.
Screen Sharing
Youre able to add media to your videos via screen sharing, or with your webcam. You can also choose individual windows.
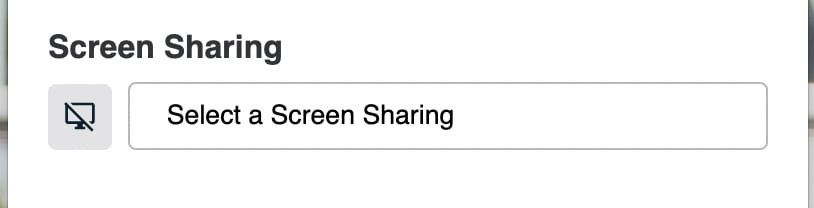
Just click Select a Screen Sharing to select which screen or window you want to share.
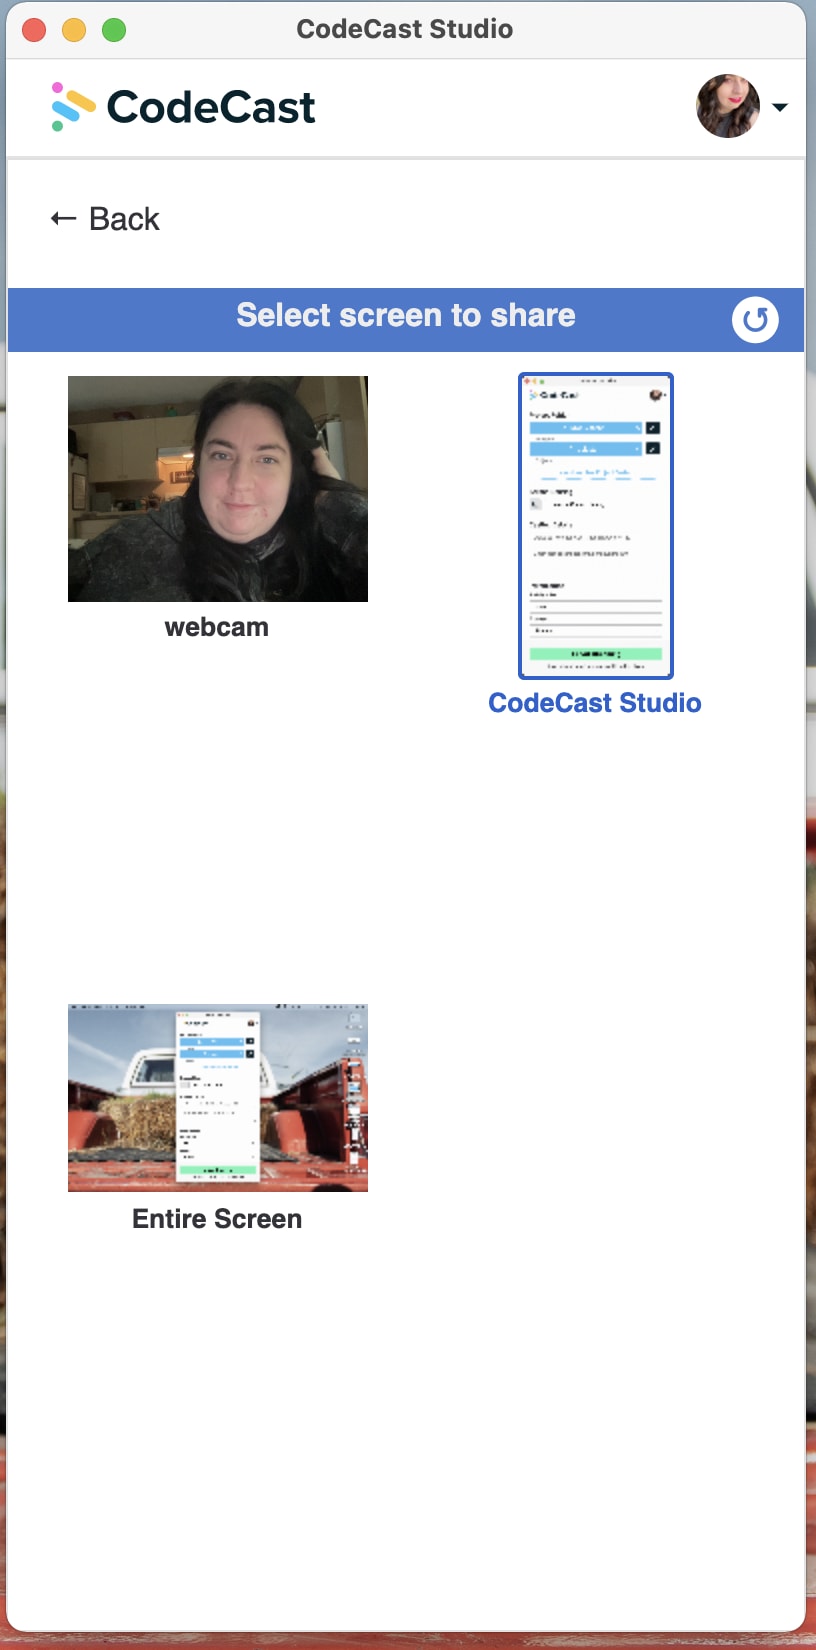
You can deactivate a screen during a live Cast by hitting the green window button to the left of the screen name.

You can also select which audio input you wish to include alongside your screen share.
Casting Details
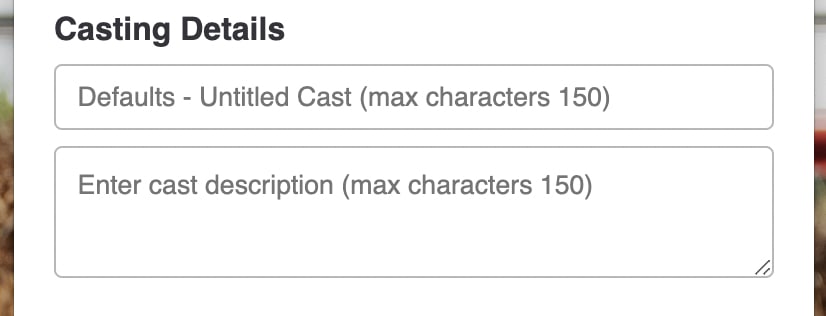
You can enter casting details here before starting the Cast, or after the Cast is finished. Casting details, including the cover, can be edited at any point after the Cast has ended by going to the Cast on the website and hitting edit, or editing it on the Player directly after the Cast has ended.
If youre going to be sharing your Cast with people while its live, its highly recommended that you fill this out before casting. It can also be altered in the middle of a live Cast.
Permissions
Permissions by default will publish the Cast to your personal account with private access. Remember to change this to public if youre doing a live Cast that you want others to view.
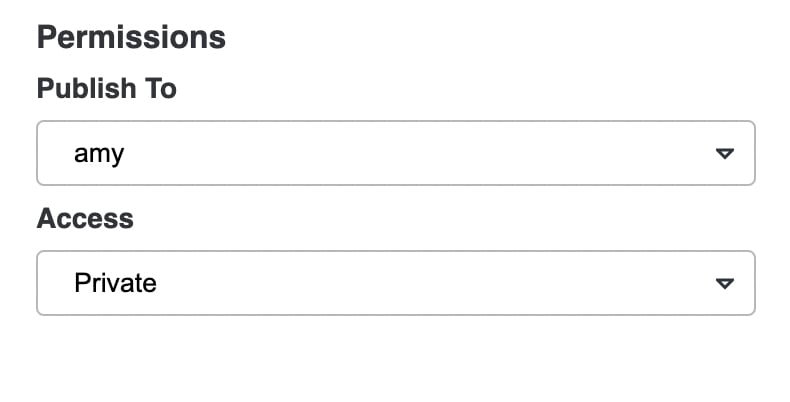
Permissions can be changed in the middle of a live Cast, or anytime after the Cast is published.
If you belong to an organization, making the Cast private will still make it accessible to anyone else that is part of the organization, but not the general public. This is a great way for people to communicate with Casts across workplaces!
Live View
When youre reading to start a Cast, hit the big green Start Streaming button and a countdown will appear like so:

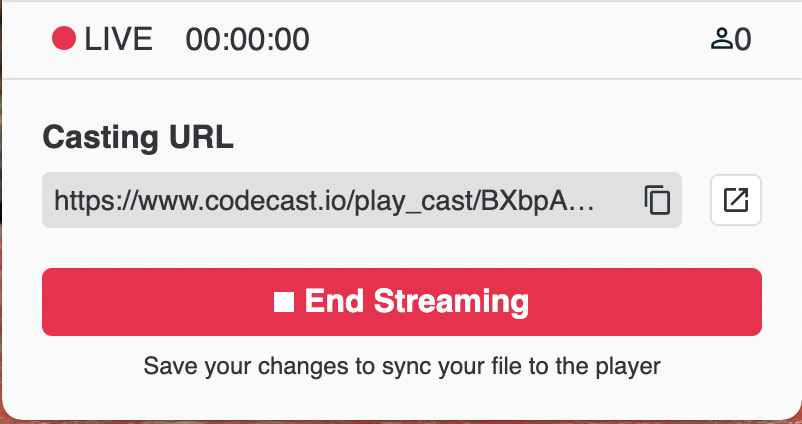
Once the countdown is finished, it will then look like this:
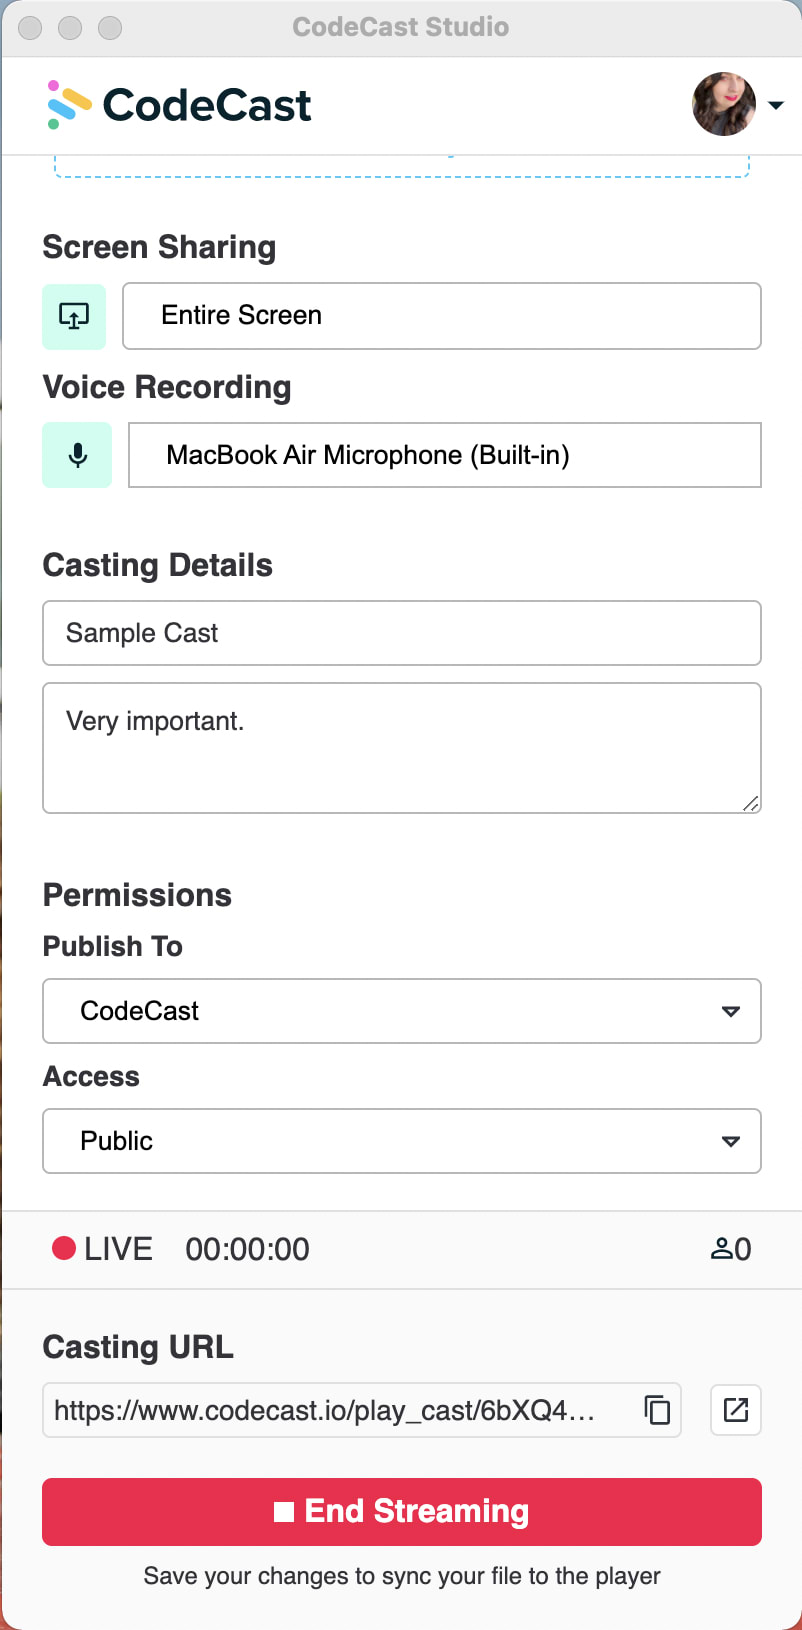
It shows you that its live, gives you a live view count of people currently watching, as well as showcases the length that the Cast has been on for.
Below that you can access the Cast URL by clicking the copy button directly to the right of the URL, or clicking on the new window button to open the Player. If youre doing a live Cast, it is recommended that you keep the Player open to keep up with the chat!
Cast Ended
Once youre done with the Cast, hit End Streaming. Youll then see a summary of the Cast, including length. Youre also given the URL to access the recorded version of the Cast.

Its important to note that it does take some time for any media to upload, so youll see a preparing media banner on the Player when opening the Cast right away after ending it. This will go away once the media has finished being uploaded.
All in all, the Studio is an incredibly useful tool that combines both live streaming media and code, making it a stand-out product in the development world.
Prefer a video tutorial? Watch the video below for a follow-along tutorial!
Original Link: https://dev.to/codecast/deep-dive-into-codecasts-studio-3f68
Dev To
More About this Source Visit Dev To