
Some of Our Sources
- TutsPlus - Code
- Joshua Blankenship
- Six Revisions
- You The Designer
- Noupe
- Fudge Graphics
- Line 25
- Spyre Studios
- Design Modo
- TechPowerUp
Help Webnuz
Referal links:
RaspberryPi, SIM7600, GPSd
Today we are going to see how we can serve gps location from SIM7600 module to a port in raspberrypi through daemon.
Requirements
- RaspberryPi
- SIM7600 (Connected to /dev/ttyS0, i.e., pi's serial port)
- Putty in your laptop/desktop for communication with raspberrypi.
This post does not cover on how to integrate SIM7600 module with raspberrypi.
Step 1: Install minicom.
Minicom is a serial communication program that connects to devices through a GNU/Linux PC's serial ports.
Before installing minicom, serial port has to be enabled from raspberry-configuration.
sudo raspi-config
Go to Interface Options-> P6 Serial Port -> No -> Yes.
This will enable the serial port communication.
sudo apt install minicom
This will install minicom. Confirm it by executing minicom -v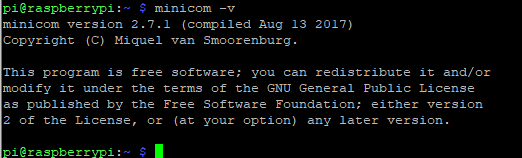
I have connected SIM7600 module with raspberrypi through UART (ttyS0). If you have a GPS module of connector type usb, you might need to find its address.
One easy way to find the address is by connecting only the gps module with pi and execute following command ls -l /dev/ttyS0
If the port is correct then you will get an message as above.
Next step is to use minicom to communicate with pi's serial port through AT commands.sudo minicom -b 115200 -D /dev/ttyS0
This will open minicom terminal.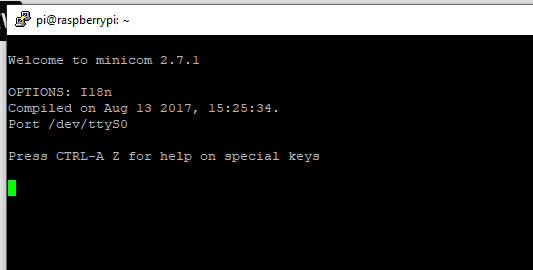
You can test whether connection are correct by typing AT and press enter.
This should return OK.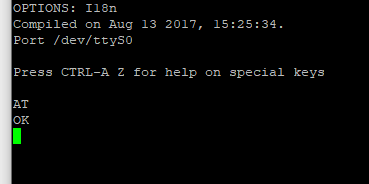
Step 2: Enable GPS in SIM7600
By default GPS will be off. We need to perform following operations
1) Turn on GPS
AT+CGPS=1,1Returns OKAT+CGPS?_Returns_ +CGPS:1, 1 OK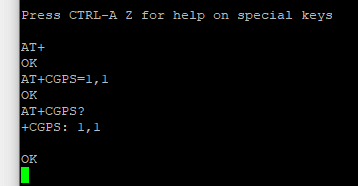
Enter below AT command to turn on GPS automatically whenever the module is turned on.
AT+CGPSAUTO=1_Returns_ OKEnter below AT command to feed the gps nmea sentence every 1 second in the serial port out.
AT+CGPSINFOCFG=1,31_Returns_ OK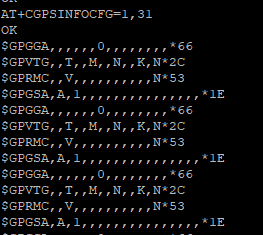
Exit from minicom terminal and restart pi and SIM7600. To confirm everything went well. cat /dev/ttyS0
Don't worry, if nothing gets print on the screen. This is because minicom stops writing data once you exit from its terminal.
You try again the above command in a different terminal session without closing minicom.
Step 3: Automate minicom
Before creating script to automate we have to enable the scripting in minicom.minicom -s
will open minicom configuration.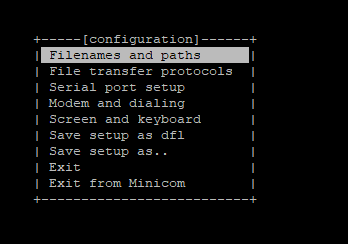
Select Serial port setup option from menu and configure as shown below.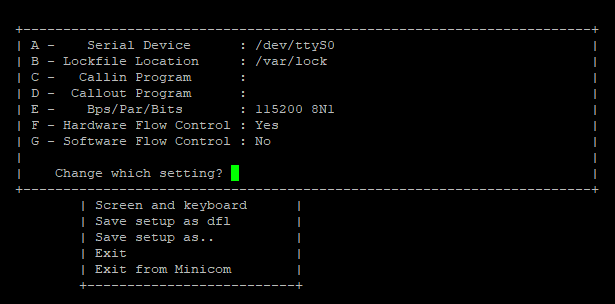
Next, create a minicom script to execute AT+CGPSINFOCFG=1,31
Content of the script is as shown below.send AT+CGPSINFOCFG=1,31
Save the file in /home/pi/start-gps.sh
You can see nmea sentence printing in minicom terminal once you execute minicom -S start-gps.sh
Still this is not enough, we have to create a bash script to execute above command during system startup automatically.
Create minishell.sh with below content in /home/pi/.
#!/bin/bashminicom -S start-gps.shMake it executeable chmod u+x minishell.sh
bashrc is a program which can execute other scripts on startup.
Edit ./bashrc file and add
#start minicom gpsecho "turning gps on"sudo ./minishell.shat the end of the file.
Step 4: Install gpsd, gpsd-clients
Install gpsd and gpsd-clients from apt.sudo apt-get install gpsd gpsd-clients python-gps
Edit gpsd.sock file as shown below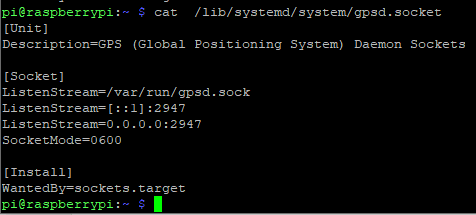
Again edit ./.bashrc file to add below script at the end of the file.sudo gpsd /dev/ttyS0 -F /var/run/gpsd.sock
Restart your pi.
Now you will receive gps information from port 2947.
To verify the same just enter gpsmon in terminal.
You will see 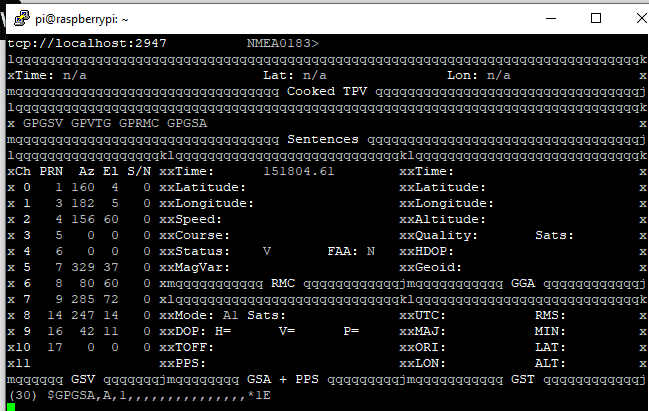
Thank you.
Original Link: https://dev.to/nakullukan/raspberrypi-sim7600-gpsd-2969
Dev To
More About this Source Visit Dev To