
An Interest In:
Web News this Week
- April 1, 2024
- March 31, 2024
- March 30, 2024
- March 29, 2024
- March 28, 2024
- March 27, 2024
- March 26, 2024
Some of Our Sources
- Simplebits
- TutsPlus - Code
- My Ink Blog
- CSS Globe
- Stylized Web
- Design Modo
- Willems Lab
- Dev To
- Hashedout
- TechPowerUp
Help Webnuz
Referal links:
A Complete Practical Guide on Hoppscotch.
INTRODUCTION
In this blog we will work practically on Hoppscotch. We will study how API Testing is done in Hoppscotch. Writing pre-request scripts and Test scripts to make sure the API is highly secured and reliable because If our APIs are not secured & reliable, it will crash just like tom
WHAT IS API ?
API stands for Application-Programming-Interface. It is the middle layer between User Interface and Backend Server. You can take API as an waiter in restaurant, where User requests are customers and Server is the Chef in the Kitchen. When customer has a specific request, it is taken to chef by waiter. In same way, When user makes a specific request, it is requested to the server through API.
WHAT IS HOPPSCOTCH ?
Hoppscotch is a tool that helps us to build HTTP requests that we send to Servers. It is an tool that allow us to work easily with the APIs. It is an HTTP Client using which we can make HTTP requests using an GUI for validating the responses we retrieve using those API requests.
Let's Work Practically !
The Best way of learning is by working on it practically. We will test some APIs and will write tests for it.
Go to Hoppscotch.io. Lets start creating http requests.
Lets make our first http GET Request on Hoppscotch using the url -
https://api-client-1122.herokuapp.com/Copy this url and paste it in URL box in Hoppscotch.
And start with simple GET Request and press Send Button.
Yayy!! We just made our first GET Request and got response of
{ "Message": "HI THERE" }Thats super cool! Now save the response by clicking on Save button. New dialog box appears.
Add name to your request as 1st Request.
Collections
So what are Collections in Hoppscotch?
With the help of Collections, we can group together all the HTTP Requests of the single API Endpoint to organise it in a well-mannered way.
Click on Add new button to create a new Collection and name it Users API and click on save button.
Select User API from My Collections and save the request to the User API Collection.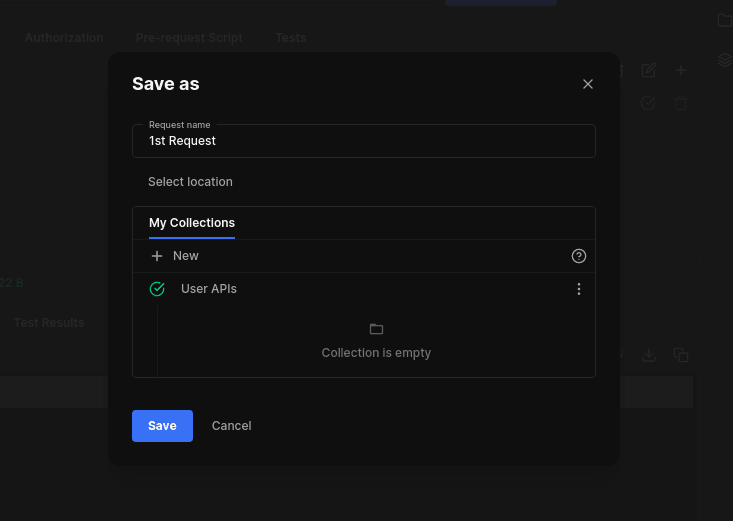
We have created our first Collection successfully and saved our 1st request to the User API Collection.
Now we will try to fetch the Users list from the API.
Paste the below url for fetching the Users list from the server.
https://api-client-1122.herokuapp.com/usersUsing GET Method send the request.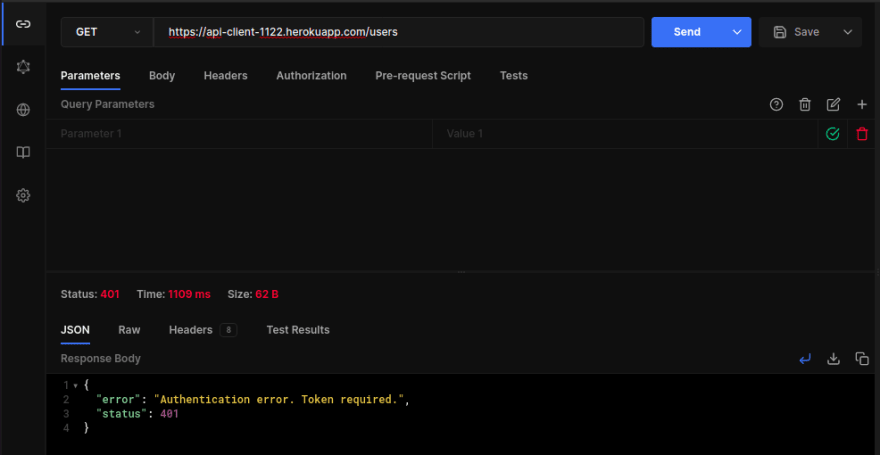
Uh oh! We received an Authentication error.
Reason for this error is that We are not Authenticated and for that We need to create our credentials. Lets get into creating a new user.
Change the method to POST.
And change Content Type to application/json because we are providing our data in json format.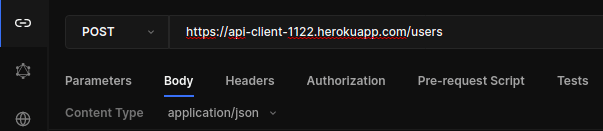
{ "username": "sankee", "password": "IplayGTA5"}Add your data to the request body which you want to send with the request.
Click on Send button to make the request.
Wooo! We just made our first POST request here.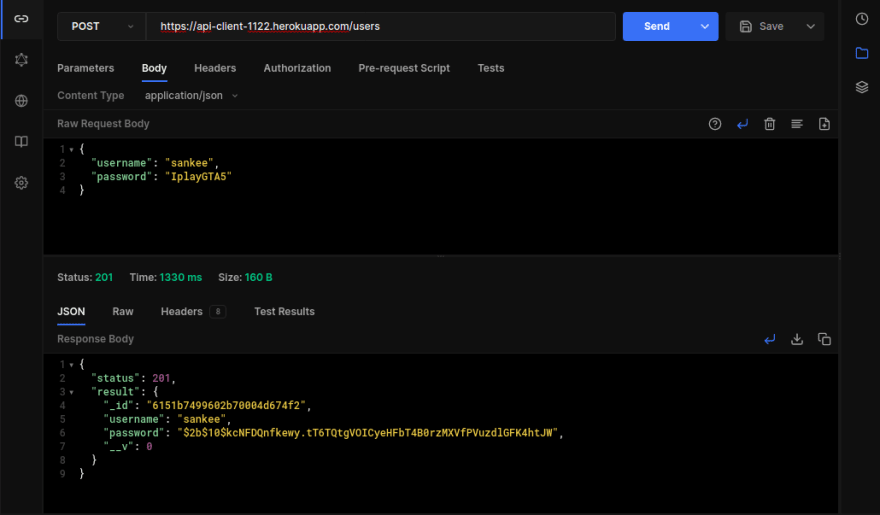
We have successfully created our credentials and have received the response.
{ "status": 201, "result": { "_id": "6151b7499602b70004d674f2", "username": "sankee", "password": "$2b$10$kcNFDQnfkewy.tT6TQtgVOICyeHFbT4B0rzMXVfPVuzdlGFK4htJW", "__v": 0 } }Lets move forward and generate an auth token by send our credentials to the login route.
Add the same json data to request body to generate auth token.
Yep! We successfully generated our auth token. Copy the auth token for using it in user route.
Save the login route to the User API collection by clicking on dropdown arrow next to Save Button and click on Save as button. Name it and select User API from My Collections, Save it!.
Now again we will try to fetch users list on users route by adding the auth token along with the request.
Click on Authorization button below the URL box and set Authorization Type to Bearer Token. Paste the copied auth token in the Token box.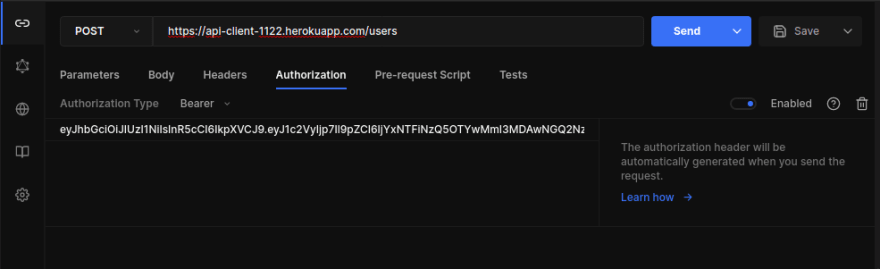
Now make the GET Method Request to fetch the users list.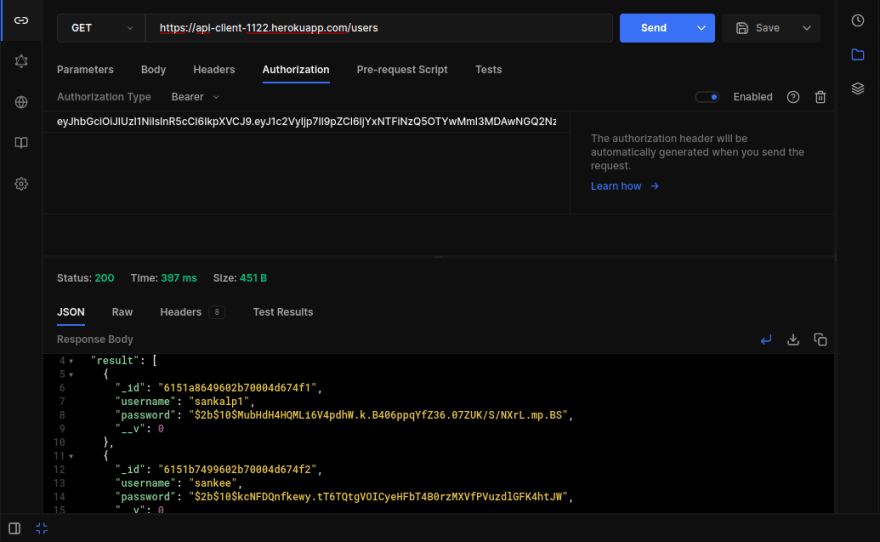
We have successfully fetched the Users list.
Lets try it by manipulating the token to verify its security.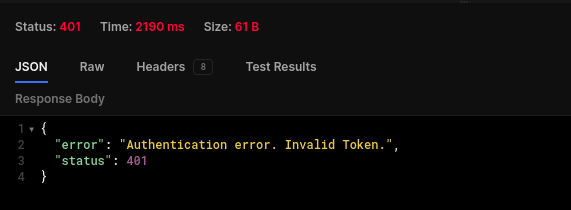
Yeah its highly secured, cannot access the API with wrong Auth Token.
Make it correct and save the /users route to User API collection in the same way as we did for /login route.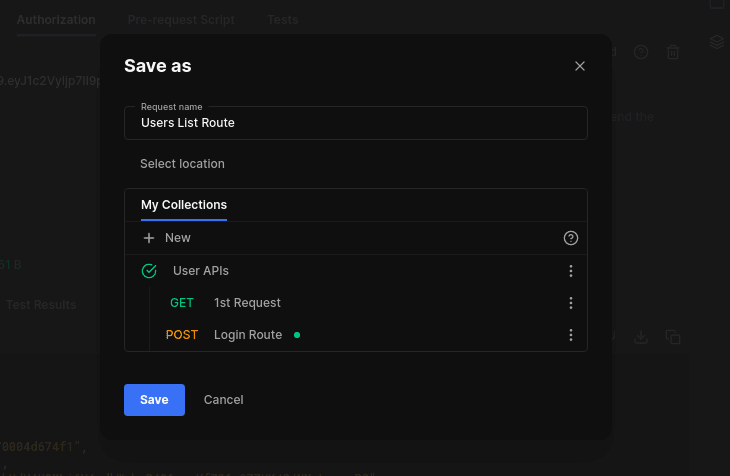
Moving on! Copy id of one of the user for further use.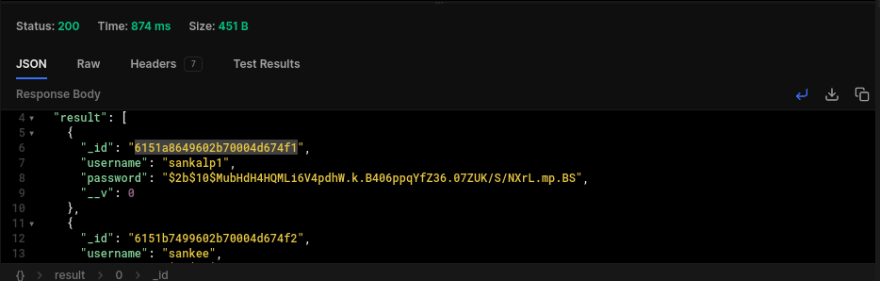
Add the id in URL box to update data of an user using PUT request. Now your URL Box will look like something of this kind.
https://api-client-1122.herokuapp.com/users/6151a8649602b70004d674f1Change the method to PUT and add this data to the request body.
{ "username": "sankalp123"}Send the request.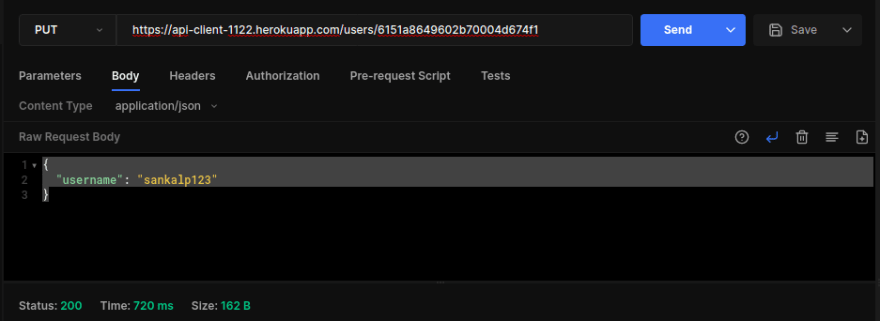
As we have received status code of 200, we have successfully updated our document. Verify it by sending GET request on same route. 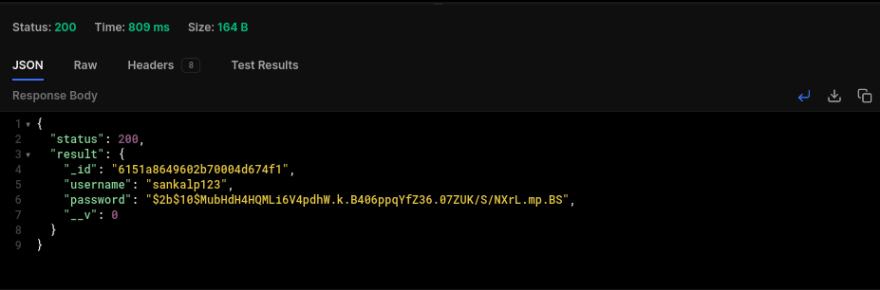
Wohoo! Successfully updated our document. Now save the route as Update an User to the User API Collection.
Environments
Our url is getting bit lengthy, No worries, Environments are here for rescue. We can create variables to store data and we can use those variables in our requests.
Lets make an variable baseURL and store our API Endpoint in it. Click on Environment icon button next to our workspace and click on Add new button and name it User API.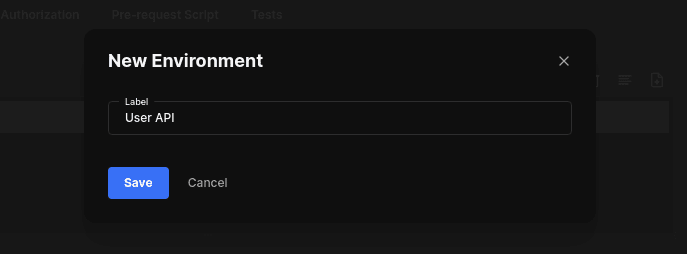
Click on User API and add variables to the env. Name it baseURL and add https://api-client-1122.herokuapp.com/ url to value box and save it.
Switch to User API env by clicking on No Environment button followed by User API button.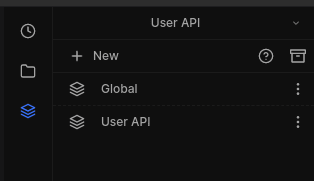
Hurray! Env switching done !!
But how I m gonna access the variables?
mmm, yeah dont worry, <<value>> brackets are here.
Go to url box and replace the API with the syntax.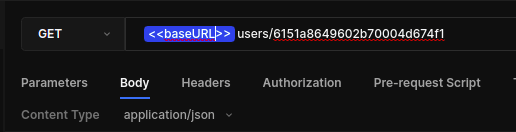
Hover over it and you can see the value stored in the variable. If the variable has blue correct, its correct and if you make an typo, you will get red color indicating that you have no such variable in your environment.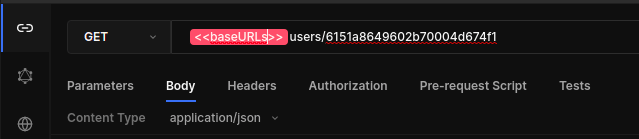
Now lets move forward on deleting an User with DELETE method. Lets delete an User by changing the Method to DELETE and with the same id we used for updating an User Document.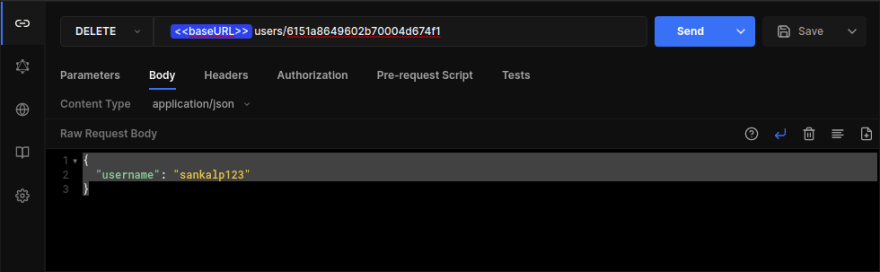
Lets confirm the deletion of user document by making another GET request to the same URL.
Yeah! Not found !
We have gone through all the common Request Methods and also organised our all requests using Collections and created variables by using Environments.
TESTS
What the heck Tests are ? Well Tests are scripts written in javascript which executes after the response is received.
Lets start writing tests for our API Requests.
Go to our 1st Request and then go the Tests section. We have some pre written tests to the right side of the workspace.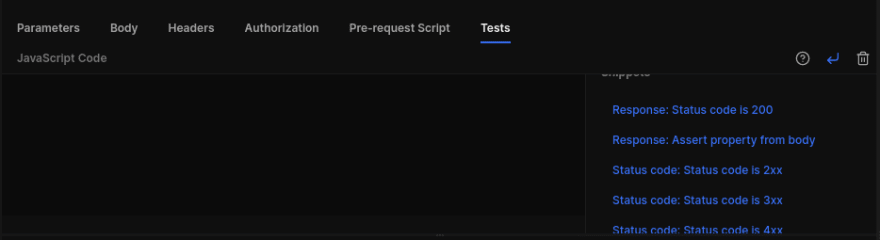
Click on Response: status code is 200.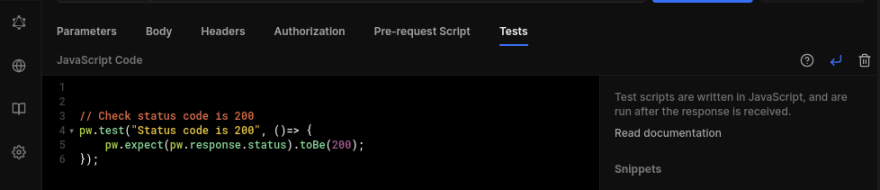
Now click on send button and check for the tests.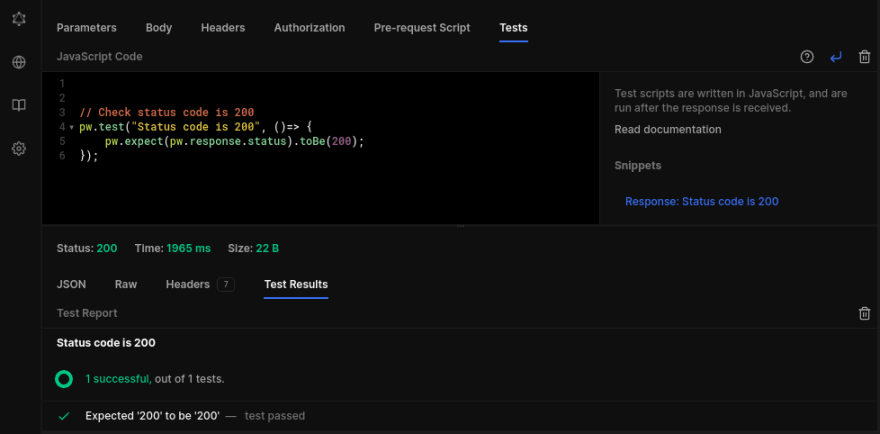
Oh Yeah! Our test is successful. Lets write custom test.
Syntax -
pw.test(name, func()=>{});Syntax is pretty much simple, we start with pw.test followed by name and function for the test.
// Check for HI THEREpw.test("Response is HI THERE", () => { pw.expect(pw.response.body).toBe('{"Message":"HI THERE"}')})Add this code to Tests and lets check if this fails or Passes. 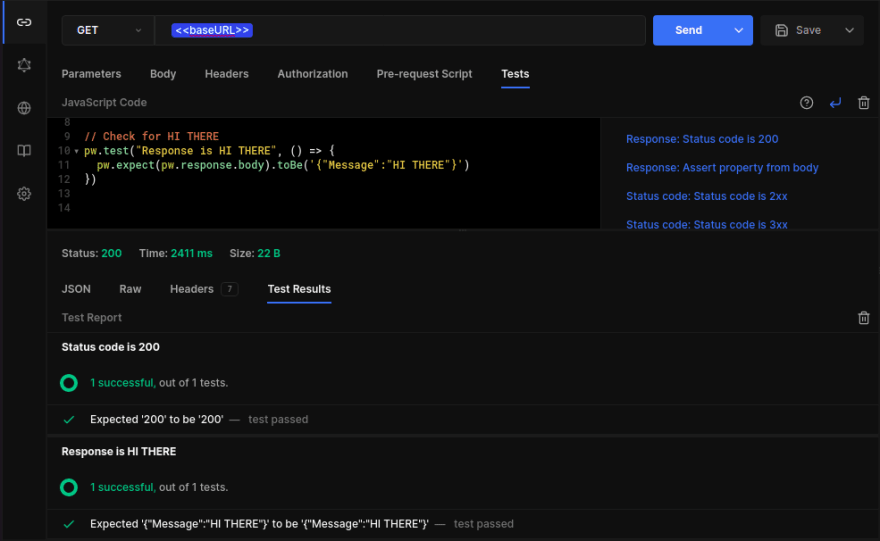
Hurray! We passed both the tests - status code 200 and expected message test successfully.
Now its your assignment to add status code tests to all the http request we made today because Practice makes man Perfect.
CONCLUSION
Yep! We worked on complete practical use of Hopscotch HTTP Client. We learned how to make different HTTP Requests along with 4 most common Request Methods - GET, POST, PUT & DELETE. We worked on how to organise all of our API Requests using Collections and creating & using variables by using Environments.
SUPPORT

CONNECT WITH ME
Thanks for reading, Peace and Bubbyeye and yeah keep learning no matter how sleepy you are..!
Original Link: https://dev.to/sankalpswami1122/a-complete-practical-guide-on-hoppscotch-374j
Dev To
More About this Source Visit Dev To