
An Interest In:
Web News this Week
- April 23, 2024
- April 22, 2024
- April 21, 2024
- April 20, 2024
- April 19, 2024
- April 18, 2024
- April 17, 2024
Some of Our Sources
- Simplebits
- Joshua Blankenship
- The Logo Smith
- Six Revisions
- Vandelay Design
- You The Designer
- Noupe
- Line 25
- Freelance Switch
- The Verge
Help Webnuz
Referal links:
React Native Setup on macOS!
You're interested in developing React Native on your macOS computer - yay! However, installing React Native can be kind of tricky, there are a lot of different pieces to connect for both iOS development and Android.
Without further ado, let's dive in!!!
Downloading Xcode
Why Xcode?
Xcode is Apple's IDE (integrated development environment) for building Mac, iOS, watchOS, and tvOS apps. It supports the Objective-C and Swift languages. We need it for React Native in order to use its build tools, which allows us to compile the native code necessary to build React Native apps.
Xcode also comes with an iOS "simulator", which lets us run iOS apps on our Mac to see how they'll look and function.
Lastly, while we generally recommend running our React Native app from the terminal (more information on this in the last chapter of this blog!) we can also load up our React Native app in Xcode and run it from there, which lets us use all of the powerful features that Xcode has to offer.
Download Xcode from the Mac App Store

Downloading Android Studio
Why Android Studio?
Android Studio is Google's IDE (integrated development environment) for Android app development. It'll allow us to compile Android apps, set up Android emulators, and also run our React Native project in Android Studio to take advantage of its powerful features if we want.
Installing Homebrew
One of the most important tools on macOS is called Homebrew. Homebrew is billed as "the missing package manager" for macOS and is widely used by developers. We will need it to install some of the dependencies for React Native. Plus, it's just super handy for installing other things you may need!
You can check if you already have Homebrew installed by running brew --version in your Terminal.
Installing Node
Why Node?
Node is a JavaScript "runtime environment" that lets you run JavaScript from your Terminal (and other places outside of a browser). React Native uses Node to run JavaScript scripts on the command line for things like testing, packaging, and more.
You can check if you already have Node installed by running node --version in your Terminal.
Installing Watchman
Why Watchman?
Watchman is a tool by Facebook for watching for changes to files in your project. This allows for recompiling, rebundling, and reloading every time you save changes to your source files. While React Native can work without Watchman, it's highly recommended to install it for performance and productivity reasons.
You can check if you already have Watchman installed by running watchman --version in your Terminal.
Installing Yarn
Why Yarn?
[Yarn is a command-line tool created by Facebook that (mostly) replaces NPM. At Infinite Red, we use it for almost everything. It lets us install NPM dependencies and run scripts -- and it's very fast!
Yarn is optional for React Native projects, but I recommend it.
You can check if you already have Yarn installed by running yarn --version in your Terminal.
Setting up your Mac for iOS React Native Development
Installing Xcode
Note: even if you've already installed Xcode, you should follow the steps here to ensure it's properly configured.
This part requires some patience, but you can do it!
In the first page of this section, you should have started downloading Xcode. Hopefully it's finished by now! If so, click the Open button in the App Store or launch it from your Applications folder.
First, you'll need to agree to their Xcode and Apple SDKs Agreement. I'm sure you'll read them carefully. ;-)

Xcode will then install some components before opening.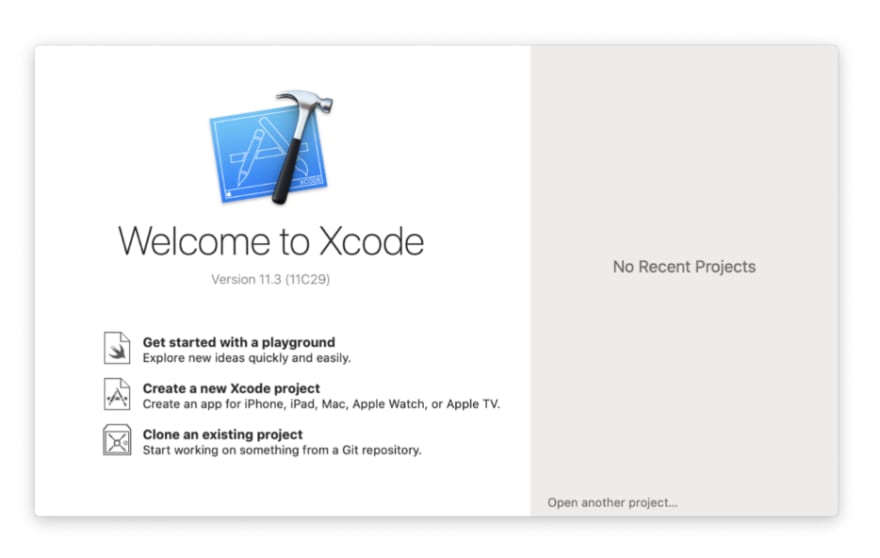
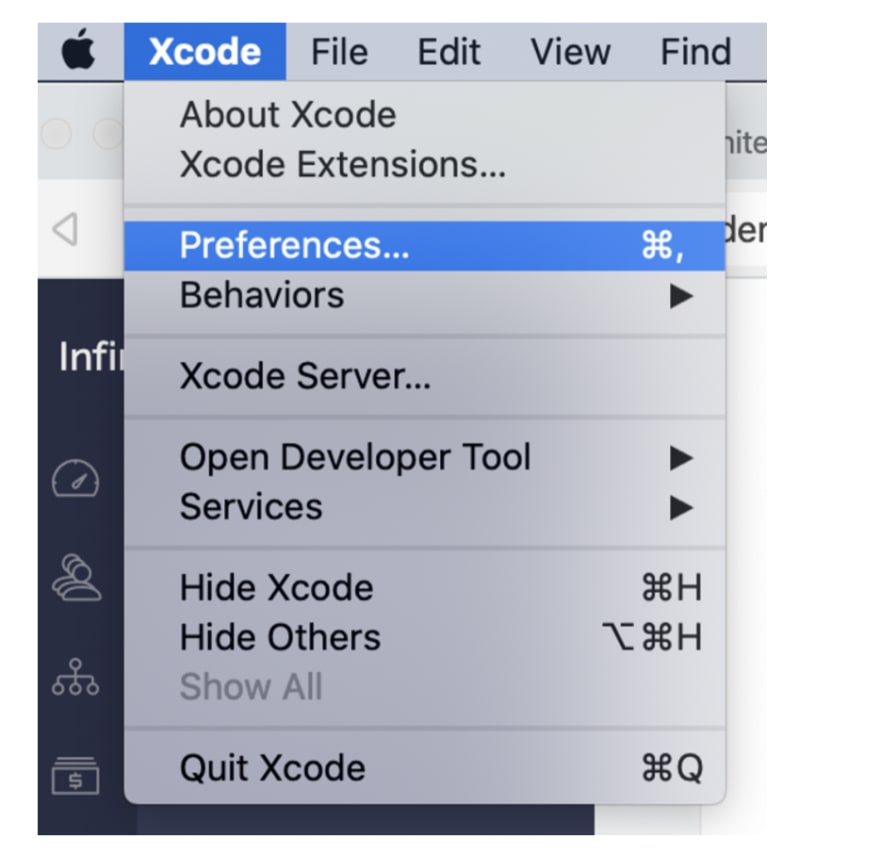
Now we need to install the Command Line Tools.
Hit +, (command + comma) to open Xcode Preferences or open it from the Xcode menu.
Go to the Locations tab and select the item in the Command Line Tools drop-down.
It'll ask for your password and then install the Command Line Tools.
Next let's install an iOS simulator. In the same Preferences dialog, choose the Components tab and click the down arrow next to the simulator you want to use. I chose the latest (iOS 13.2). It will ask for your password again - maybe even twice. I bet you're getting good at typing that in.

This will take a while, so feel free to move on to the next section. When it's done, just close the Preferences dialog box.
Installing CocoaPods
Why CocoaPods?
In order to bring in native third-party packages written in Objective-C or Swift, called CocoaPods, you'll want the CocoaPods CLI. This is sort of like NPM or Yarn, but for native iOS code. It's written in Ruby and requires Ruby (which is installed by default in macOS, although new versions of macOS are reportedly going to remove it!)
*You can check if you already have CocoaPods installed by running pod --version in your Terminal. *
You can install CocoaPods in a variety of different ways, but I recommend using Homebrew. If you have a Ruby version manager like RVM or rbenv, you can also install using Rubygems.
Let's use Homebrew:
brew install cocoapods
When it's done, try pod --version to see if it installed correctly.
Note: it may warn you to add export LANG=en_US.UTF-8 to your .zshrc. Check the pod --version output carefully and follow the directions.
Once the iOS Simulator is done downloading (from the previous section), you should be ready to go! You can either move on to setting up Android now, or skip to the section Creating your first React Native app.
Setting up your Mac for Android React Native Development
Installing the Java Development Kit (JDK)
You'll need the JDK (Java Development Kit) to compile Android apps. The JDK includes an interpreter for Java, the JRE (Java Runtime Environment), a compiler, and many other things critical for building Android apps (and Java apps in general).
In our case, we're actually going to be using OpenJDK, which is a free and open source version of the JDK.
Installing JDK
With Homebrew, this is pretty straightforward.
brew tap AdoptOpenJDK/openjdkbrew install --cask adoptopenjdk8
(Note with older versions of Homebrew, you may have to run brew cask install adoptopenjdk8 instead.)
You may need to enter your password again.
Installing Android Studio
Hopefully Android Studio has finished downloading! Let's install it.
First, find and run the DMG file that you downloaded. Drag the icon into the Applications folder.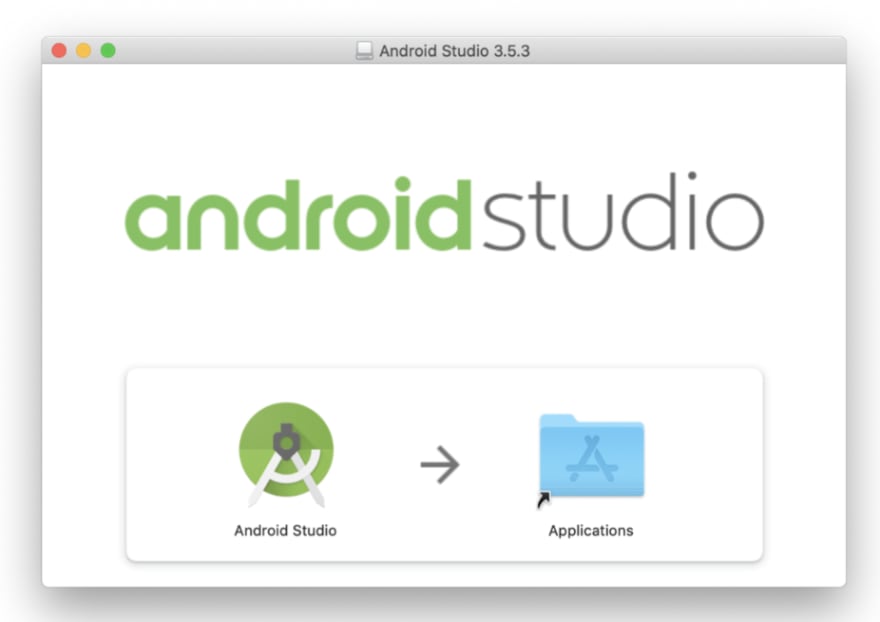
Now launch it from Spotlight or your Applications folder.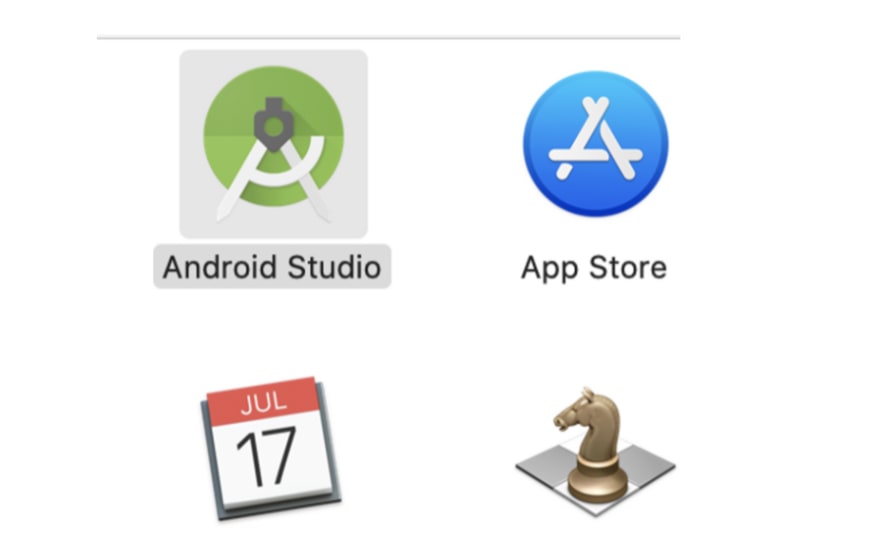
This will open a setup wizard. Just click Next, and then choose "Custom" in the Install Type screen.
You might see a screen that looks like this: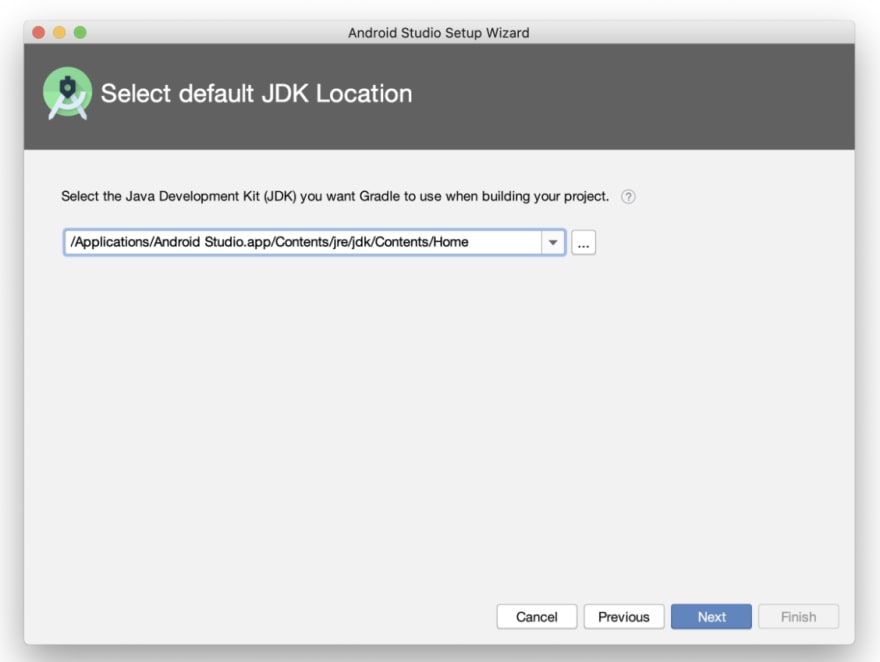
Just click Next to keep the default path.
Choose dark or light theme, and then in the SDK Components Setup screen, make sure Android SDK Platform, API 29, Performance, and Android Virtual Device are all checked.

Click Next. In the next screen (Emulator Settings) leave everything at the default and click Finish to start downloading and installing the SDK components.
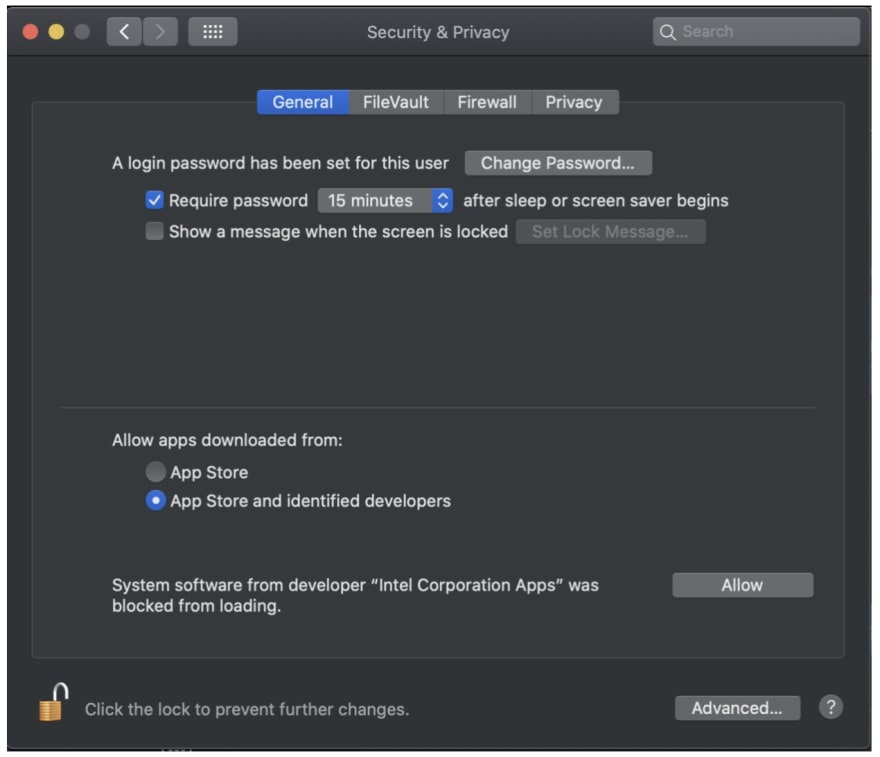
Note that you may see a message saying System Extension Blocked, If so, click Open Security Preferences, then click on the lock icon, enter your password, and click Allow.
Once it's done, we have more work to do. Let's go to Do that.
Installing Android SDK
Not to be confused with the JDK (Java Development Kit), the Android SDK (Android Software Development Kit) contains Android-specific tools, such as Android libraries, emulators, a debugger, and more.
Open up Android Studio and click the Configure button on the bottom right of the welcome screen and choose SDK Manager.
NOTE: If you don't see the welcome screen, you can also go to the Android Studio Preferences, Appearance & Behavior, System Settings, Android SDK, and then find SDK Manager there.


Follow the next steps very carefully and check your work. It can cause some head-scratching problems if you don't!
Click the Show Package Details checkbox in the SDK Platforms tab (you should already be on it). 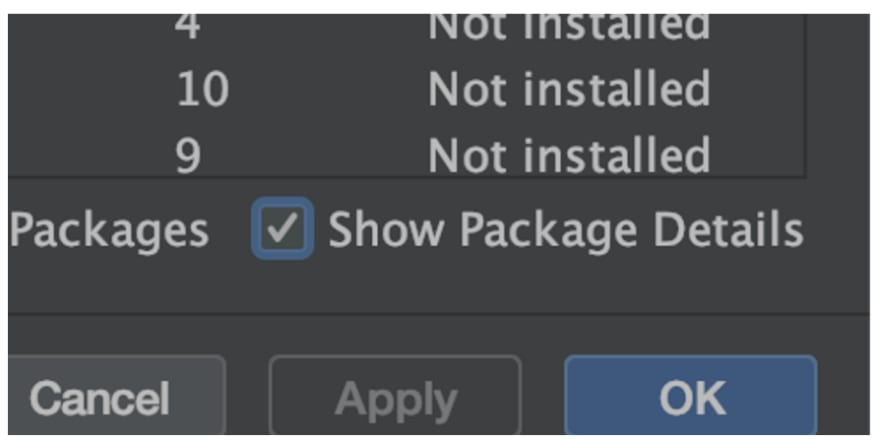
Find Android 9 (Pie) and open it up, and then check these entries:
- Android SDK Platform 28
- Intel x86 Atom_64 System Image (note: do NOT select the similarly named "Intel x86 Atom System Image" by mistake)

Now go to the SDK Tools tab. Click "Show Package Details" in this tab too.
Find "Android SDK Build-Tools" and check "28.0.3" (exactly that version). On mine, 29.0.2 is also checked, don't uncheck it (or whichever one is checked on yours) unless you intend to make your own Android Virtual Device which uses SDK 28. For the majority of you, just leave both 28.0.3 and whatever was already checked, and move along.

Click "Apply" and "OK" on the Confirm Change dialog. It should look something like this .

Click "Accept" on each of the items in the License Agreement dialog and then "Next". When it's done, click "Finish".
Wow! Let's move on to the next step.
Configuring the ANDROID_HOME environment variable
When you run npx react-native run-android, React Native needs to know where all of the Android dependencies live. This environment variable (ANDROID_HOME) is where it'll look.
We also need to set up our path to allow our system to know where the emulator command and other commands live.
Configuring ANDROID_HOME and PATH
Note that you could have various shells set up, such as zsh or bash, and will need to properly choose which one to add these lines to.
Run this command to figure out what shell you are in:
echo $0
If it says -zsh, you're in zsh. If it says -bash you're in bash. If it's something else, hopefully you know what you're doing.
Some notes:
- For bash, you want to put these lines in ~/.bash_profile (probably) or ~/.bashrc (possibly).
- For zsh, you want to put these lines in ~/.zshrc (probably).
- It's possible you may need to create one of these files if they don't already exist. Just run touch ~/. to create the proper file.
Note that if you customized where the Android SDK is, you'll need to change the first line. If you didn't customize anything, it's probably correct as-is.
export ANDROID_HOME=$HOME/Library/Android/sdk
export PATH=$PATH:$ANDROID_HOME/emulator
export PATH=$PATH:$ANDROID_HOME/tools
export PATH=$PATH:$ANDROID_HOME/tools/bin
export PATH=$PATH:$ANDROID_HOME/platform-tools
Let's say you are on zsh and want to add these to ~/.zshrc. You can append them by running this command:
echo "export ANDROID_HOME=\$HOME/Library/Android/sdk
export PATH=\$PATH:\$ANDROID_HOME/emulator
export PATH=\$PATH:\$ANDROID_HOME/tools
export PATH=\$PATH:\$ANDROID_HOME/tools/bin
export PATH=\$PATH:\$ANDROID_HOME/platform-tools" >> ~/.zshrc
When you're done, you can test it in a new Terminal window with this line:
echo $ANDROID_HOME
It should output something like /Users//Library/Android/sdk. You can also check your path:
echo $PATH
and see if it's correct. Note (again) that you do need to open a new terminal window (with command+N or command+T) to load the new environment variables -- editing the file won't change them for the current terminal session.
Creating a new React Native project
We're finally ready to spin up a new React Native project!
Open your Terminal back up and change directories to your code folder where you keep your projects.
Now, let's run the React Native CLI via NPM's built-in "npx" command.
npx react-native init ReactNativeApp
This will start the process of building a brand-new React Native app. (Note that it may install a bunch of dependencies and spit out a bunch of warnings -- you can mostly ignore those.)
Once it's created, change directories into the new app and start it up.
cd ReactNativeApp
for iOS:
npx react-native run-ios
for Android:
npx react-native run-android
If all goes well, you should see the iOS simulator or Android emulator start up with your new app!
CONGRATULATIONS!!! You're all set up.
Original Link: https://dev.to/krishna7852/react-native-setup-on-macos-5a76
Dev To
More About this Source Visit Dev To