
An Interest In:
Web News this Week
- April 24, 2024
- April 23, 2024
- April 22, 2024
- April 21, 2024
- April 20, 2024
- April 19, 2024
- April 18, 2024
Some of Our Sources
- BoingBoing
- Engadget
- TutsPlus - Code
- Abduzeedo
- TutsPlus - Design
- Fuel Your Creativity
- Inspiredology
- Line 25
- Freelance Switch
- Web Resource Source
Help Webnuz
Referal links:
Make a image editor with HTML, CSS and JS.
Introducing FOTOQUICK
Ok, so I find myself needing quick and easy photo manipulation tools. I think many have too found them in my place. So recently, I was challenged to make a simple app within 2 hours. Well, I was searching for ideas for the first half an hour and then I realized about image manipulation. So, I created FOTOQUICK, a simple and easy-to-use photo editing app on the web, which is also built on nothing but HTML, CSS, and JAVASCRIPT !!
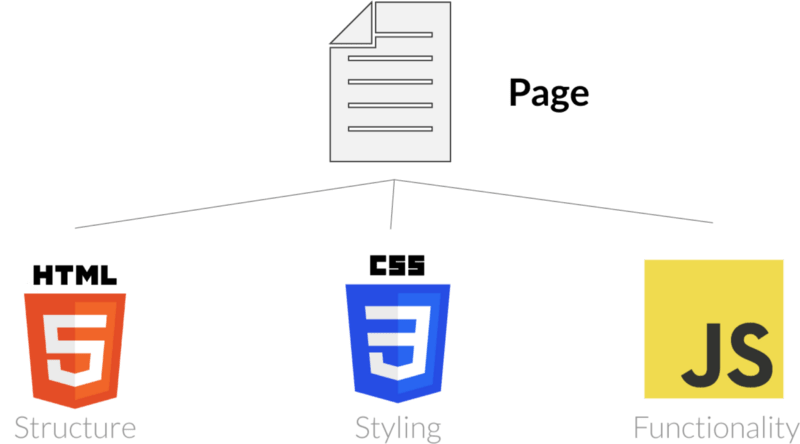
Ok so as usual our file structure will be as follows:
1st let's create our HTML file.
We will first of all add bootstrap and other scripts. Also, this is where we will devise our title and favicon
<!DOCTYPE html><html> <head> <meta charset="utf-8"> <meta name="viewport" content="width=device-width"> <title>FotoQuick by Abhiraj</title> <link href="style.css" rel="stylesheet" type="text/css" /> <link rel="stylesheet" href="https://maxcdn.bootstrapcdn.com/bootstrap/4.5.2/css/bootstrap.min.css"> <script src="https://ajax.googleapis.com/ajax/libs/jquery/3.5.1/jquery.min.js"></script> <script src="https://cdnjs.cloudflare.com/ajax/libs/popper.js/1.16.0/umd/popper.min.js"></script> <script src="https://maxcdn.bootstrapcdn.com/bootstrap/4.5.2/js/bootstrap.min.js"></script> <link rel="shortcut icon" type="image/jpg" href="favicon.ico"/> </head> <body> <div class="sidebar"> <div class="image_filters"> <h2 type="button" data-toggle="collapse" data-target="#filters">Image Filters <span class="drop-down">▼</span></h2> <div class="collapse" id="filters"> <button class='btn btn-primary' id="btn" style="font-size: 25px;" onclick="grayscale()">GrayScale</button> <button class='btn btn-primary' id="btn" style="font-size: 25px;" onclick="bright()">Brighen</button> <br> <br> <button class='btn btn-primary' id="btn" style="font-size: 25px;" onclick="dark()">Darken</button> <button class="btn btn-primary" id="btn" style="font-size: 25px;" onclick="blur_effect()">Blur Effect</button> <br> <br> <button class='btn btn-primary' id="btn" style="font-size: 25px;" onclick="emboss()">Emboss</button> <button class='btn btn-primary' id="btn" style="font-size: 25px;" onclick="sharp()">Sharpen</button> </div> <div class="breaks"> <br> <br> </div> </div> <div class="import_and_export"> <h2 type="button" data-toggle="collapse" data-target="#import_export">Import and Export <span class="drop-down">▼</span></h2> <div class="import_and_export_buttons"> <div class="collapse" id="import_export"> <div class="btn btn-primary" style="font-size: 25px;" onclick="selectImage()"> <input type="file" id="foto-file" accept="image/png"/> Import Image </div> <button class="btn btn-primary" style="font-size: 25px;" onclick="download()">Export Image</button> </div> </div> </div> <div class="breaks"> <br> <br> </div> <div class="edit"> <h2 type="button" data-toggle="collapse" data-target="#edit">Editing <span class="drop-down">▼</span></h2> <div class="collapse" id="edit"> <button class="btn btn-primary" style="font-size: 25px;" id="btn" onclick="crop()">Crop Image</button> <button class="btn btn-primary" style="font-size: 25px;" id="btn" onclick="flip_img()">Flip Image</button> <br><br> <button class="btn btn-primary" onclick="makeTransparent()" style="font-size: 25px;" id="btn"><div id="color-preview"></div>Transparent</button> <input type="color" id="colorize-color-picker" value="#00000" oninput="makeColorize(this)"> <button class="btn btn-primary" style="font-size: 25px;" id="btn" onclick="openColorPicker()">Colorize</button> </div> </div> </div> <div class="img-container"> <img id="foto-image" class="image"/> </div> <script src="https://rawcdn.githack.com/kousik19/foto.js/045defe1a5ce06220e084e4e6f6fbaccb7621841/foto.min.js"></script> <script src="script.js"></script> </body></html>Now let's put some spice in this HTML.
Up next, we will add some CSS.
.sidebar{ height: 100%; width: 400px; position: fixed; z-index: 1; top: 0; left: 0; background-color: rgb(206, 250, 209); overflow-x: hidden; padding: 20px;}.drop-down{ font-size: 20px; float: right; position: relative; top: 10px;}h2{ user-select: none; border: 3px solid rgb(250, 1, 1); padding: 5px;}br{ user-select: none;}#foto-file{ display: none;}#btn{ width: 170px;}.image{ position: relative; left: 500px; user-select: none;}#colorize-color-picker{ display: none;}Now that our site is actually, let us make it actually work.

var foto;window.onload = function() { foto = new Foto();}function selectImage() { document.getElementById('foto-file').click();}function grayscale(){ foto.grayscale();}function bright(){ foto.makeBright();}function dark(){ foto.makeDark();}function blur_effect() { foto.applyBlurFilter();}function emboss() { foto.applyEmbossFilter();}function sharp() { foto.applySharpFilter();}function download(){ foto.export();}function flip_img(){ foto.flipVertically();}function crop(){ foto.cropSelected();}function makeTransparent(){ foto.makeTransparent();}function openColorPicker(){ document.getElementById("colorize-color-picker").click();}function makeColorize(elem){ var color = elem.value; foto.applyColorFilter(color);And VOILA! You have created a simple photo editing app.
if you liked this tutorial, then please do star the github repository or buy me a coffee maybe.

Original Link: https://dev.to/rainboestrykr/make-a-image-editor-with-html-css-and-js-32ph
Dev To
More About this Source Visit Dev To