
An Interest In:
Web News this Week
- April 20, 2024
- April 19, 2024
- April 18, 2024
- April 17, 2024
- April 16, 2024
- April 15, 2024
- April 14, 2024
Some of Our Sources
- BoingBoing
- Web Designer Wall
- Creative Curio
- Web Designer Depot
- Fudge Graphics
- Spyre Studios
- Web Resource Source
- Daily Now
- The Verge
- TechPowerUp
Help Webnuz
Referal links:
Rendering components conditionally with Phoenix LiveView
When we come across a view that has many HTML elements, we usually want to separate them into their own components to have a better organization of the code to make it easier to understand and maintain, as well as decouple large logic into smaller pieces, and why not, re-use these components in another view (very much in the style of React.js mental model). This can be easily achieved by using LiveComponent de Phoenix LiveView.
The problem is that many times these components share some logic between them, and many times they depend on each other to know if it should be rendered or not. This is called conditional rendering, and with Phoenix LiveView we can achieve this by handling the conditional logic in the parent LiveView, through the handle_info callback function.
You can also see this post in Spanish

Use Case
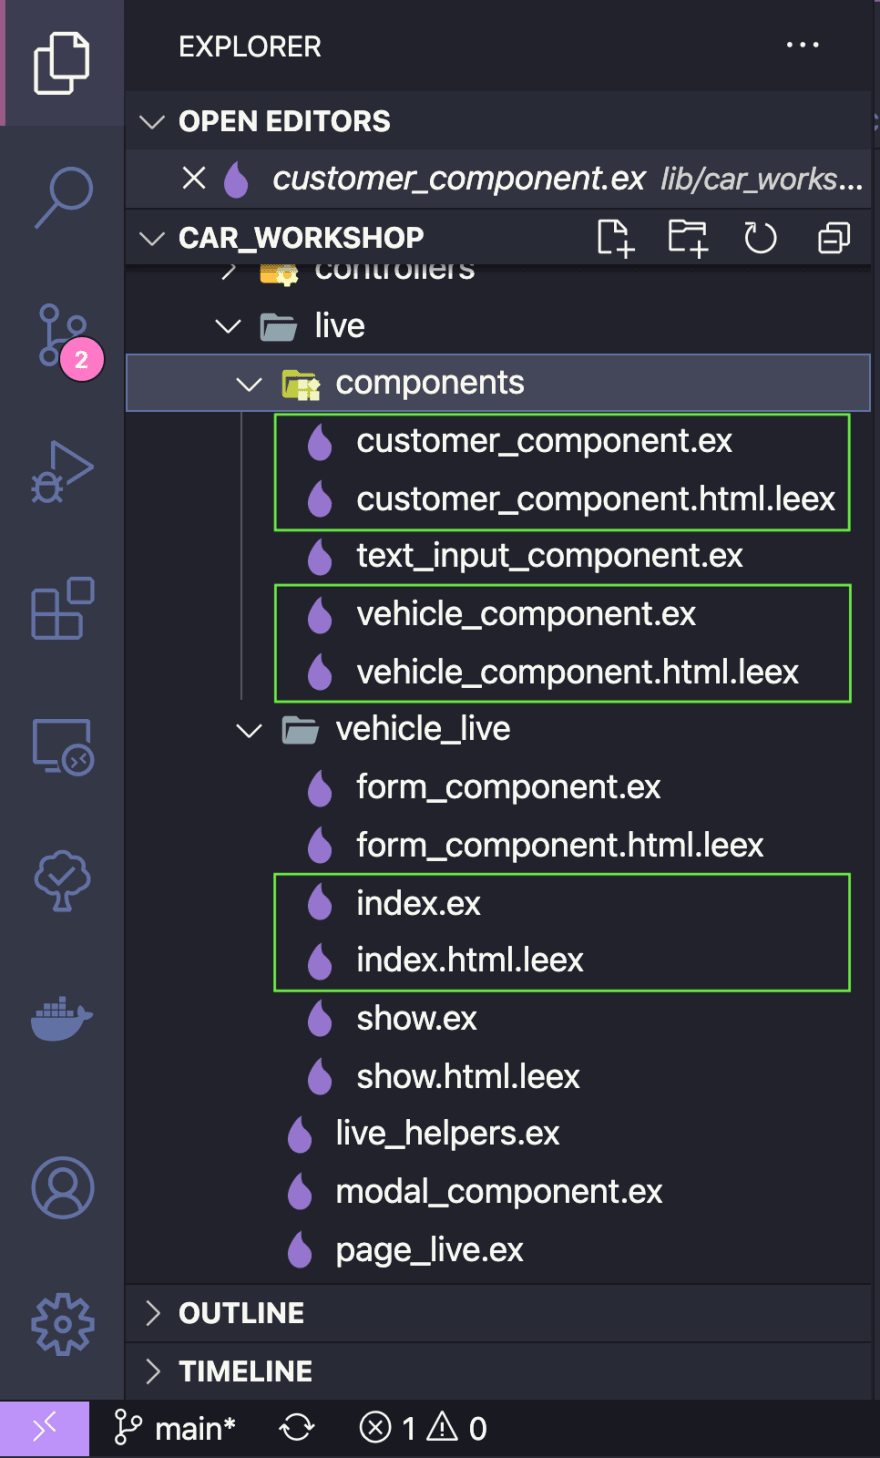
Suppose we have a view for registering a vehicle in a mechanics workshop. This view is composed of two forms, one for the registration of the vehicle owner and one for the registration of the vehicle itself. Each form has its own independent registration view, so we use a LiveComponent for each of these, within which its own business logic is handled independently.
These views must be rendered independently and in order:
User registration (customer_component.ex)

Vehicle registration (vehicle_component.ex)

Once the user is registered, the user's id must be passed to the vehicle component, so that we can successfully associate the user with the vehicle when we are registering the vehicle.
How do we achieve this? Let's go to the code...
The conditional logic is handled in the parent view of the user and vehicle components, in this case, it will be the LiveView vehicle_live/index.ex and its respective file vehicle_live/index.html.leex where the HTML elements to be rendered are located.
In the file vehicle_live/index.ex:
defmodule CarWorkshopWeb.VehicleLive.Index do use CarWorkshopWeb, :live_view alias CarWorkshop.{Vehicles.Vehicle, Accounts.Customer} @impl true def mount(_params, _session, socket) do {:ok, assign(socket, customer: %Customer{}, view_to_show: :customer_view)} end @impl true def handle_params(params, _url, socket) do {:noreply, apply_action(socket, socket.assigns.live_action, params)} end defp apply_action(socket, :new, _params) do socket |> assign(:page_title, "Register Vehicle") |> assign(:vehicle, %Vehicle{}) |> assign(:customer, %Customer{}) end @impl true def handle_info({:customer_registered, customer, view_to_show}, socket), do: {:noreply, assign(socket, customer: customer, view_to_show: view_to_show)}endIn the mount function, we assign to the socket the property view_to_show by means of which we will know the component to render in vehicle_live/index.html.leex. We give it a value of :customer_view, making the first view to be rendered the one of the user component.
The callback function handle_info will be in charge of changing the view_to_show property of the socket, and thus, the conditional rendering of each component will be performed according to the arguments we pass to this function.
In the file vehicle_live/index.html.leex:
<%= if @view_to_show == :vehicle_view do %> <%= live_component @socket, CarWorkshopWeb.VehicleComponent, id: @vehicle.id || :new, title: "Register Vehicle", action: @live_action, vehicle: @vehicle, customer_id: @customer.id %><% else %> <%= live_component @socket, CarWorkshopWeb.CustomerComponent, id: @customer.id || :new, title: "Register Customer", action: @live_action, customer: @customer %><% end %>With this, we already have the user view rendered. The only thing missing would be to call the callback handle_info from the user component once all our business logic has been executed, and then allow the rendering of the vehicle view.
Suppose we want to render the vehicle component immediately after successful user registration. For this, in the file customer_component.ex:
... @impl true def handle_event("save", %{"customer" => customer_params}, socket) do case Accounts.create_customer(customer_params) do {:ok, customer} -> send(self(), {:customer_registered, customer, :vehicle_view}) {:noreply, socket} {:error, %Ecto.Changeset{} = changeset} -> {:noreply, assign(socket, changeset: changeset)} end end ...Using the send() function we make the parent LiveView execute the handle_info callback that satisfies the {:customer_registered, customer, view_to_show} parameter contract. From which we will be able to know the identifier of the handle_info to execute (:customer_registered), the newly created user (customer), and the view to render (:vehicle_view).
That's it, we have a conditional rendering of components!
To see the full implementation you can visit the repo:
 santiagocardo80 / car-workshop
Car Workshop Managment Web App
CarWorkshop
To start your Phoenix server:
- Install dependencies with
mix deps.get - Create and migrate your database with
mix ecto.setup - Install Node.js dependencies with
npm installinside theassetsdirectory - Start Phoenix endpoint with
mix phx.server
Now you can visit localhost:4000 from your browser.
Ready to run in production? Please check our deployment guides.
Learn more
- Official website: https://www.phoenixframework.org/
- Guides: https://hexdocs.pm/phoenix/overview.html
- Docs: https://hexdocs.pm/phoenix
- Forum: https://elixirforum.com/c/phoenix-forum
- Source: https://github.com/phoenixframework/phoenix
Original Link: https://dev.to/santiagocardo/rendering-components-conditionally-with-phoenix-liveview-4p6j
Dev To
More About this Source Visit Dev To