
An Interest In:
Web News this Week
- April 18, 2024
- April 17, 2024
- April 16, 2024
- April 15, 2024
- April 14, 2024
- April 13, 2024
- April 12, 2024
Some of Our Sources
- Mashable
- Technology Review
- Simplebits
- Smashing Magazine
- Six Revisions
- My Ink Blog
- Line 25
- Stylized Web
- Specky Boy
- Web Resource Source
Help Webnuz
Referal links:
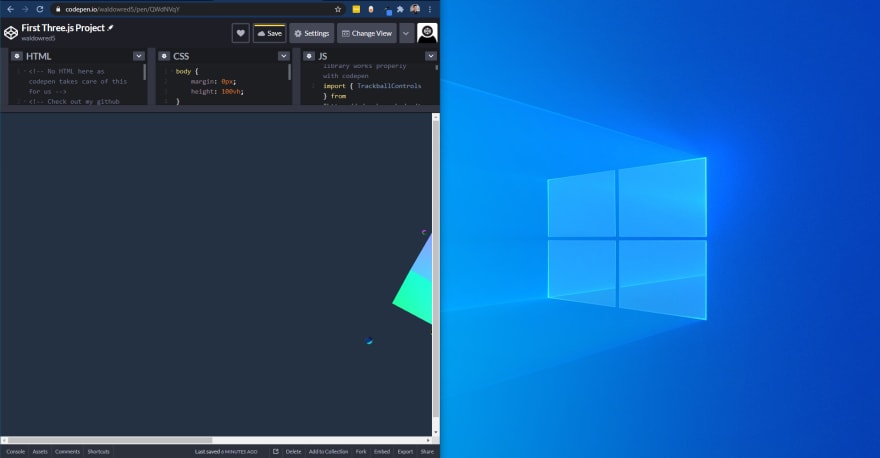
Getting Started With Your First three.js Project: Part One The Setup
Press Run Pen to see a live demo of what we will be building
What is three.js?
three.js is a powerful JavaScript library and API allowing developers to create incredible 2D and 3D graphics that are animated in the browser without plugins (using WebGL).
To check out some of the amazing projects created by talented developers, you can check them out at the three.js homepage, as well as many advanced guides on getting the most out of the library.
What are we building?
In the header above (after clicking Run Pen), you can see a live demo of the animation we will be building in this tutorial. It is a cube that spins slowly, with four small spheres orbiting it at a much faster pace, each on its own orbital path. It is also brightly coloured because monochrome is drab.
Users also have the ability to spin the cube and spheres in any direction they want!
Getting Started
Before we start, lets get our project setup first. Create a project directory somewhere that is easy to reach with your terminal. The way Ive structured my directory looks like this (important so the import paths work properly):
/first_threejs_project|__ /css|__ |__ main.css|__ /js|__ |__ main.js|__ index.htmlType the following commands in your terminal to get your project directory setup correctly (dont forget to press the Enter key between each line):
mkdir first_threejs_projectcd first_threejs_projectmkdir css jstouch index.htmlcd csstouch main.csscd ../jstouch main.js
Your directory should now look something like this
You can setup your HTML and CSS any way you prefer, or you can use the following code as templates to work from:
index.html
<!DOCTYPE html><html lang=en><head> <meta charset="UTF-8"> <meta http-equiv="X-UA-Compatible" content="IE=edge"> <meta name="viewport" content="width=device-width, initial-scale=1.0"> <title>My First three.js Project</title> <link rel="stylesheet" href="css/main.css"></head><body> // This line imports our javascript code from our /js directory <script type="module" src="./js/main.js"></script></body></html>main.css
body { margin: 0px; height: 100vh;}canvas { display: block;}Now that we have our initial files ready to go, we need to import the three.js library into our project. There are a few ways to do this, all of which can be found in the three.js installation guide, but the best way takes a few steps:but the best way takes a few steps:
Open your terminal and navigate to your main project directory
If you are using node package manager (npm) enter the following into your terminal:
npm install --save three
Alternatively, if you are using yarn, enter:
yarn add three
(If neither of these commands work or make sense to you, you will probably need to download npm or yarn here).
- This should have added a series of directories to your main project directory. Inside the /node_modules directory is the /three directory. If you open this, you will see the /build directory which includes the core library files you need to import into your code. The core library files include only the most important parts of the library, so to include other useful three.js features we will need to import them from another directory (which has already been downloaded for us during installation). These can be found in the sub-directory /examples/jsm, which includes controls, loaders and some post-processing effects.
Only one step left to finalise before creating our first scene. Head to your favourite code editor and open up the main.js file. At the top of the file, you will want to write the following two lines of code:
main.js
import * as THREE from '../node_modules/three/build/three.module.js';import { TrackballControls } from '../node_modules/three/examples/jsm/controls/TrackballControls.js';These two import statements above give our main.jss file access to the:
three.js core library
Trackball controls module which will allow us to use our mouse to click and drag to spin our animation in any direction
Creating Your First Scene
Everything is now set up and ready to go for our first lines of three.js code! Every animation (or scene) we create needs three crucial objects:
Scene: A parent object where we place all of our rendered objects, lights and cameras
Camera: An object that allows us to see our other objects. There are a few types of cameras, but the one that we want for standard perspective rendering is the PerspectiveCamera
Renderer: An object that renders our scene for us with the WebGL API
The code for these three objects looks like this:
const scene = new THREE.Scene();const camera = new THREE.PerspectiveCamera(75, window.innerWidth / window.innerHeight, 0.6, 1200);const renderer = new THREE.WebGLRenderer({antialias: true});Now lets take a deeper dive into these three lines of code so we can understand what is going on under the hood:
Scene: Pretty simple, we are creating a new three.js scene object to place everything
Camera: As mentioned before, we have created a PerspectiveCamera, which takes four parameters (in order):

Source: ResearchGate
Field of View (FOV): This is a number (in degrees) which represents the vertical FOV (see diagram left)
Aspect Ratio: This is the ratio between the width and height of the scene (width divided by height). Most of the time we want to set this to the width and height of our window so we dont squish the objects in our scene. In this case, we use the .innerWidth and .innerHeight properties of the window object (the window that contains the main DOM document element of our HTML)
Near Clipping Plane: The boundary plane closest to the camera. Anything closer to the camera than this value wont be rendered
Far Clipping Plane: The boundary plane furthest from the camera. Anything further from the camera than this value wont be rendered
Tip: If you set the Far Clipping Plane to be equal or less than the Near Clipping Plane, nothing will be rendered. Dont be that dev.
- Renderer: Here we create a WebGL renderer object to render our objects. While this function can be called without any arguments, we can also pass an object with any settings we want to change from the default behaviour.

Source: 3dPrint.com
In our case, we have changed the antialias property from false to true. See diagram (left) for an example of what our scene will look like with or without anti aliasing
The last three lines of code we need for the initial scene creation are:
renderer.setClearColor("#233143");renderer.setSize(window.innerWidth, window.innerHeight);document.body.appendChild(renderer.domElement);.setClearColor: Our first line sets the colour of the scene background (in this case a HEX value passed as a string). You can optionally pass a float between 0 and 1 to the second parameter (known as the alpha) to set the opacity
.setSize: This sets the size of our app, in our case we want to fill the whole window so we set the width and height to the .innerWidth and .innerHeight properties of the window object again. You can use smaller values if you only want your app to take up part of the window. For example, renderer.setSize(window.innerWidth/2, window.innerHeight/2) would display our app at 50% of the size of our window
.appendChild: This line adds the renderer to our HTML document as a
<canvas>element which is responsible for drawing our objects and animations with the WebGL API.
A note on responsive design:
When creating web applications it is important to develop for all devices, from smartphones to tablets and 4K desktop monitors. This is already taken care of for us by the .setSize() function for the native screen size of the device.
What if the user changes the size of their window on a desktop or laptop?
Our cube gets cut off when the window size changes
Our render will be stuck in the center of the screen and become covered, instead of matching the new size of the window. To solve this problem, we need to add an event listener to the window for resizing so that we can recalculate the window size for our canvas if a user changes the size of their window.
We can get around this problem with the following code:
window.addEventListener('resize', () => { renderer.setSize(window.innerWidth, window.innerHeight); camera.aspect = window.innerWidth / window.innerHeight; camera.updateProjectionMatrix();})Here, we change the size of the canvas back to the size of the window, as well as resetting the aspect ratio to match. Finally we call the .updateProjectionMatrix() function to apply the new changes.
With all of the code we have added so far, you should have something like this:
main.js
import * as THREE from '../node_modules/three/build/three.module.js';import { TrackballControls } from '../node_modules/three/examples/jsm/controls/TrackballControls.js';// Sceneconst scene = new THREE.Scene();// Cameraconst camera = new THREE.PerspectiveCamera(75, window.innerWidth / window.innerHeight, 0.6, 1200);// Rendererconst renderer = new THREE.WebGLRenderer({antialias: true});renderer.setClearColor("#233143");renderer.setSize(window.innerWidth, window.innerHeight);document.body.appendChild(renderer.domElement);// Make Canvas Responsivewindow.addEventListener('resize', () => { renderer.setSize(window.innerWidth, window.innerHeight); camera.aspect = window.innerWidth / window.innerHeight; camera.updateProjectionMatrix();})We now have our environment completely set up, including a scene, a camera and a renderer to draw everything for us. Dont panic if you cant see anything, we havent built anything to be rendered yet.
To see how we go about building the rest of the animation, head over to the second part of this tutorial. See you there!

We will be building these objects very soon!
Original Link: https://dev.to/waldowred5/getting-started-with-your-first-three-js-project-part-one-the-setup-147k
Dev To
More About this Source Visit Dev To