
An Interest In:
Web News this Week
- April 1, 2024
- March 31, 2024
- March 30, 2024
- March 29, 2024
- March 28, 2024
- March 27, 2024
- March 26, 2024
Some of Our Sources
- Engadget
- Spoon Graphics
- Smashing Magazine
- Smashing Apps
- Six Revisions
- Fuel Your Creativity
- Noupe
- Stylized Web
- Specky Boy
- The Verge
Help Webnuz
Referal links:
Using Face-api in Nodejs
We will be using vladmandic-face-api as it is compatible with tfjs 2.0.
Setting up the project
We wil be setting up the project and install some packages needed for this project. Initial setup that we need to use to setup the API to upload image, and navigate files/folders.npm install express express-fileupload fs path
And this one is the face-api, tfjs that is also needed by the face api and canvas to draw the detected points.npm install @vladmandic/face-api @tensorflow/tfjs canvas
Setup express API and a file upload endpoint.
const express = require("express");const fileUpload = require("express-fileupload");const app = express();const port = process.env.PORT || 3000;app.use(fileUpload());app.post("/upload", async (req, res) => { const { file } = req.files; console.log(file); res.send("Successfile upload");});app.listen(port, () => { console.log("Server started on port" + port);});In the code above, I setup the key as file.const { file } = req.files;
We'll be using postman for testing the API with form data body and file as a key.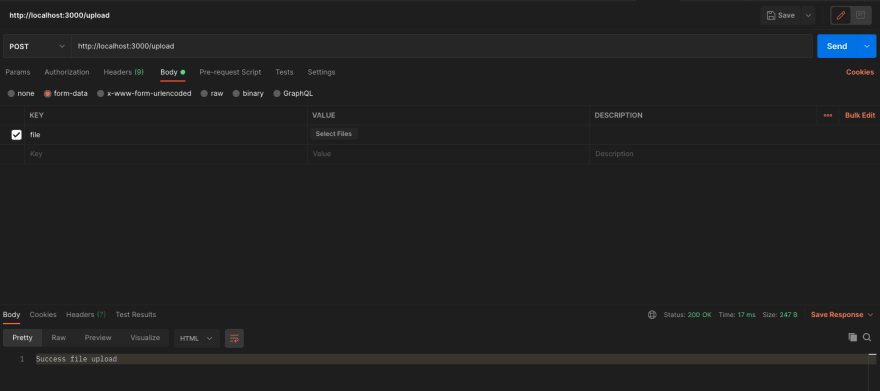
Adding FaceAPI
Download the AI models here. You can play around on any models but for this example we will only use ssd mobile net for face detection.
faceapiService.js
This file is where we use the face api, in main() we initialize the face api, tf and locate the models. in image() is where we pass the image data we upload and decode it to a tensorflow object and we pass that object to detect() wherein it will return the result for the image that we uploaded.
const path = require("path");const tf = require("@tensorflow/tfjs-node");const faceapi = require("@vladmandic/face-api/dist/face-api.node.js");const modelPathRoot = "./models";let optionsSSDMobileNet;async function image(file) { const decoded = tf.node.decodeImage(file); const casted = decoded.toFloat(); const result = casted.expandDims(0); decoded.dispose(); casted.dispose(); return result;}async function detect(tensor) { const result = await faceapi.detectAllFaces(tensor, optionsSSDMobileNet); return result;}async function main(file) { console.log("FaceAPI single-process test"); await faceapi.tf.setBackend("tensorflow"); await faceapi.tf.enableProdMode(); await faceapi.tf.ENV.set("DEBUG", false); await faceapi.tf.ready(); console.log( `Version: TensorFlow/JS ${faceapi.tf?.version_core} FaceAPI ${ faceapi.version.faceapi } Backend: ${faceapi.tf?.getBackend()}` ); console.log("Loading FaceAPI models"); const modelPath = path.join(__dirname, modelPathRoot); await faceapi.nets.ssdMobilenetv1.loadFromDisk(modelPath); optionsSSDMobileNet = new faceapi.SsdMobilenetv1Options({ minConfidence: 0.5, }); const tensor = await image(file); const result = await detect(tensor); console.log("Detected faces:", result.length); tensor.dispose(); return result;}module.exports = { detect: main,};Updating the upload endpoint
We'll be updating the endpoint and test if it is working.
app.post("/upload", async (req, res) => { const { file } = req.files; const result = await faceApiService.detect(file.data); res.json({ detectedFaces: result.length, });});
There you go, we got it working and detect the faces.
You can use any photos with people, I used this one for this example.

Draw Detections
Now we'll be adding the detected result and draw those into the image to see if it really detects the correct faces.
saveFile.js
We'll create a new utils folder with this file to add a utility to save the detected images. We are also adding a out folder where we keep the detected images
const fs = require("fs");const path = require("path");const baseDir = path.resolve(__dirname, "../out");function saveFile(fileName, buf) { if (!fs.existsSync(baseDir)) { fs.mkdirSync(baseDir); } fs.writeFileSync(path.resolve(baseDir, fileName), buf);}module.exports = { saveFile,};
Updating faceapiService.js
We are adding this code to draw the detections
const canvas = require("canvas");const { Canvas, Image, ImageData } = canvas;faceapi.env.monkeyPatch({ Canvas, Image, ImageData });async function main(file, filename){ //...Existing code const result = await detect(tensor); console.log("Detected faces:", result.length); const canvasImg = await canvas.loadImage(file); const out = await faceapi.createCanvasFromMedia(canvasImg); faceapi.draw.drawDetections(out, result); save.saveFile(filename, out.toBuffer("image/jpeg")); console.log(`done, saved results to ${filename}`);}Updating upload endpoint
Now we are almost finish, we are going to expose the saved image and add a url to the upload response.
app.post("/upload", async (req, res) => { const { file } = req.files; const result = await faceApiService.detect(file.data, file.name); res.json({ detectedFaces: result.length, url: `http://localhost:3000/out/${file.name}`, });});app.use("/out", express.static("out"));Now we'll try the postman again.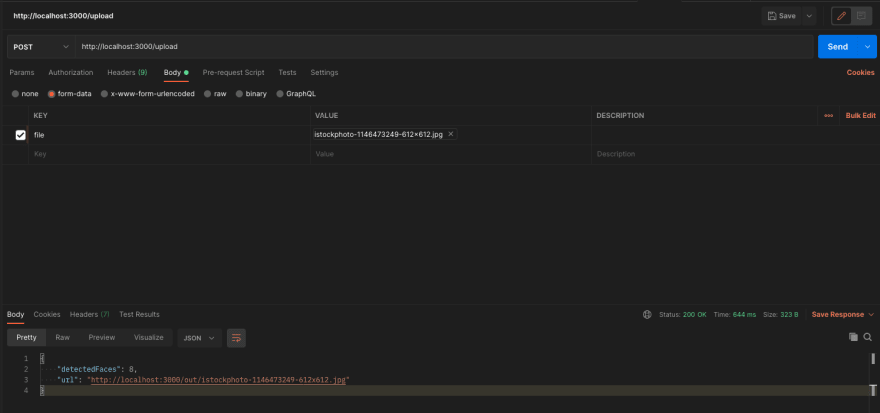
There you go we got the detected faces, able to draw and expose the image.
I also created a github repository for reference. face-api.
Original Link: https://dev.to/kvntzn/using-face-api-in-nodejs-38aj
Dev To
More About this Source Visit Dev To