
An Interest In:
Web News this Week
- April 1, 2024
- March 31, 2024
- March 30, 2024
- March 29, 2024
- March 28, 2024
- March 27, 2024
- March 26, 2024
Some of Our Sources
- Simplebits
- Smashing Magazine
- Inspiredology
- Crazy Leaf Design
- Reencoded
- CSS Globe
- 24 Ways
- Spyre Studios
- Freelance Switch
- Daily Now
Help Webnuz
Referal links:
JWT Authorization and Authentication, Node, Express, and Vue
In this tutorial, we are going to add authentication and authorizations to our blog application that we have been using in our previous tutorials. We are going to use two options Passport or JWT. In today's will handle JWT.
Funny thing I also read other people's articles and what's interesting will always save to my reading list. This article explains extensible about JWT. I don't need to add more to it.
https://dev.to/kmistele/demystifying-jwt-how-to-secure-your-next-web-app-9h0.
As of me during my learning, I'm always curious to know how to implement what I have read practically to an application.
What we have learned so far:
The approach of MongoDB, Express, Vue, and Node still falls under serverless because we are currently running our application without managing the infrastructure. Atlas is managing everything for us.
The approach of AWS PostgreSQL, Express, Vue, and Node falls under the server approach because we are currently running our application in an EC2. We will have to manage the infrastructure.
The approach of AWS MySQL, Express, Vue, and Node falls under the server approach because we are currently running our application in an EC2. We will have to manage the infrastructure.
For a startup, maintaining servers will be quite costly and therefore a consideration between Containers and serverless would be ideal.
Let us add the following components to the authentication directory in the front-end.
Login.vue
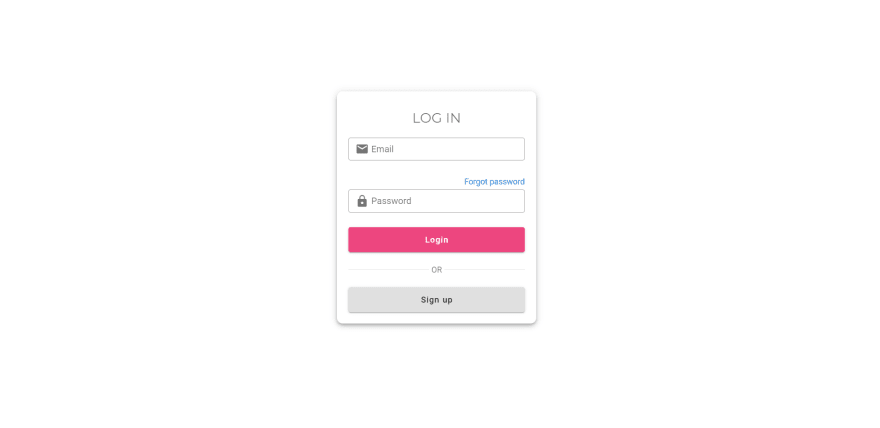
Signup.vue

Confirm.vue
In the end, we only want to allow GET articles API for public viewing of articles. The rest of the CRUD actions will only be allowed after authentication.
Let us begin.
Backend
If you followed our previous tutorial then currently you know we have two applications backend running on Node, Express, Mongo DB OR PostgreSQL OR MySQL depending on the database you selected.
We want to add authentication and authorization to this application. We will assume as follows.
- We want to allow only GET for the following routes to the public.
- We want to allow DELETE to the admin role everything else can be assessed by admin or user.
Below is how our blog.js in the routes folder will be
const express = require("express")const router = express.Router()const blog = require("../controller/blog.controller");const { auth_jwt_token } = require("../authentication");// /api/blog: GET, POST, DELETE// /api/blog/:id: GET, PUT, DELETE// /api/blog/published: GET// Create a new blogrouter.post("/", [auth_jwt_token.verifyToken], blog.create);// Retrieve all blogrouter.get("/", blog.findAll);// Retrieve all published blogrouter.get("/published", blog.findAllPublished);// Retrieve a single blog with idrouter.get("/:id", blog.findOne);// Update a blog with idrouter.put("/:id", [auth_jwt_token.verifyToken], blog.update);// Delete a blog with idrouter.delete("/:id", [auth_jwt_token.verifyToken, auth_jwt_token.isAdmin], blog.delete);// Create a new blogrouter.delete("/", [auth_jwt_token.verifyToken, auth_jwt_token.isAdmin], blog.deleteAll);module.exports = routerWe will need two roles in our blog. A user and admin.
For token, you can use either jsonwebtoken or express.jwt. Let us install bcryptjs to hash our password and jsonwebtoken for our token.
yarn add jsonwebtoken bcryptjsindex.js
In the index.js file when our backend application loads we would want to check our database if the roles have been set correctly, if empty we need to create the roles. Let us have an initialization function to handle checking on the roles.
const Role = db.role // reference the Role DBfunction initialize() { Role.estimatedDocumentCount((err, count) => { if (!err && count === 0) { new Role({ name: "user" }).save(err => { if (err) { console.log("error", err); } console.log("added 'user' to roles collection"); }); new Role({ name: "admin" }).save(err => { if (err) { console.log("error", err); } console.log("added 'admin' to roles collection"); }); } }); }Below is the result when you first run your backend. We did not have the roles and it initialized the roles table and added the new roles.

routes
We are going to add a new route called auth.js in the routes folder and update the blog routes.
auth.js
This route will handle two functions signup and signin. The function verify_user_email assists in checking if the email has been registered before to avoid duplication.
const { verify_user_email } = require("../authentication");const express = require("express")const router = express.Router()const auth = require("../controller/auth.controller");router.post("/signin", auth.signin);router.post("/signup", [ verify_user_email.checkDuplicateUsernameOrEmail, verify_user_email.checkRolesExisted ], auth.signup)module.exports = routerblog.js
I have shared above how our blog.js routes folder should be.
const { auth_jwt_token } = require("../authentication");const controller = require("../controller/user.controller");const express = require("express")const router = express.Router()router.get("/all", controller.allaccess); // all accessrouter.get("/user", [auth_jwt_token.verifyToken], controller.user); // user accessrouter.get( "/admin", [auth_jwt_token.verifyToken, auth_jwt_token.isAdmin], controller.admin); // admin accessmodule.exports = routerThat is all we have to do in the routes folder. Next, we need to update the index.js file and import our routes. With express.js you can load application-level and router-level middleware with an optional mount path. You can also load a series of middleware functions together, which creates a sub-stack of the middleware system at a mount point.
index.js
// routesconst blog = require('./app/routes/blog') // blog routesconst auth = require('./app/routes/auth') // user authenticationapp.use('/api/blog',blog, function(req, res, next){ res.header( "Access-Control-Allow-Headers", "x-access-token, Origin, Content-Type, Accept" ); next();}) // user authorizationapp.use('/api/auth', auth, function(req, res, next){ res.header( "Access-Control-Allow-Headers", "x-access-token, Origin, Content-Type, Accept" ); next();}) // auth authenticationI hope we are on the same page at this stage. Keep close
Schema
Let us define the schema for the user and the roles. This will be done in the model's folder where we had the blog schema too.
role.model.js
Our roles will have a name and an id.
module.exports = mongoose => { const Role = mongoose.model( "Role", mongoose.Schema( { name: String, }, { timestamps: true } ) ); return Role; };user.model.js
In the user model, we want to add username, email, password, and roles for the user. By default, the user will have a user role and upgraded to admin thereafter.
Note we have referenced the Role so we can get the correct id for the roles.
module.exports = mongoose => { const User = mongoose.model( "User", mongoose.Schema( { username: String, email: String, password: String, roles: [ { type: mongoose.Schema.Types.ObjectId, ref: "Role" } ] }, { timestamps: true } ) ); return User; };controller
In the controller folder let us add a controller that will handle authentication
auth.controller.js
The signup function will create a new user while the signing function will confirm the user exists. Then the user payload will be signed by the private key and a token will be generated. To verify the token we can verify the signature and decode with jwt or just decode jwt token. We will handle both scenarios.
const crypto = require('crypto');const db = require("../models");const User = db.user;const Role = db.role;var jwt = require("jsonwebtoken");var bcrypt = require("bcryptjs");exports.signup = (req, res) => { const user = new User({ username: req.body.username, email: req.body.email, password: bcrypt.hashSync(req.body.password, 8) }); user.save((err, user) => { if (err) { res.status(500).send({ message: err }); return; } if (req.body.roles) { Role.find( { name: { $in: req.body.roles } }, (err, roles) => { if (err) { res.status(500).send({ message: err }); return; } user.roles = roles.map(role => role._id); user.save(err => { if (err) { res.status(500).send({ message: err }); return; } res.send({ message: "User was registered successfully!" }); }); } ); } else { Role.findOne({ name: "user" }, (err, role) => { if (err) { res.status(500).send({ message: err }); return; } user.roles = [role._id]; user.save(err => { if (err) { res.status(500).send({ message: err }); return; } res.send({ message: "User was registered successfully!" }); }); }); } });};exports.signin = (req, res) => { User.findOne({ username: req.body.username }) .populate("roles", "-__v") .exec((err, user) => { if (err) { res.status(500).send({ message: err }); return; } if (!user) { return res.status(404).send({ message: "User Not found." }); } var passwordIsValid = bcrypt.compareSync( req.body.password, user.password ); if (!passwordIsValid) { return res.status(401).send({ accessToken: null, message: "Invalid Password!" }); } const { privateKey, publicKey } = crypto.generateKeyPairSync('ec', { namedCurve: 'sect239k1' }); // generate a signature of the payload const sign = crypto.createSign('SHA256'); sign.write(`${user}`); sign.end(); var signature = sign.sign(privateKey, 'hex'); console.log(signature) // sign username var token = jwt.sign({ id: user.id }, signature, { expiresIn: 86400 // 24 hours }); var authorities = []; for (let i = 0; i < user.roles.length; i++) { authorities.push("ROLE_" + user.roles[i].name.toUpperCase()); } res.status(200).send({ id: user._id, username: user.username, email: user.email, roles: authorities, accessToken: token, // access token signature: signature // signature }); });};Finally, let us create an authentication folder in the app folder.
touch /app/authenticationThen create three files index.js, auth.js, and verify.js. verify.js will handle the verification of the user email while the auth.js will handle the verification of the user token and if the user is an admin.
auth.js
const jwt = require("jsonwebtoken");const db = require("../models");const User = db.user;const Role = db.role;verifyToken = (req, res, next) => { let token = req.headers["x-access-token"]; let secret = req.headers["x-access-signature"]; if (!token) { return res.status(403).send({ message: "No token provided!" }); } // Prints: true jwt.verify(token, secret, (err, decoded) => { if (err) { return res.status(401).send({ message: "Unauthorized!" }); } req.userId = decoded.id; next(); });};isAdmin = (req, res, next) => { User.findById(req.userId).exec((err, user) => { if (err) { res.status(500).send({ message: err }); return; } Role.find( { _id: { $in: user.roles } }, (err, roles) => { if (err) { res.status(500).send({ message: err }); return; } for (let i = 0; i < roles.length; i++) { if (roles[i].name === "admin") { next(); return; } } res.status(403).send({ message: "Require Admin Role!" }); return; } ); });};const authJwt = { verifyToken, isAdmin,};module.exports = authJwt;verify.js
const db = require("../models");const ROLES = db.ROLES;const User = db.user;checkDuplicateUsernameOrEmail = (req, res, next) => { // Username User.findOne({ username: req.body.username }).exec((err, user) => { if (err) { res.status(500).send({ message: err }); return; } if (user) { res.status(400).send({ message: "Failed! Username is already in use!" }); return; } // Email User.findOne({ email: req.body.email }).exec((err, user) => { if (err) { res.status(500).send({ message: err }); return; } if (user) { res.status(400).send({ message: "Failed! Email is already in use!" }); return; } next(); }); });};checkRolesExisted = (req, res, next) => { if (req.body.roles) { for (let i = 0; i < req.body.roles.length; i++) { if (!ROLES.includes(req.body.roles[i])) { res.status(400).send({ message: `Failed! Role ${req.body.roles[i]} does not exist!` }); return; } } } next();};const verifySignUp = { checkDuplicateUsernameOrEmail, checkRolesExisted};module.exports = verifySignUp;Export all the contents in the authentication file through the index.js in the folder.
index.js
const auth_jwt_token = require("./auth");const verify_user_email = require("./verify");module.exports = { auth_jwt_token, verify_user_email};Let us test our backend and ensure we have configured everything correctly. I will be using Postman to test the following:
- Sign up a user with no admin access.
- Sign in a user.
- Create a blog (Token will be required)
- Delete a blog (Token and admin access will be required)
Front End
Let us configure the front end and link the communication between the two. Let us create a file called auth.script.js in the components directory.
import axios from "axios";export const signup = async item => { let data = { username: item.username, email: item.email, password: item.password, roles: ["user"] }; let request = { url: "http://localhost:3000/api/auth/signup", // should be replaced after going to production with domain url method: "post", headers: { "Content-type": "application/json" }, data: JSON.stringify(data) }; const response = await axios(request); return response;};export const login = async item => { let data = { username: item.username, password: item.password }; let request = { url: "http://localhost:3000/api/auth/signin", // should be replaced after going to production with domain url method: "post", headers: { "Content-type": "application/json" }, data: JSON.stringify(data) }; const response = await axios(request); return response;};On sign-in success, we need to ensure we save the user details safely. Here is an article about how to securely save your payloads securely. https://dev.to/gkoniaris/how-to-securely-store-jwt-tokens-51cf.
The logout function should clear the storage and redirect the user back to the login page or home page.
Sign up
In the sign-up component add the following function in your method section and call it on user submit.
// import the signup function from auth.script.js// sibmit signup async submit() { this.loading = true; const response = await signup(this.item); if (response === "User was registered successfully!") { // DO NOT USE LOCAL STORAGE localStorage.setItem("user", JSON.stringify(response.data)); this.item = { username: "", email: "", password: "", roles: ["user"] }; this.loading = false; this.$router.push("/dashboard"); } else { // error console.log("Error", response); setTimeout(() => { this.loading = false; }, 1000); } }Login
In the login component add the following function in your method section and call it on user submit.
// import the login function from auth.script.js// sibmit login async submit() { this.loading = true; const response = await login(this.item); if (response.data.accessToken) { // DO NOT USE LOCAL STORAGE localStorage.setItem("user", JSON.stringify(response.data)); this.item = { username: "", password: "" }; this.loading = false; this.$router.push("/dashboard"); } else { // error console.log("Error", response); } }log out
In the dashboard update the logout function by adding a way of clearing the user information you had saved.
// DO NOT USE LOCAL STORAGElocalStorage.removeItem("user")NOTE
For every request in the blog routes that requires authentication ensure your header contains the following:
headers: { "Content-type": "application/json", 'x-access-token': item.accessToken, 'x-access-signature': item.signature },Finally in your router guard all the routes in your vue application. In the router folder ensure you update the index.js file as follows.
const router = new VueRouter({ routes: [ { path: '/dashboard', component: Dashboard, // save you have a means of updating isAuthenticated beforeEach((to, from, next) => { if (to.name !== 'Login' && !isAuthenticated) next({ name: 'Login' }) else next() }) } ]})Read more about protecting routes in Vue application https://router.vuejs.org/guide/advanced/navigation-guards.html#global-before-guards
MySQL
For MySQL, I will provide the files that need to be changed. Here is the article for MySQL https://dev.to/kevin_odongo35/aws-rds-mysql-express-vue-and-node-jfj
index.js
const Role = db.role // reference the Role DBfunction initialize() { Role.create({ id: 1, name: "user" }); Role.create({ id: 3, name: "admin" });}role.model.js
module.exports = (sequelize, Sequelize) => { const Role = sequelize.define("roles", { id: { type: Sequelize.INTEGER, primaryKey: true }, name: { type: Sequelize.STRING } }); };user.model.js
const User = sequelize.define("users", { username: { type: Sequelize.STRING }, email: { type: Sequelize.STRING }, password: { type: Sequelize.STRING } }); return User;/model/index.js
db.user = require("../models/user.model.js")(sequelize, Sequelize);db.role = require("../models/role.model.js")(sequelize, Sequelize);db.role.belongsToMany(db.user, { through: "user_roles", foreignKey: "roleId", otherKey: "userId"});db.user.belongsToMany(db.role, { through: "user_roles", foreignKey: "userId", otherKey: "roleId"});db.ROLES = ["user", "admin"];Everything else will stay as I have detailed above. Just edit the following files.
PostreSQL
For PostgreSQL, I will provide the files that need to be changed. Here is the article for PostgreSQL https://dev.to/kevin_odongo35/aws-rds-postgresql-express-vue-and-node-1k99
index.js
const Role = db.role // reference the Role DBfunction initialize() { Role.create({ id: 1, name: "user" }); Role.create({ id: 3, name: "admin" });}role.model.js
module.exports = (sequelize, Sequelize) => { const Role = sequelize.define("roles", { id: { type: Sequelize.INTEGER, primaryKey: true }, name: { type: Sequelize.STRING } }); };user.model.js
const User = sequelize.define("users", { username: { type: Sequelize.STRING }, email: { type: Sequelize.STRING }, password: { type: Sequelize.STRING } }); return User;/model/index.js
db.user = require("../models/user.model.js")(sequelize, Sequelize);db.role = require("../models/role.model.js")(sequelize, Sequelize);db.role.belongsToMany(db.user, { through: "user_roles", foreignKey: "roleId", otherKey: "userId"});db.user.belongsToMany(db.role, { through: "user_roles", foreignKey: "userId", otherKey: "roleId"});db.ROLES = ["user", "admin"];Everything else will stay as I have detailed above. Just edit the following files.
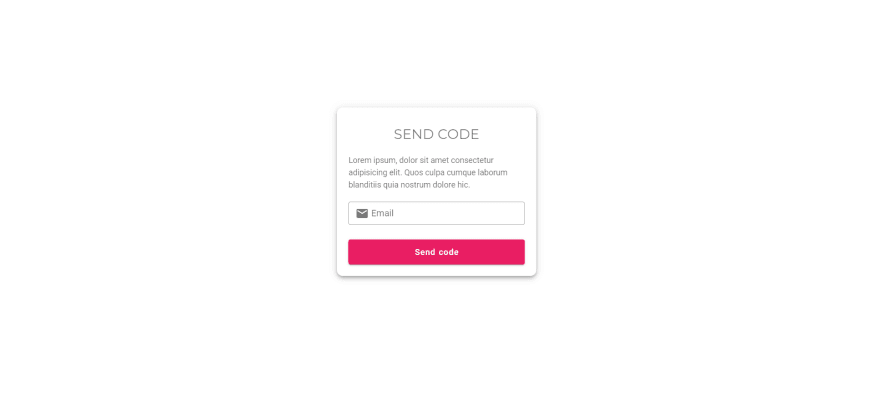
SENDING CODE FOR CONFIRMATION
You can implement this by using different products but I would recommend AWS SES. I once talked about how to configure AWS SES https://dev.to/kevin_odongo35/build-a-bulk-email-and-sms-app-with-vue-and-aws-ses-aws-sns-or-twilio-part-1-33jp. The whole logic I will detail in a course. From start to end. Keep close
I hope this tutorial has been helpful in how to implement JWT. I have provided articles to assist you in understanding more about JWT. How to securely to them.
Thank you
Original Link: https://dev.to/kevin_odongo35/jwt-authorization-and-authentication-node-express-and-vue-2p8c
Dev To
More About this Source Visit Dev To