
An Interest In:
Web News this Week
- April 1, 2024
- March 31, 2024
- March 30, 2024
- March 29, 2024
- March 28, 2024
- March 27, 2024
- March 26, 2024
Some of Our Sources
- Techcrunch
- Joshua Blankenship
- Abduzeedo
- Fudge Graphics
- CSS Globe
- Line 25
- 24 Ways
- Wal You
- Freelance Switch
- Willems Lab
Help Webnuz
Referal links:
Building a secure GraphQL app in minutes with Hasura
Hasura is an amazing service which you can point at any PostgreSQL database to automatically spin up a realtime GraphQL API for your data. In this guide, we'll use Hasura to build a secure todo list app. Here's a quick preview of the app we'll build

1. Launch the backend
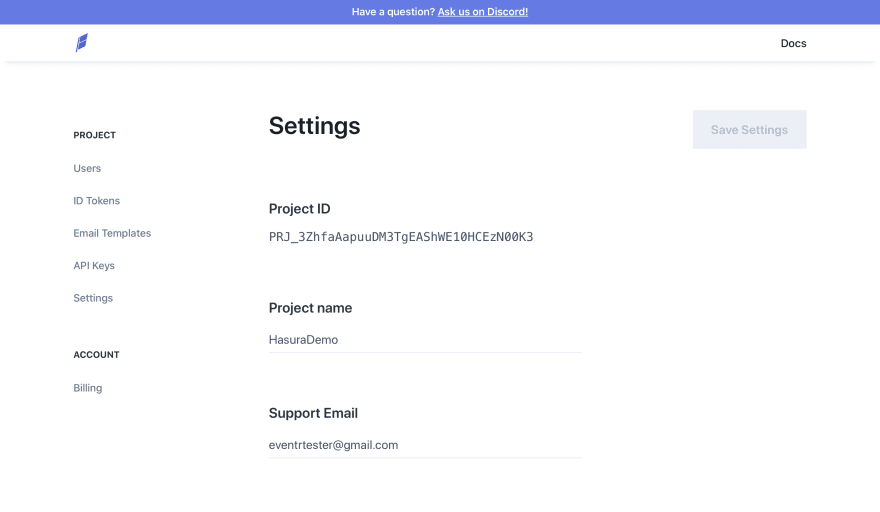
Head over to Hasura and create an account. When Hasura asks to connect your database, choose "Try a free database with Heroku".

After following the one-click setup with Heroku, you'll have a new instance and database running at a URL similar to https://<YOUR_HEROKU_PROJECT>.herokuapp.com. Navigate to the Projects tab and click Launch Console to open up your app's Hasura dashboard.

2. Data tables
Navigate to the Data tab and click Create Table. Let's name the table todos add a couple columns such as:
id :: Integer (auto-incremented)title :: Textis_completed :: Booleanuser_id :: Textcreated_at :: Timestamp
Remember to mark the id column as unique and set it as the primary key!

3. Authentication
One thing you need to know about Hasura is that it delegates authentication. This means you can use any 3rd-party auth provider you want. For this guide, we'll use Feather which is a lightweight API for easily adding authentication and user accounts to any app.
In order to get Feather to work with Hasura, we need to set up a special environment variable called HASURA_GRAPHQL_JWT_SECRET. This will tell Hasura how to validate user ID tokens issued by Feather (they're really JWTs under the hood). So head to over Feather and register a new project. After creating the project, navigate to the Settings tab on your Feather dashboard and copy the project ID.
Plug your Feather project ID into the "audience" field of the JSON template below.
{ "type":"RS256", "jwk_url": "https://api.feather.id/v1/.well-known/jwks", "issuer": "api.feather.id", "audience": "<YOUR_PROJECT_ID>"}Now to create the environment variable, head to your project's Heroku dashboard at https://dashboard.heroku.com/apps/<YOUR_HEROKU_APP>, navigate to the Settings tab, and find the section titled Config Vars. Create a new value called HASURA_GRAPHQL_JWT_SECRET and paste in the JSON value.

Alright, we've setup authentication! Let's continue by hooking up Feather with Hasura's authorization system.
4. Authorization
Another one of Hasura's features is that it provides fine-grained row-level authorization controls straight out of the box! To set it up, navigate to the ID Tokens tab on your project's Feather dashboard. Copy the JSON struct below and paste it into the text box titled Custom Claims. Click the Save button to commit the changes.
{ "https://hasura.io/jwt/claims": { "x-hasura-user-id": "{{.USER.ID}}", "x-hasura-allowed-roles": ["user"], "x-hasura-default-role": "user" }}From now on, every user who signs in to the app will be issued a "user" role when initiating requests to Hasura. This will allow us to setup data access rules on the "user" role to ensure users can only create, access, and modify their own todos.
So head back to the Data tab on your Hasura dashboard and navigate to the Permissions sub-tab on the todos table. Add a new role called "user" and click on the insert operation to edit it. Let's start by adding a column preset on the "user_id" column to set it to "X-Hasura-User-Id". This means whenever someone creates a new todo, Hasura will automatically set the user ID on the new row. Cool, right!?

Let's wrap up authorization by adding custom checks on the select, update, and delete operations. We'll only authorize one of these operations if the caller's "X-Hasura-User-Id" matches the "user_id" column of the rows being operated on.

You just setup an entire backend complete with a PostgreSQL database, a GraphQL API, user authentication, and row-level authorization without writing a single line of code! Let's finish up with the fun part of every app: the frontend!
5. Frontend
Open your Terminal, find a clean directory, and run the following commands to scaffold a new React application with all the dependencies we'll need:
$ npx create-react-app hasurademo && cd hasurademo && yarn add @apollo/client apollo-link-context apollo-link-http apollo-cache-inmemory feather-client-react graphql graphql-tagNow open up the project in your favorite text editor and create a new file called src/feather.js. Copy the publishable API key from your project's Feather dashboard and use it to initialize a Feather client.
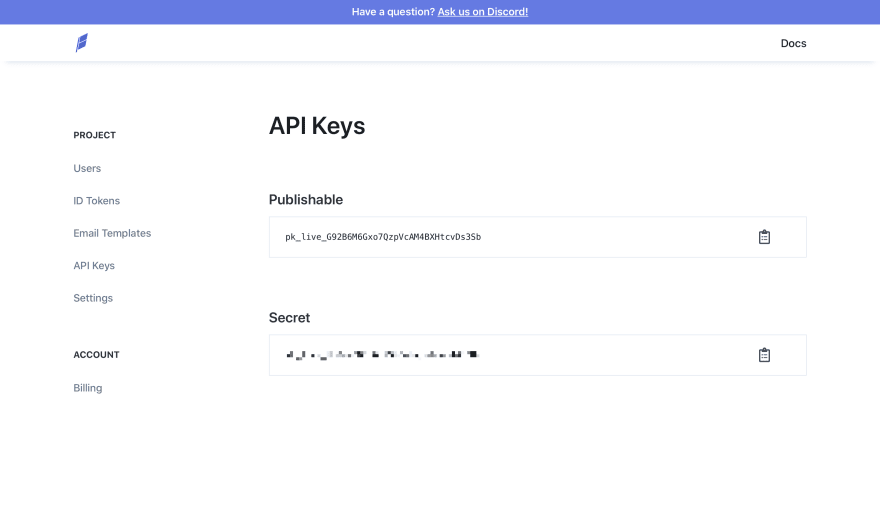
import {FeatherClient} from "feather-client-react"export const feather = FeatherClient("pk_live_...")Now we're all setup to talk with the Feather API, let's create a GraphQL client to send requests to our Hasura API. For this, we'll use Apollo. Create a new file called src/apollo.js and add the following code:
import { ApolloClient } from "@apollo/client";import { InMemoryCache } from "apollo-cache-inmemory";import { HttpLink } from "apollo-link-http";import { setContext } from "apollo-link-context";import { feather } from "./feather";const httpLink = new HttpLink({ uri: "https://hasura-test-pliao.herokuapp.com/v1/graphql", fetchPolicy: "network-only"});const authLink = setContext((_, { headers }) => feather .currentUser() .then(u => ({ headers: { ...headers, authorization: `Bearer ${u.tokens.idToken}` } })) .catch(_ => ({ headers })));export const apollo = new ApolloClient({ cache: new InMemoryCache(), link: authLink.concat(httpLink)});Now let's hook up these clients to the React component tree so the app can use them. Open src/index.js and add the following code:
import React from "react";import ReactDOM from "react-dom";import "./index.css";import App from "./App";import * as serviceWorker from "./serviceWorker";import { FeatherProvider } from "feather-client-react";import { feather } from "./feather";import { ApolloProvider } from "@apollo/client";import { apollo } from "./apollo";ReactDOM.render( <React.StrictMode> <FeatherProvider client={feather}> <ApolloProvider client={apollo}> <App /> </ApolloProvider> </FeatherProvider> </React.StrictMode>, document.getElementById("root"));// If you want your app to work offline and load faster, you can change// unregister() to register() below. Note this comes with some pitfalls.// Learn more about service workers: https://bit.ly/CRA-PWAserviceWorker.unregister();Now that all the communication pieces are ready, let's flush out the visual components. Open src/App.js. The first thing we'll do is check Feather to see if a current user is signed in. If not, we'll show the authentication form. Otherwise, let's list the user's todos.
import React from "react";import { AuthenticationForm, useCurrentUser } from "feather-client-react";import Todos from "./Todos";const styles = { title: provided => ({ ...provided, fontSize: "40px", fontWeight: 700 })};function App(props) { const { loading, currentUser } = useCurrentUser(); if (loading) return <div />; if (!currentUser) return ( <div className="app"> <AuthenticationForm styles={styles} /> </div> ); return ( <div className="app"> <div className="app-header"> <h1>My to-do list</h1> <p>{currentUser.email}</p> </div> <Todos /> </div> );}export default App;Notice Feather comes with a pre-built authentication form that can be given a custom style. This saves a bunch of time when setting up new projects because it even handles things like password resets without any additional work!
Now let's add a way for the user to view their todos. Create a new file called src/Todos.js and add the following code:
import React from "react";import Todo from "./Todo";import NewTodo from "./NewTodo";import { useQuery, gql } from "@apollo/client";export const GET_TODOS = gql` query GetTodos { todos { id title is_completed } }`;function Todos(props) { const { loading, error, data } = useQuery(GET_TODOS); if (error) return <p>{error.message}</p>; if (loading) return <p>Loading ...</p>; return ( <div> {data.todos.map(todo => ( <Todo key={todo.id} todo={todo} /> ))} <NewTodo /> </div> );}export default Todos;Notice how we can use Apollo to just send GraphQL requests directly from React! Next we need a way for users to edit their todos. Create a new file called src/Todo.js and add the following code:
import React from "react";import { useMutation, gql } from "@apollo/client";const TOGGLE_TODO = gql` mutation ToggleTodo($id: Int!, $is_completed: Boolean!) { update_todos( where: { id: { _eq: $id } } _set: { is_completed: $is_completed } ) { returning { id is_completed } } }`;export default function Todo(props) { const [toggleTodo] = useMutation(TOGGLE_TODO); const onChange = e => { toggleTodo({ variables: { id: props.todo.id, is_completed: !props.todo.is_completed } }); }; return ( <div style={{ display: "flex", flexDirection: "row" }}> <input type="checkbox" className="todo-checkbox" name={props.todo.id} checked={props.todo.is_completed} onChange={onChange} /> <p>{props.todo.title}</p> </div> );}Finally this todo app wouldn't be very useful if users can't create todos! Create a new file called src/NewTodo.js and add the following code:
import React, { useState } from "react";import { useMutation, gql } from "@apollo/client";const CREATE_TODO = gql` mutation CreateTodo($title: String!) { insert_todos_one(object: { title: $title }) { id title is_completed } }`;function NewTodo(props) { const [title, setTitle] = useState(""); const [createTodo] = useMutation(CREATE_TODO); const onSubmit = e => { e.preventDefault(); createTodo({ variables: { title } }); }; const onChange = e => { setTitle(e.target.value); }; return ( <form onSubmit={onSubmit}> <input className="new-todo-input" value={title} onChange={onChange} type="text" placeholder="Today I will..." /> </form> );}export default NewTodo;Last (but not least!), let's give the app a little styling to make it look nice. Open up src/index.css and add the following CSS classes :
.app { padding: 80px; max-width: 400px; margin: 20px auto;}.app-header { margin-bottom: 40px;}.todo-checkbox { margin: auto 10px auto 0px;}.new-todo-input { font-size: 20px; padding: 20px; width: 100%; margin-top: 40px;}Wrapping up
Phew! That was a lot of code! But if you've followed along, you can head back to Terminal and run yarn start to run the app locally.
Let's review everything we did:
- Deployed a PostgreSQL database instance to Heroku.
- Used Hasura to generate a GraphQL API over that database.
- Set up Feather to provide authentication and issue user roles.
- Added authorization rules to ensure users can only access their own data.
- Created a frontend React app using Feather and Apollo.
You can checkout the complete codebase for this app on Github. For in-depth guides to each of the technologies used in this app, you can checkout their individual documentation at:
Original Link: https://dev.to/nick_garfield/building-a-secure-graphql-app-in-minutes-with-hasura-58fc
Dev To
More About this Source Visit Dev To