
An Interest In:
Web News this Week
- April 1, 2024
- March 31, 2024
- March 30, 2024
- March 29, 2024
- March 28, 2024
- March 27, 2024
- March 26, 2024
Some of Our Sources
- Techcrunch
- Team Treehouse
- Just Creative
- Vandelay Design
- Noupe
- Crazy Leaf Design
- Stylized Web
- Web Resource Source
- The Verge
- TechPowerUp
Help Webnuz
Referal links:
Replacing Windows 10 with Ubuntu 18.04
This blog covers a step by step guide on how to install Ubuntu on your system using a bootable USB drive. This is one of the easiest ways of replacing the existing Windows OS on your laptop with a Linux distro.
In order to proceed, you will need a USB pen-drive with at least 4 GB storage space and an external hard drive to create a backup of important data.
Step 1 Download Ubuntu Disk Image
Download your desired Ubuntu LTS version from here. This will be downloaded as an ISO file, approximately 2GB in size.
LTS simply refers to Long Term Support and it guarantees that your OS will receive security updates, bug fixes as well as hardware support improvements for 3 to 5 years from the time of its release. It is suitable to use LTS versions instead of interim releases which would require more frequent upgrades, typically within 9 months or less. You can read more about the Ubuntu release cycle here.
For the installation, please ensure that the selected LTS version is supported by the hardware machine that will be running the OS. You can refer to the Ubuntu certifications to verify this.
Currently there are three LTS versions to choose from: LTS 16.04, LTS 18.04, and LTS 20.04. For my Dell Inspiron 3593 laptop, I opted for the Bionic Beaver LTS 18.04.

Step 2 Create Bootable USB drive
The next step is to create the bootable USB drive by extracting files from the Ubuntu disk image using the Universal USB Installer software. Alternatively, Rufus can also be used.
Insert the USB drive into either a 2.0 or 3.0 USB port, though connecting to a 2.0 port will impact the speed of the boot. Any data on the USB will be lost so ensure that it has been copied safely to a different external storage device.
Next, download the latest version of Universal USB Installer from here.
Running this executable will prompt the following:
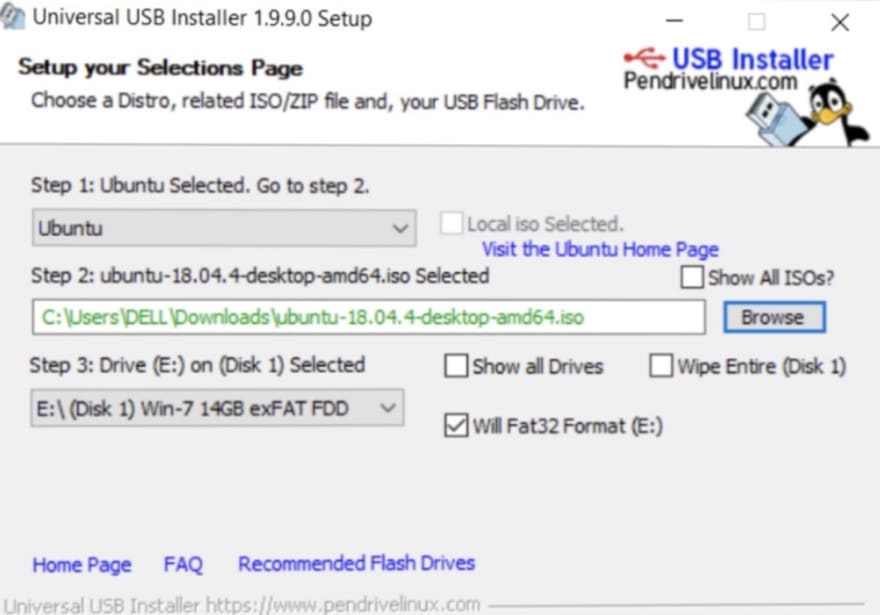
For Step 1, select Ubuntu from the list of Linux distributions.
For Step 2, browse the path of the downloaded Ubuntu disk image from the previous step.
For Step 3 select the inserted USB drive and check the Will FAT32 Format checkbox.
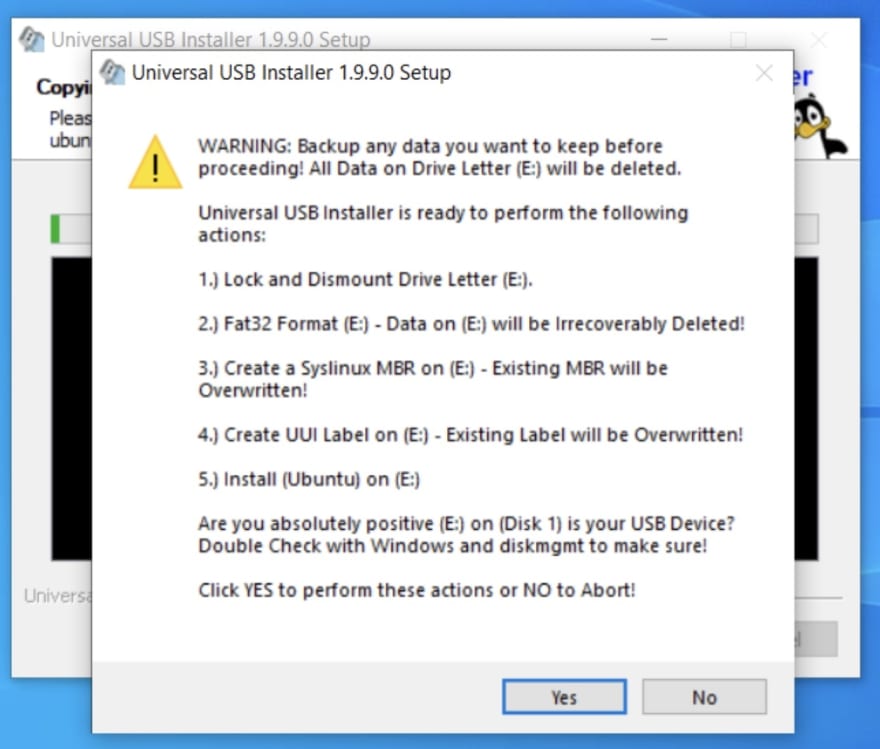
Upon pressing create, a warning will appear which can be safely acknowledged by pressing yes as long as all data on the USB has been backed up. All data on the USB drive will be removed since we are formatting with the FAT32 file system.
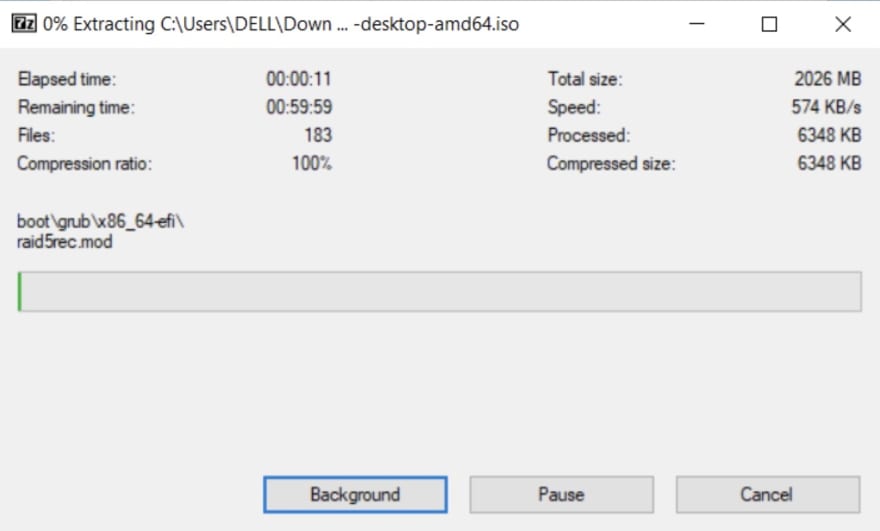
The UUI program will then begin extracting files from the disk image to the USB drive. You can run this task in the background if desired.
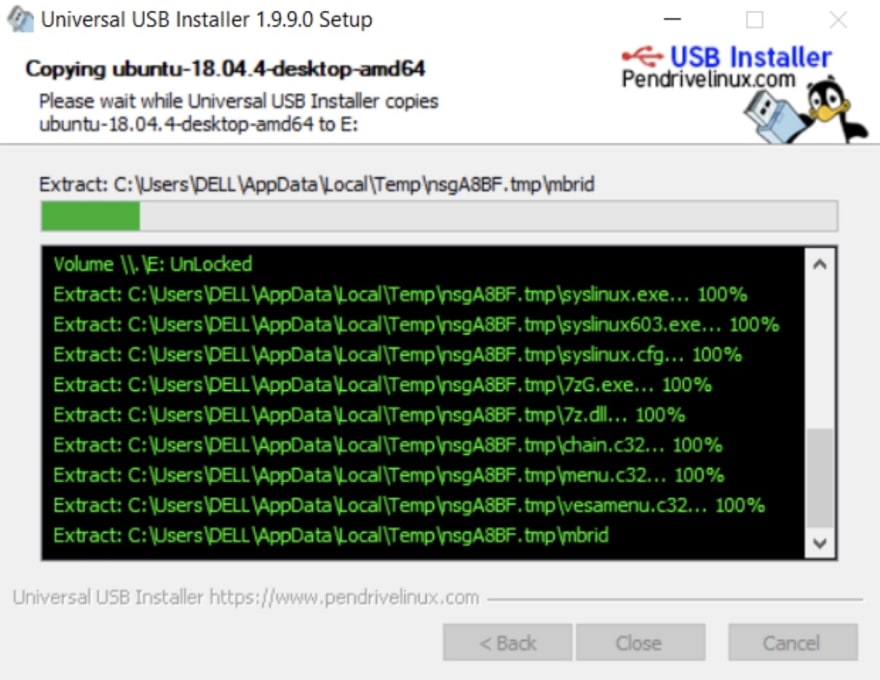
Once complete, the resulting Bootable USB drive file structure will look as follows.

Your USB drive is now ready!
Before proceeding, ensure that you have backed up important data from your system to the external hard drive that you wish to restore data from.
Step 3 Boot Ubuntu from USB at Start Up
Restart your computer and once the loading screen appears, press F12 several times (this may be different depending on your manufacturer) to enter BIOS settings.
I was installing on the Dell Inspiron 3000 series that has replaced BIOS with the more advanced UEFI Boot. If this is also the case for you, simply select the UEFI Generic Mass Storage (it could be another interchangeable name for your USB drive) from boot devices.
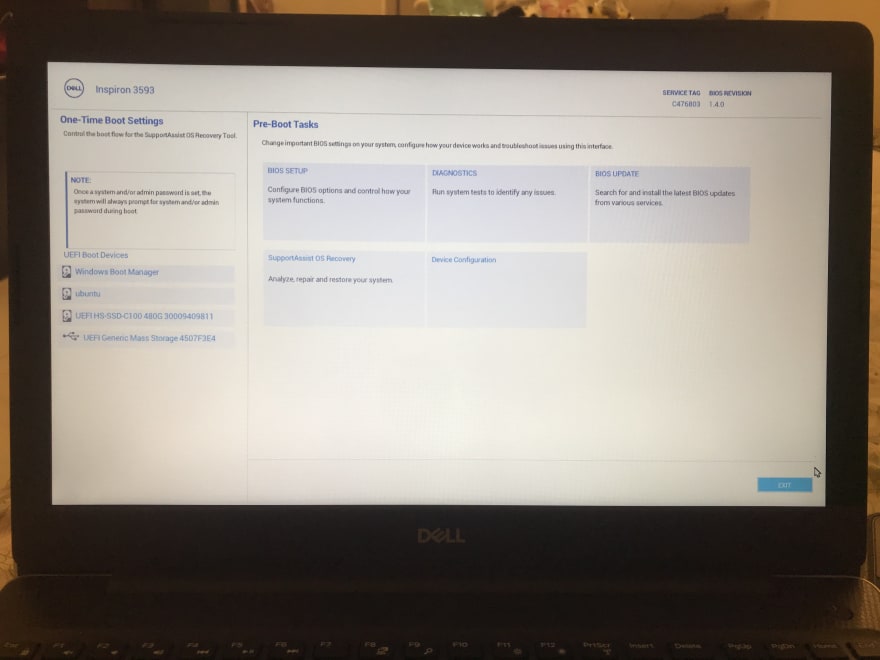
If your system supports BIOS settings, it will have a different User Interface. In this case, locate the Boot Order option and select the USB device to be the first item in the boot order.
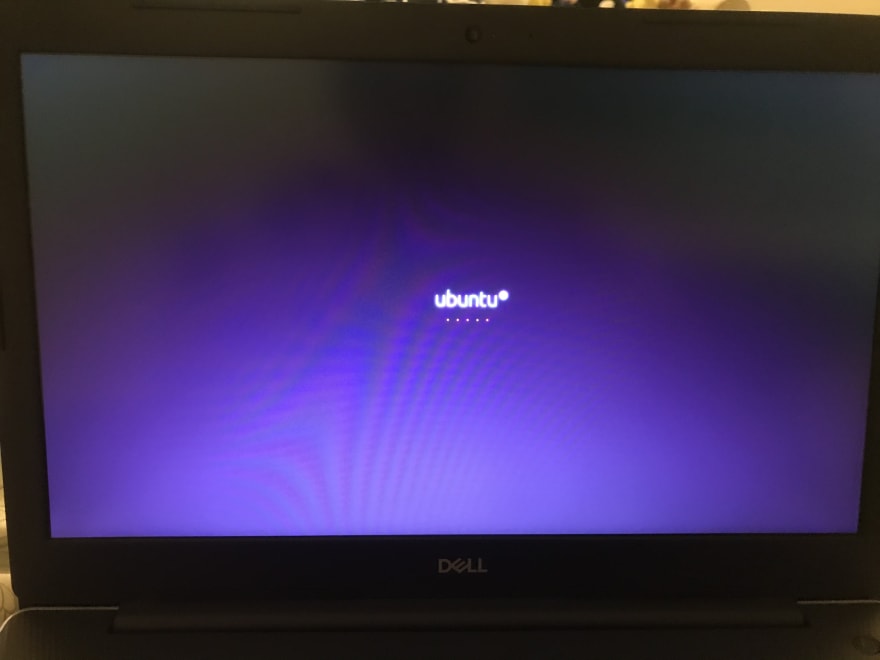
After you have changed the boot order, save and restart. The system will now boot from the Live USB drive.
If there is no option to boot from USB Disk, your computer may not be able to boot from USB. See here for a tool to test if your computer is compatible for USB boot.
The GNU GRUB menu will appear with several options including Install Ubuntu and try Ubuntu without installing. Opting for the latter will allow to explore the downloaded OS before proceeding with the install.
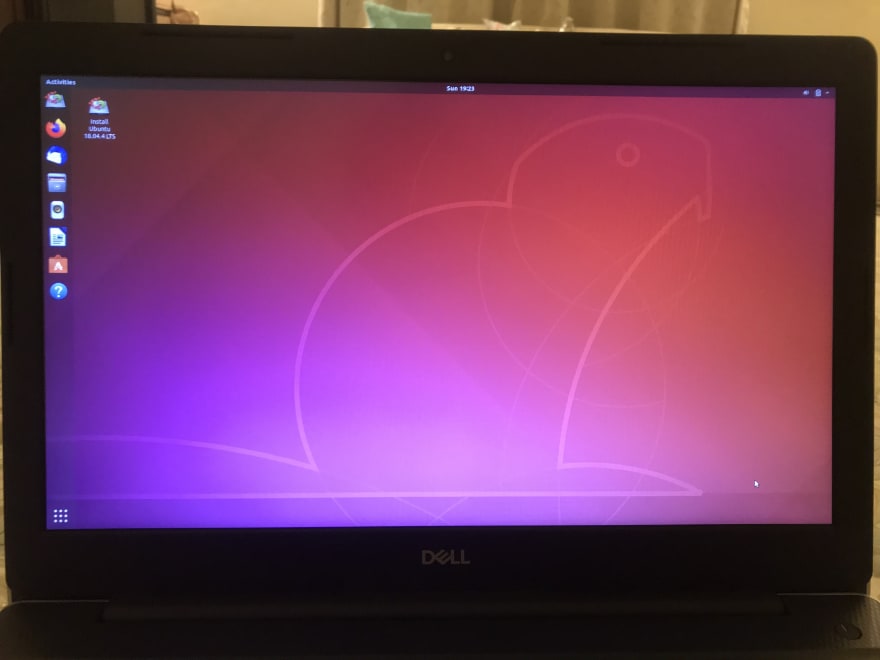
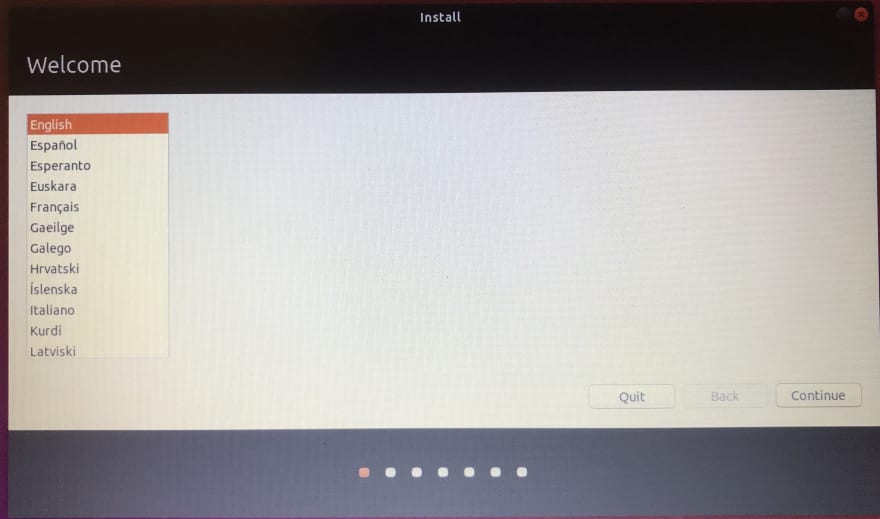
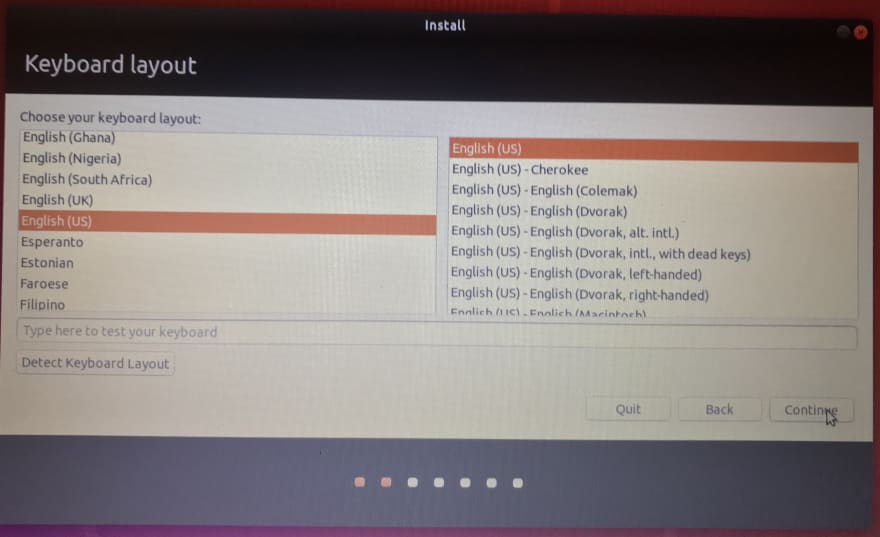
Selecting Install Ubuntu will prompt for several configurations before proceeding with the set up.
Select system language
Select keyboard
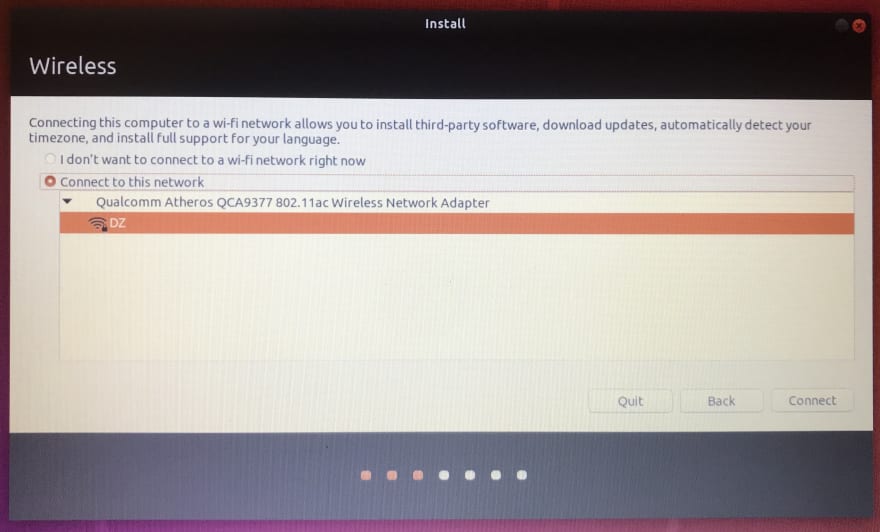
Add and connect to WiFi network (or skip)
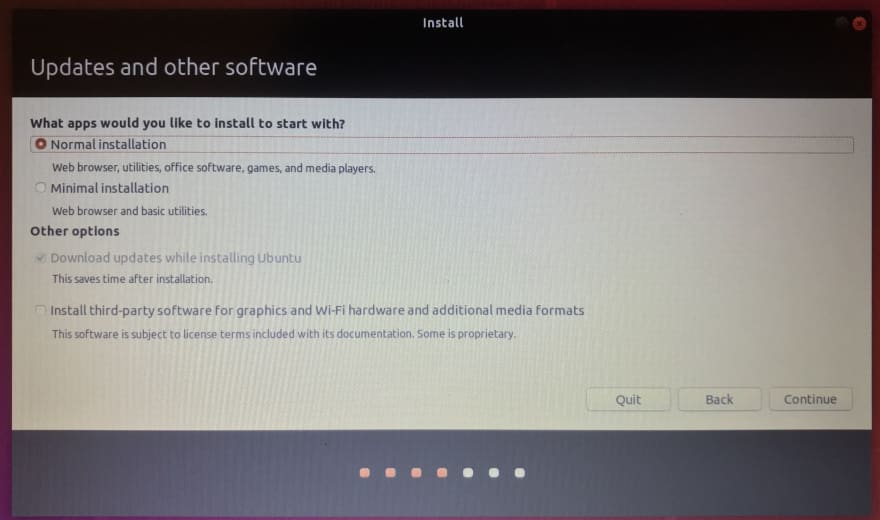
Updates and other software - proceed with normal installation
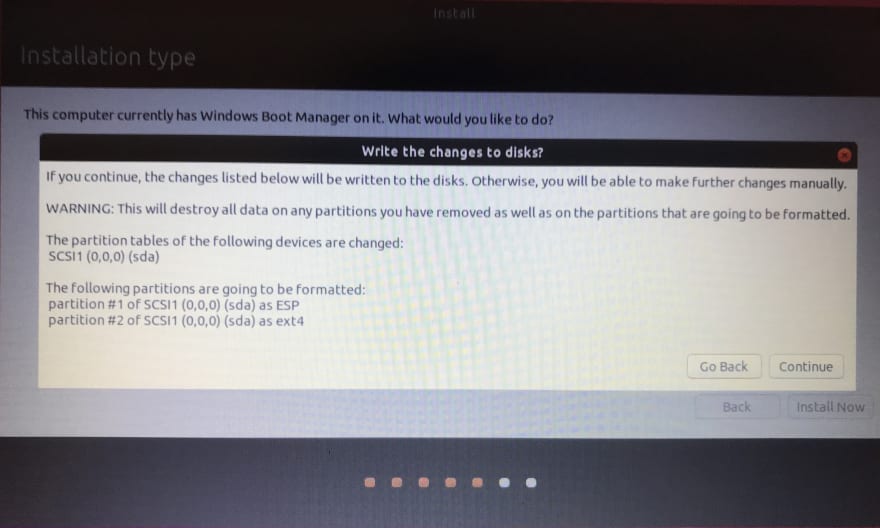
Proceeding with installation type will prompt whether to remove Windows Boot Manager completely or install Ubuntu with dual boot. We wish to use Ubuntu as our sole OS so I opted for that.
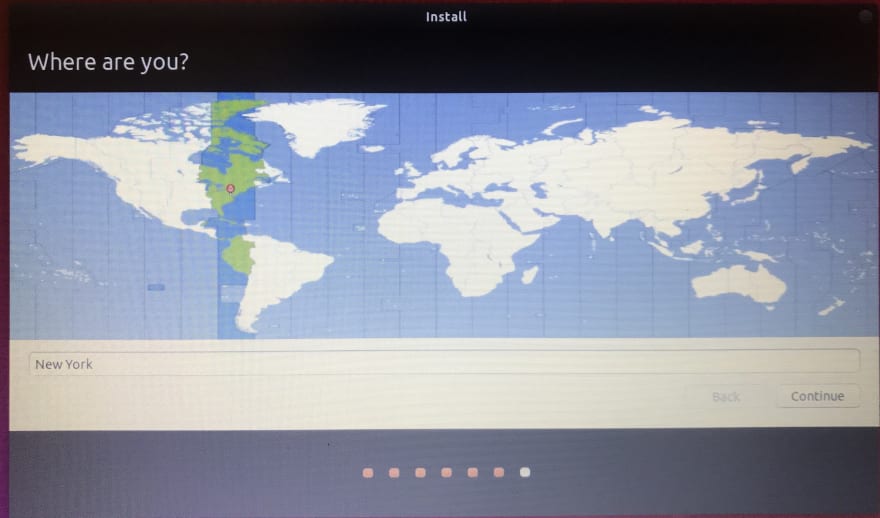
Select timezone
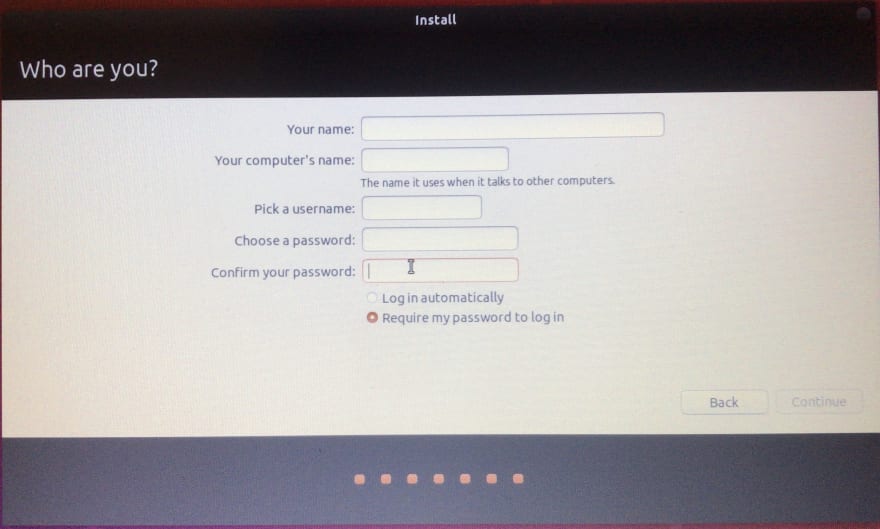
Create System User Account
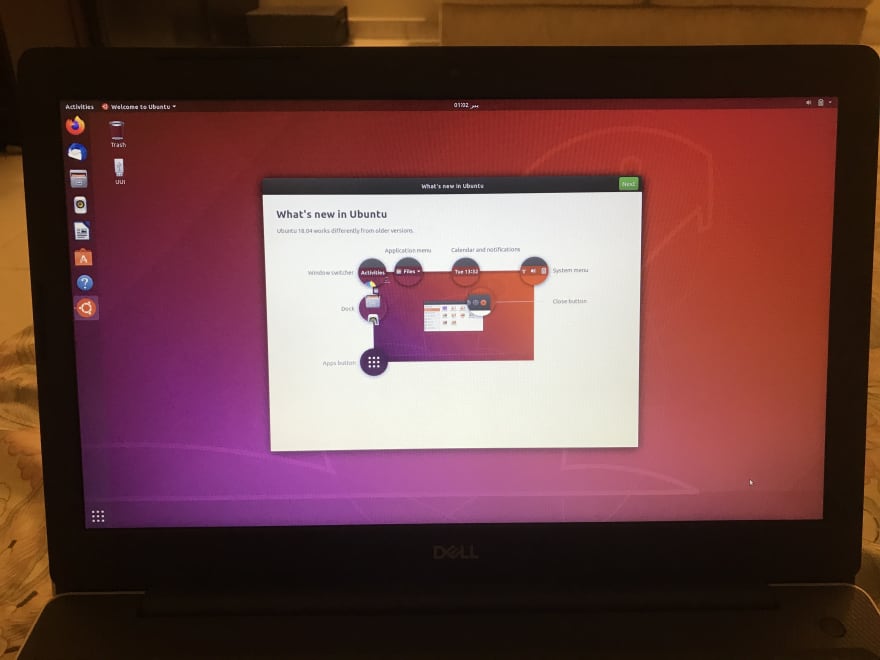
And viola, your system is up and running with Ubuntu!
Original Link: https://dev.to/faryalzuberi/replacing-windows-10-with-ubuntu-18-04-1p20
Dev To
More About this Source Visit Dev To