
An Interest In:
Web News this Week
- April 1, 2024
- March 31, 2024
- March 30, 2024
- March 29, 2024
- March 28, 2024
- March 27, 2024
- March 26, 2024
Some of Our Sources
- Technology Review
- TutsPlus - Code
- Six Revisions
- FanExtra - PSD
- Fudge Graphics
- 24 Ways
- CSS Tricks
- Freelance Switch
- Codrops
- Willems Lab
Help Webnuz
Referal links:
How I turned my Raspberry Pi into a private cloud server
This article is also available on my website.
I do like travelling and taking pictures, even if most of them are really pointless
Once back at home, I'm used to move all the pictures I took on my laptop and, after a selection, I upload the best pictures to the cloud. I like using Google Photos. But there's a problem.
Since I use the Free plan, I don't upload pictures with the original size. It means they lose quality.
That's why I decided to buy an HDD and to upload my pictures on it, not using Google Photos anymore.
Damn I miss it.
I don't have access to my pictures anymore when I'm not around my HDD. Showing and/or sharing them's impossible.
That's when the idea of the private cloud started floating in my mind.
You may say buying a HDD wasn't a cost? Pay for Google Photos then! You're right but nothing is better than the satisfaction you get by something built by yourself. I really like doing this kind of things so I made my private Google Photos! It's a full private cloud service actually - documents, video, images, emails, etc - but I use it only for my pictures.
Prerequisites
Raspberry Pi and Micro SD
To setup my photo server I used a Raspberry Pi 4 (4 GB RAM) with 16 GB Micro SD and an external USB drive to use as storage.
Docker and Docker Compose
I also installed Docker on my Raspberry Pi: I didn't want to re-install everything in case something goes wrong.
Once installed, I did make sure the user pi can use it (I don't want to use sudo every time)
curl -fsSl https://get.docker.com -o get-docker.shsudo sh get-docker.shsudo usermod -aG docker piI installed Docker Compose too - kudos to Roahn for the help
sudo apt-get install -y libffi-dev libssl-dev python3 python3-pipsudo apt-get remove python-configparsersudo pip3 install docker-composeSince the architecture of the Raspberry Pi is different than the classic Ubuntu's, I needed to install Docker Compose via pip3.
The infrastructure
To setup Nextcloud I used a yml file docker-compose.yml
version: '2'volumes: nextcloud:services: app: image: nextcloud ports: - 8080:80 volumes: - nextcloud:/var/www/html restart: alwaysThis yml file contains the infrastructure I want to build. This way to build infrastructures is called IaC, Infrastructure as Code: you declare the services you want to run and how they have to communicate each other and Docker Compose does the job for you.
In this case, I declared I want to use the nextcloud image to run an app on the port 8080 (or 80 if the 8080 is busy). I also specified the path for the volume - where the container stores data (my photos).
Up and running
Now that the docker-compose.yml is ready, it's time to launch
docker-compose up -dThe option -d stands for detached mode, containers run in background.
To check if the container we declared in the yml file is up and running, run
docker psCONTAINER ID IMAGE COMMAND CREATED STATUS PORTS NAMESa1d31d5ee1d6 nextcloud "/entrypoint.sh apac" About an hour ago Up About a minute 0.0.0.0:8080->80/tcp nextcloud_app_1I can do something similar with Docker Compose. Within the root folder that contains the docker-componse.yml file, run
docker-compose ps Name Command State Ports-------------------------------------------------------------------------------nextcloud_app_1 /entrypoint.sh apache2-for ... Up 0.0.0.0:8080->80/tcpThe difference between docker ps and docker-compose ps is that docker ps lists all running containers in docker engine while docker-compose ps lists containers related to images declared in the docker-compose.yml file.
If you're on your Raspberry, go to http://localhost:8080/. If you're connected to the Raspberry Pi via SSH instead, open a browser and go to http://[HOSTNAME]:8080/.
If you don't know the IP address of your Raspberry Pi, just run
hostname -I192.168.1.162 172.17.0.1 172.29.0.1 169.254.70.85 172.21.0.1 169.254.52.242 2a00:23c7:8e8b:1201:f35:95a7:4c14:6edSo, in my case, my Raspberry's IP address is
192.168.1.162. It shouldn't change until you disconnect the Raspberry from the Internet > or you restart the router.
Here's a good article about how to connect via SSH to your Raspberry Pi.
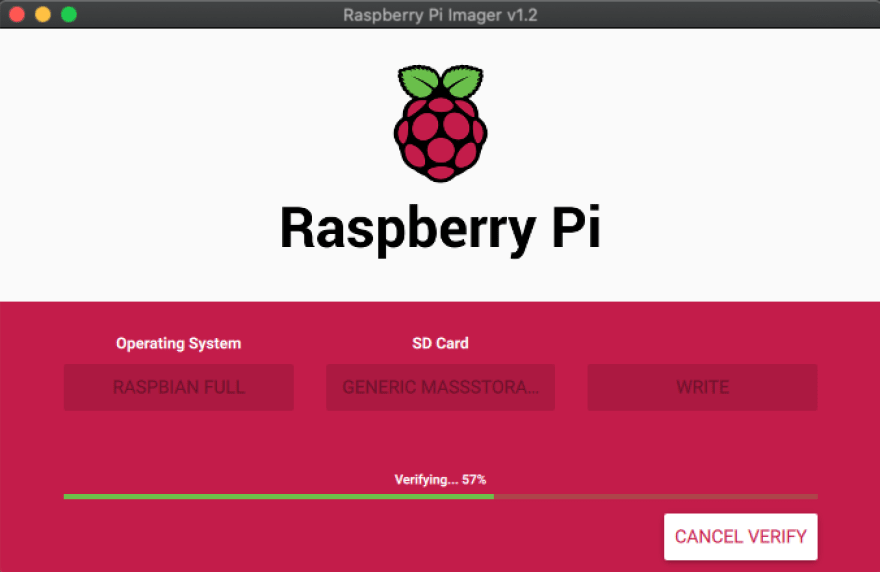
Ta-da! Nextcloud is up and running, ready to use!
Setup the administrator account and do not change the storage and database settings. It's not time for that yet.
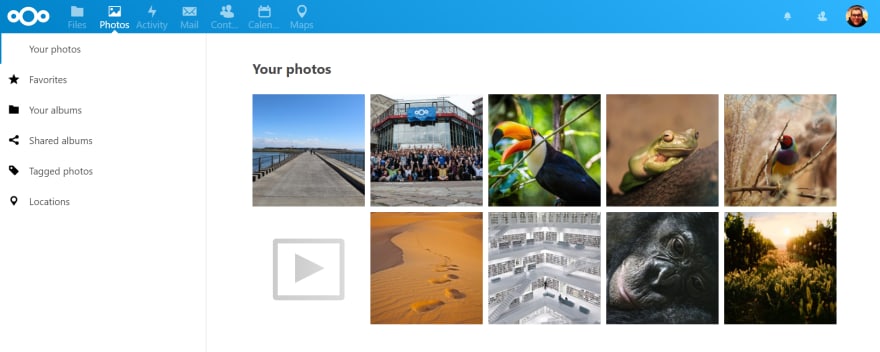
Let's take a closer look
Sweet, Nextcloud is working and is reachable only within my WiFi connection. I can upload photos from my smartphone too!
Let's take a look at the container now. Run
docker psCONTAINER ID IMAGE COMMAND CREATED STATUS PORTS NAMESa1d31d5ee1d6 nextcloud "/entrypoint.sh apac" 2 hours ago Up 37 minutes 0.0.0.0:8080->80/tcp nextcloud_app_1and copy the container id. Now run
docker exec -it <CONTAINER_ID> bashto enter the container itself, in interactive mode -it using the bash.
What you will see is something like
root@a1d31d5ee1d6:/var/www/html#You entered the container as root and it's waiting for a command. So, let's discover where the container will store my pictures. The volume path is /var/www/html. In this container you have Apache running, that's where /var/www comes from.
To list all the files run ls -l. To discover where Nextcloud stores my data, let's open the config.php file to sneak a peek.
more config/config.php<?php$CONFIG = array ( 'htaccess.RewriteBase' => '/', 'memcache.local' => '\\OC\\Memcache\\APCu', 'apps_paths' => array ( 0 => array ( 'path' => '/var/www/html/apps', 'url' => '/apps', 'writable' => false, ), 1 => array ( 'path' => '/var/www/html/custom_apps', 'url' => '/custom_apps', 'writable' => true, ), ), 'instanceid' => 'ocagdfr8srkl', 'passwordsalt' => 'Mw2SMCooFW1CAUuyzK7TV5Uh7cbGge', 'secret' => 'KpK7QWHnzWs/NgdkQSATn4EogqLLrIFLXO0mu0cShbG6zJVQ', 'trusted_domains' => array ( 0 => '192.168.1.162:8080', ), 'datadirectory' => '/var/www/html/data', 'dbtype' => 'sqlite3', 'version' => '18.0.4.2', 'overwrite.cli.url' => 'http://192.168.1.162:8080', 'installed' => true,);datadirectory, got it!
Run
cd data/<NEXTCLOUD_USERNAME>/files/ls -lHere they are, files and folders! Photos are stored into Photos folder.
What's next
My private cloud is ready and now I can safely store my HD pictures on it! Sky is the limit!
Not yet I do have two limits:
- I can't upload my photos if I'm not a home
- I can't upload all the photos I want because of the limited storage capacity of the Micro SD
To overcome these problems are enouhg a domain and an external hard disk
Original Link: https://dev.to/rossanodan/how-i-turned-my-raspberry-pi-into-a-private-cloud-server-1lpn
Dev To
More About this Source Visit Dev To