
An Interest In:
Web News this Week
- March 31, 2024
- March 30, 2024
- March 29, 2024
- March 28, 2024
- March 27, 2024
- March 26, 2024
- March 25, 2024
Some of Our Sources
- BoingBoing
- Simplebits
- Just Creative
- Smashing Magazine
- You The Designer
- Creative Curio
- Naldz Graphics
- 24 Ways
- Web Resource Source
- Android Headlines
Help Webnuz
Referal links:
Detecting Objects with a Tello Drone
Have you ever wanted to detect objects using live video streaming from a drone? If so, with this tutorial you now can!

 Object detection and live streaming with #tellodrone and @NodeRED stay tuned for docs and tutorial! @IBMDeveloper21:40 PM - 19 Sep 2019
2
16


Let's Get Started
In this tutorial, we will be using Node-RED. Designed and built by IBM, Node-RED is a free open source logic engine that allows programmers of any level to interconnect IoT, cloud-based systems, web services, databases, APIs and more!
Step 1: Get started by installing Node-RED locally
You can check out this tutorial on how to install Node-RED on your local computer , or follow the commands below :
sudo npm install -g --unsafe-perm node-red
This should install Node-RED, once installed run this command :
node-red
This should point you to a Node-RED URL http://127.0.0.1:1880/ that you can put in your browser to see the Node-RED editor
Note: In later steps, we will be adjusting the settings.js file that comes when you install Node-RED
Node-RED editor in your browser
Step 2: Install FFMpeg on your local computer
FFMpeg is a very powerful command-line tool that is used for performing various conversion operations on audio and video files. This tool will be the bread and butter for video streaming! It is free to use and is available for Windows, Linux and Mac operating systems
If you have a Mac, the best way to install it is by using homebrew.
Run: brew install ffmpeg to install FFmpeg locally to your computer.
This will be critical to see streams that are flowing in from your local computer!
Step 3: Install the FFMpeg Node in Node-RED
There are two ways you can install this node
Do
npm install node-red-contrib-ffmpegin the same directory that node-RED (from step 1) was installedOpen your node-RED browser and find
node-red-contrib-ffmpegin manage pallet
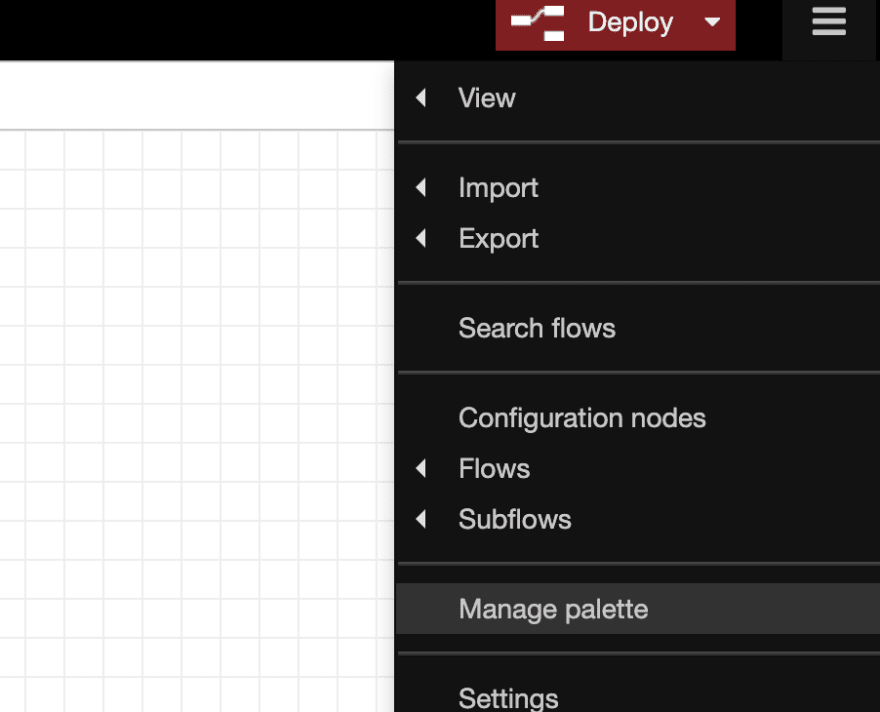
Open hamburger menu on right hand side > manage palette
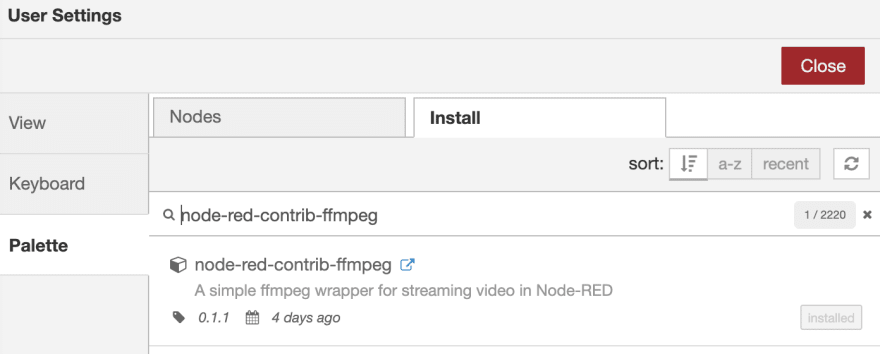
Click install and you should see the ffmpeg node in your palette
Step 4: Train a Model
Follow this tutorial to train an object detection model .
Once you finish this tutorial you should end up with a model_web folder.
Step 5: Copy model_web into Node-RED and adjust settings
Once you have a model_web directory with your trained object model you will need to copy that into the directory that you installed Node-RED
We will then adjust the settings.js file in your node-RED director
Open settings.js and search for and uncomment out the following
httpAdminRoot: '/editor',
    httpStatic: '<path to model web directory >',
I set the endpoint of httpAdminRoot to editor, so now when you run node-red command to see your node-RED editor you will now go to this url http://127.0.0.1:1880/editor
httpStatic will include the location of your model_web folder
Step 6: Configure your Tello Drone
Before you can use your Tello Drone you MUST activate it in the official Tello Drone app. Once your drone is activated, you can connect to it's WiFi Network TELLO-XXXXXX and send it commands via UDP
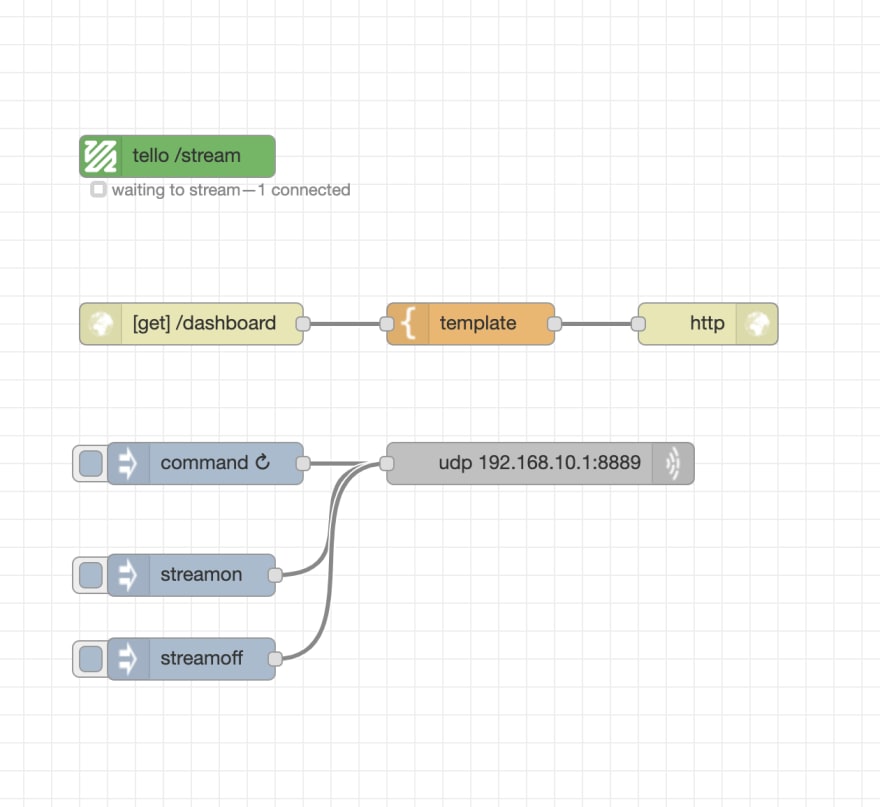
Step 7: Import Flow into Node-RED
Start Node-RED locally and Import the following flow :
To import this flow , copy the json in the GIST above to your clipboard.
On your Node-RED editor go to the hamburger menu on top right-hand side > Import > Clipboard

Paste the json that you copied from your clipboard and click Import

You should see the following flow on your editor :
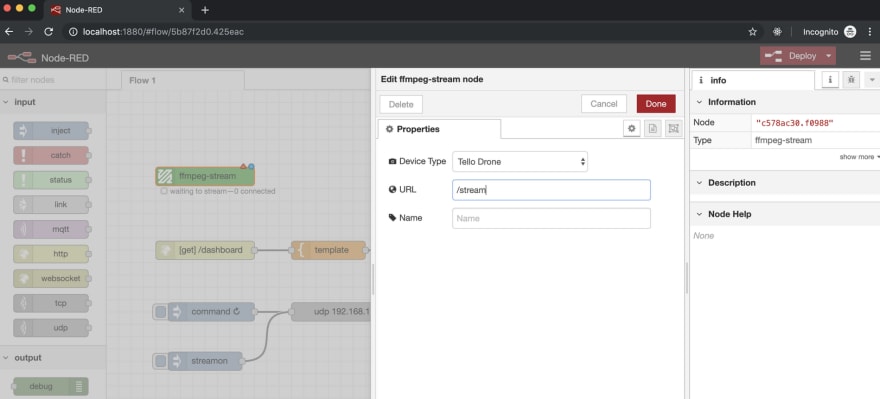
Step 8: Adjust Nodes and Stream from Tello!
Double click on the FFmpeg node and make sure it is configured for Tello Drone. Also by default, the URL will be set to /stream . Note, this can be changed to whatever url endpoint you want
In this example our stream will be accessible at ws://:/stream
Using the stream
To render the video stream in the browser, we use a library called JSMpeg.
*If you changed the stream url endpoint to something else , make sure you configure this in the template node on line 58. In the default we have it set as /stream *
const url = `ws://${window.location.hostname}:${window.location.port}/<url_endpoint>

Turn Tello Wifi On
Make sure your Tello drone is charged and you have turned it on. You should be able to connect to your Tello's wifi.
Once connected click Command and then Stream on

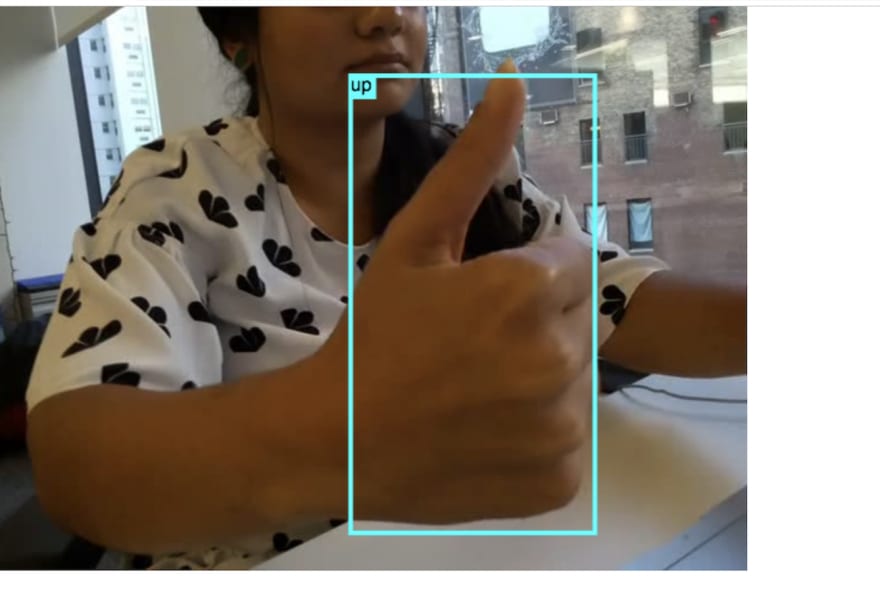
Go to http://127.0.0.1:1880/dashboard and you should see video streaming from your tello! If you have trained an object detection model, you should also see your tello detect objects! In my case I trained a model to distinguish between thumbs up and thumbs down
If you want to stop stream make sure to click on the stopstream inject button in the node-RED editor
The End
That's all folks :). Thank you so much for reading!
Check out this repo if you're interested in video streaming without the object detection!
Feel free to reach out to me with any questions in the comments below, or connect with me on twitter @poojamakes
If you found this tutorial fun and helpful, it would mean a lot to me if you gave it some <3 and shared it to help others! Thank you again!
Original Link: https://dev.to/poojamakes/detecting-objects-with-a-tello-drone-38np
Dev To
More About this Source Visit Dev To